How to Install GTA 5 Mods: Detailed Tutorial!
 (1)-lg_modland.jpg)


For GTA 5 there are very many interesting mods that add new transportation and new features to the game. However, with their installation can be difficult. This requires the installation of additional libraries and programs that allow you to install modifications in the game so that they work properly. Therefore, below we present useful information on installing mods in GTA 5.
Preparing to install mods
Before proceeding to install mods, make sure that the game is installed on your computer. To do this, the first step is to perform a file integrity check. If the game is purchased through Steam, open the library and find Grand Theft Auto V. Next, you need to right-click on the title and select “Properties”. In the window that appears, go to the “Local Files” section and click “Verify the integrity of the game files”.
Owners of the Epic Games Store version can follow a similar procedure by going to the library, clicking on the three dots next to the game, then select “Manage” and click on “Check Files”.
Do not neglect this, as this way you are checking the integrity of the game's files, and this will directly affect the operability of many mods.
Installing Open IV and basic tools for modding
Open IV - is the basic tool for working with files GTA5, including it allows you to install mods. First you need to download this program from ModLand, or the official website of the developer. Then it is enough to follow the instructions below.
Let's go in order. Go to the OpenIV page and download the installation file.
Then run the file. Select the installation path and where the game is located. Here you can also choose whether to install a shortcut to the desktop.
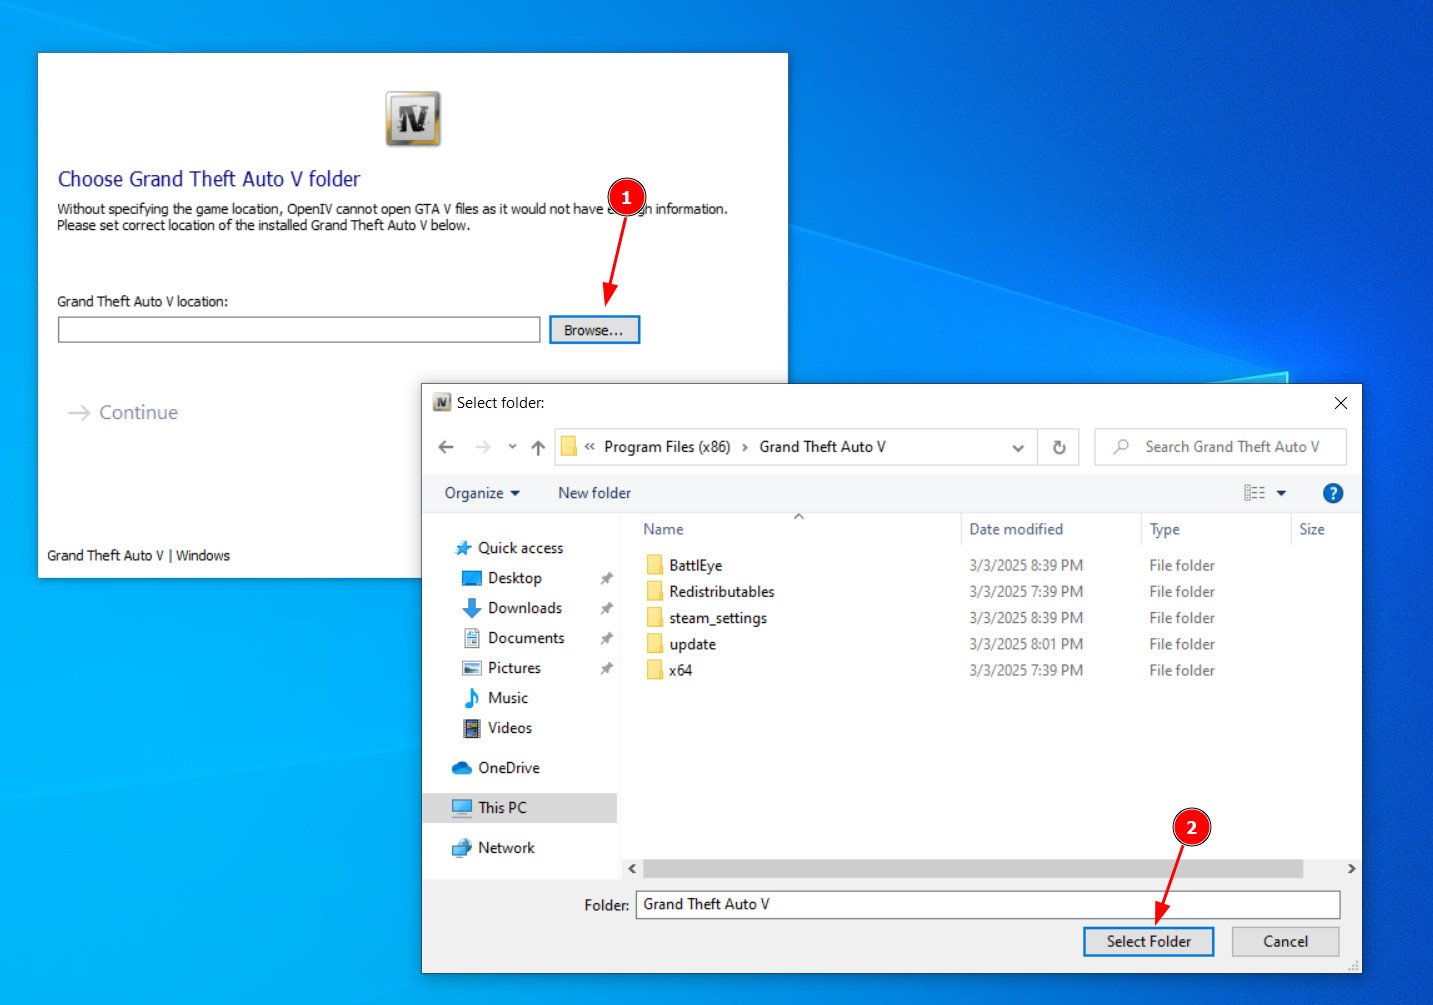
You will have to wait a bit, as the installation will take some time. After that, launch Open IV and from the list of games select Grand Theft Auto V.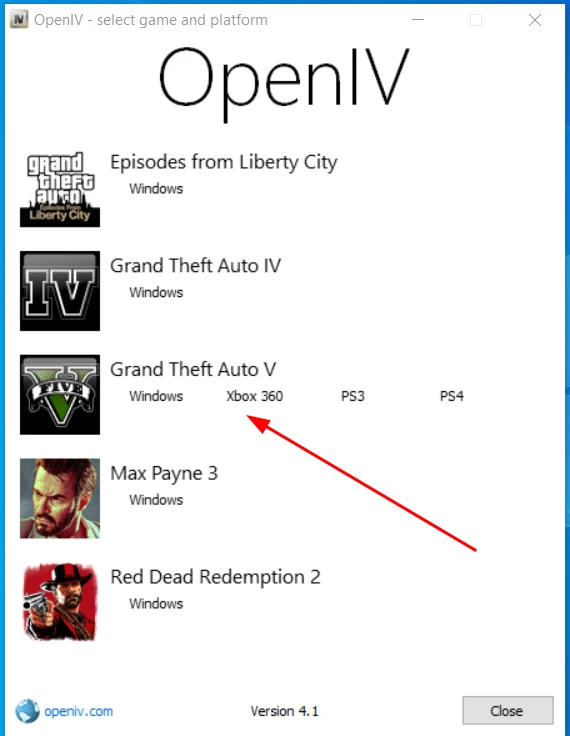
Select the folder where you installed the game.
Press “Continue” to confirm the action.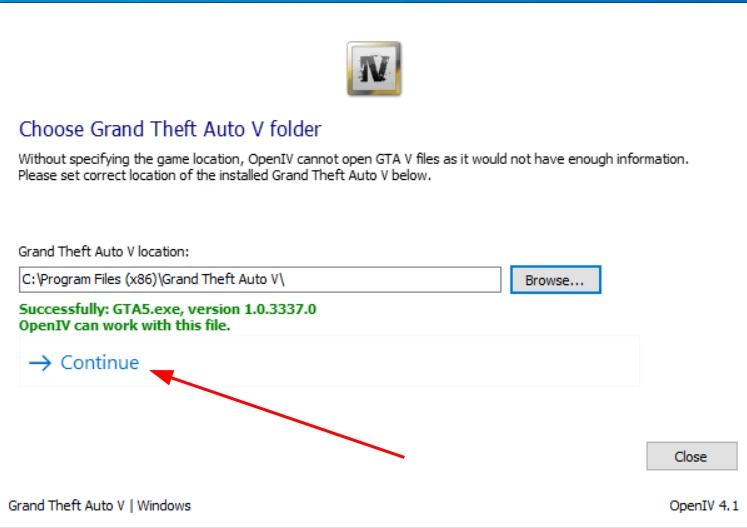
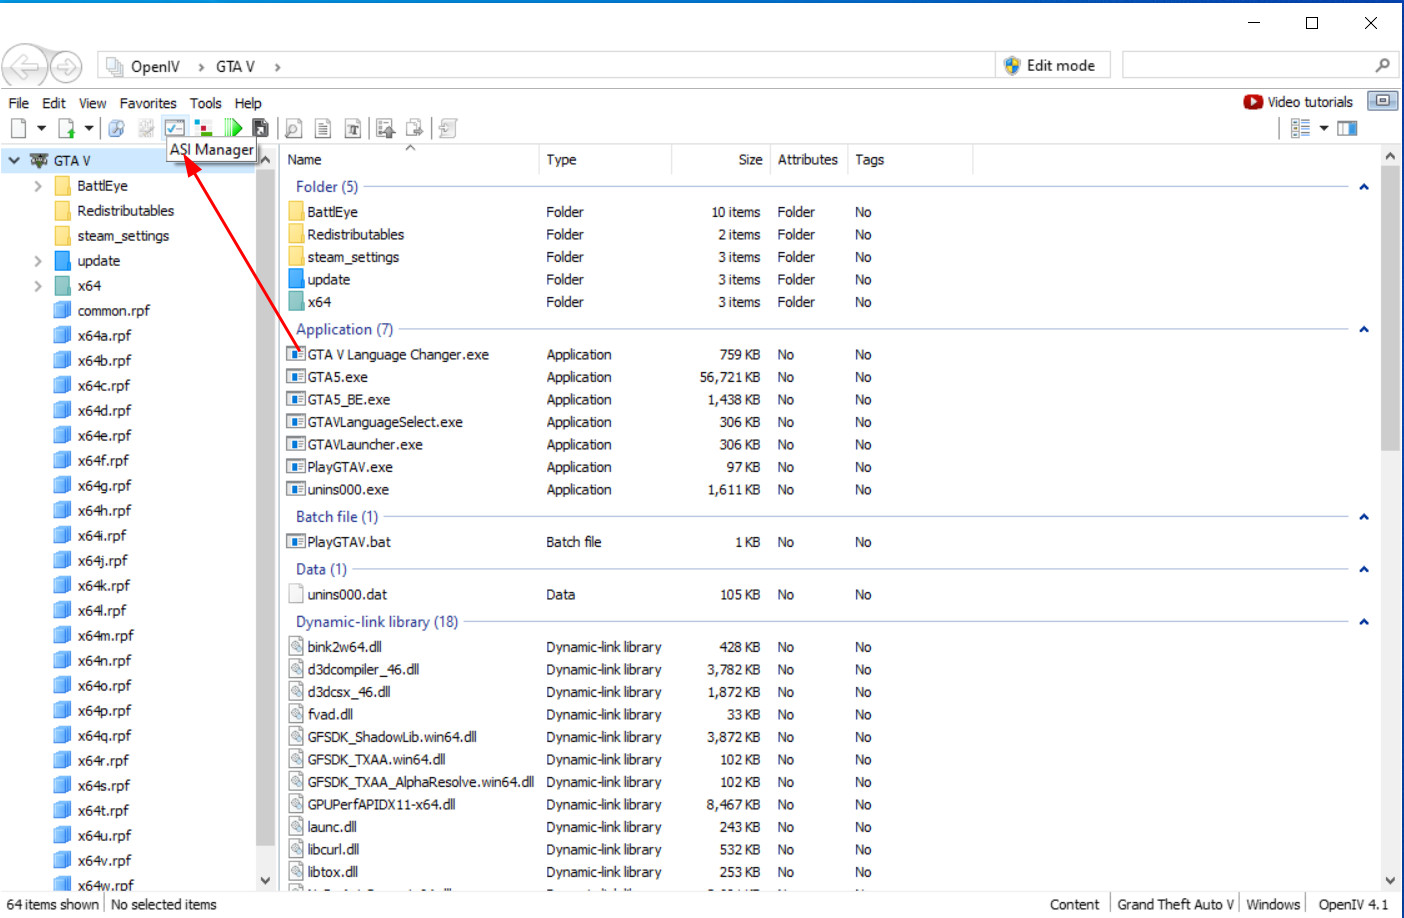
Next, the main menu will appear in the program, where you need to go to the ASI Loader control section (you can open it by clicking on the icon shown in the screenshot below).
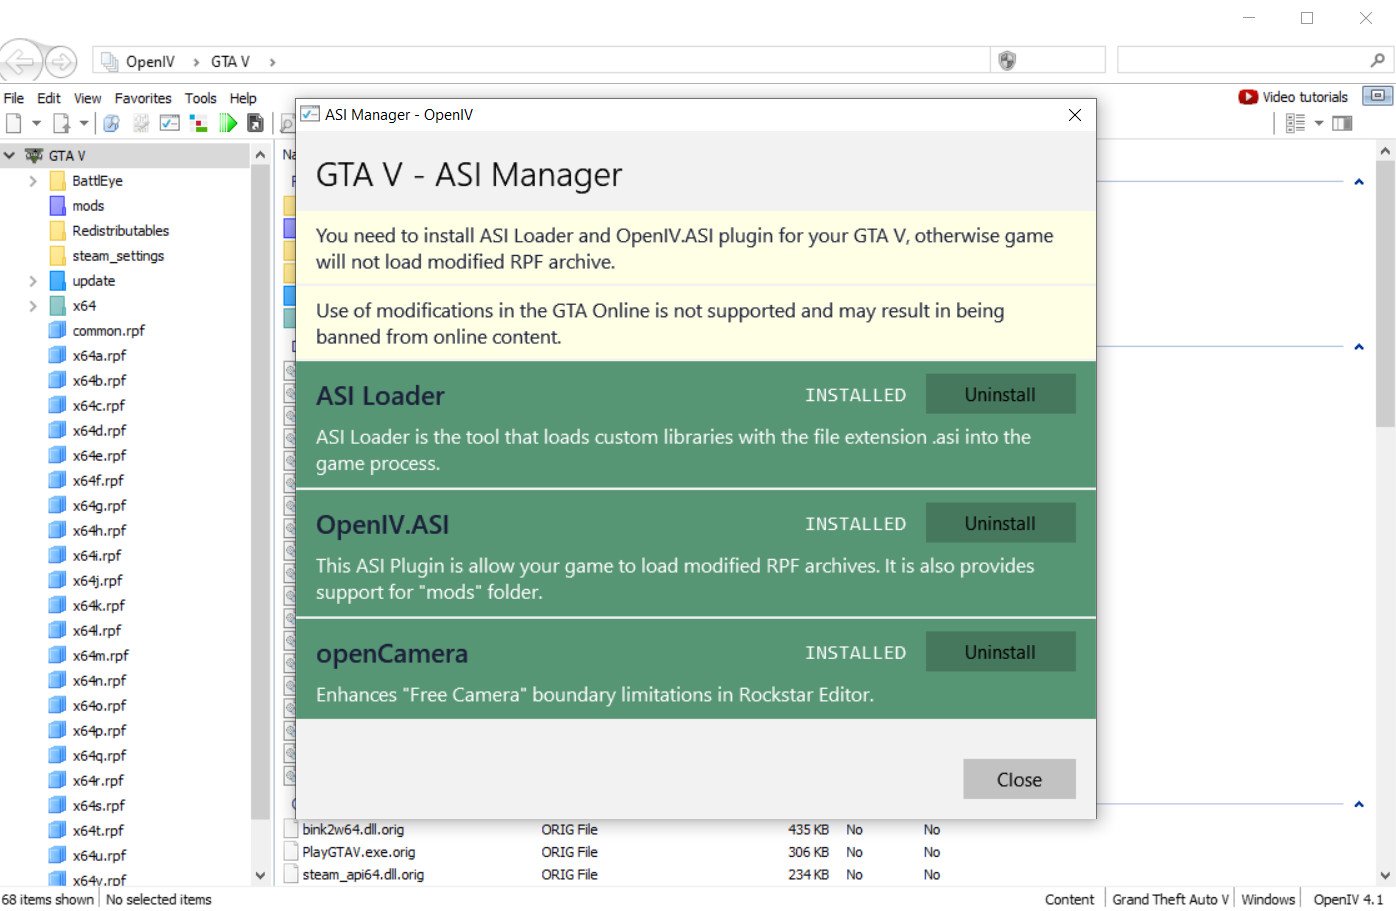
A window will open where you need to install three components: ASI Loader, OpenIV.asi and Open Camera.
After successful installation of these modules in the root folder of the game will appear mods folder - it is into this folder will be copied modified files - this method allows you not to affect the main files of the game.
Setting up the game directory and installing Script Hook V
The process of preparing all the necessary tools for installing mods in GTA 5 is quite complex. The next step is to install Script Hook V, it is necessary for the work of many mods. In the main these are script files that change the code of the game.
To do this, you need to download the current version of Script Hook V from the official website and unpack the downloaded archive.
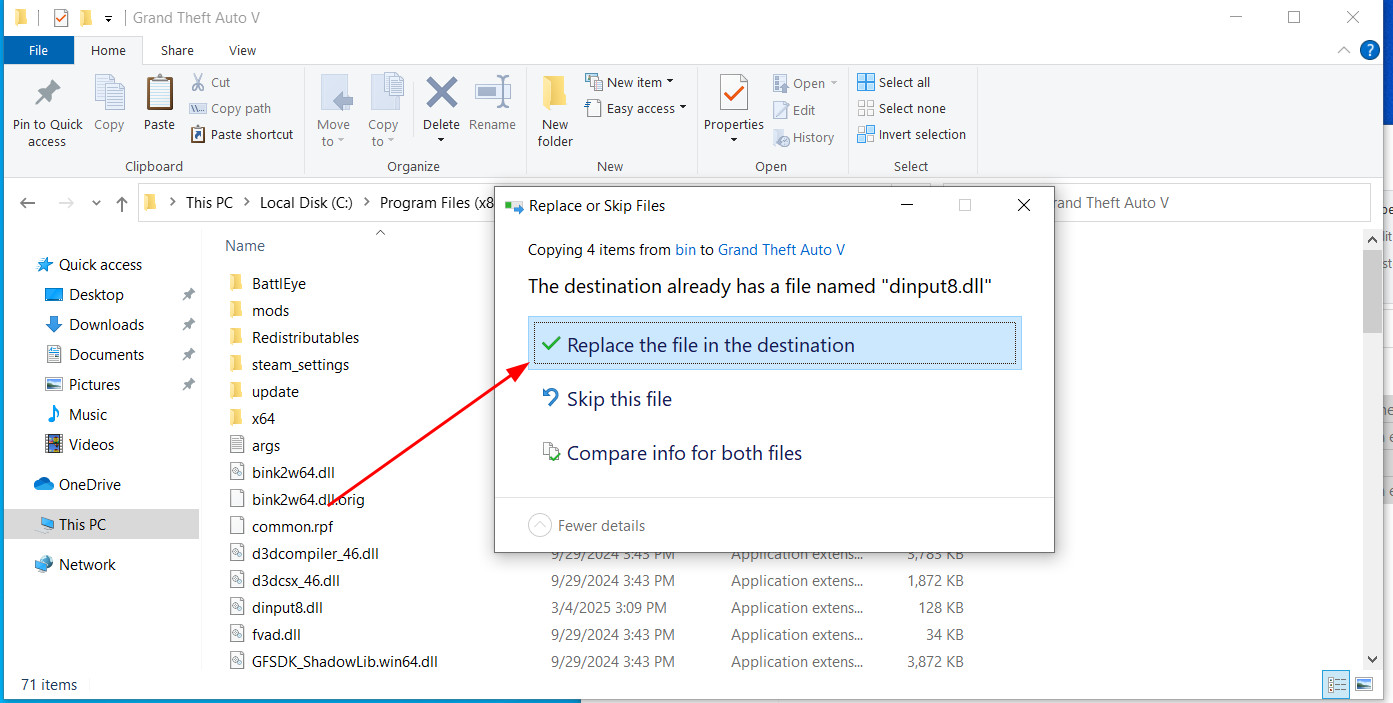
Inside there is a bin folder with three files: ScriptHookV.dll, dinput8.dll and NativeTrainer.asi.
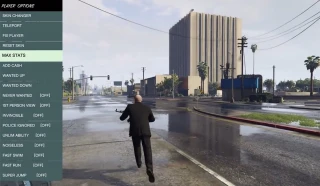
Copy ScriptHookV.dll and dinput8.dll to the root folder of the game (the one where GTA5.exe is located). The file NativeTrainer.asi does not need to be copied - it installs the standard trainer. There is a more powerful trainer - Rampage Trainer.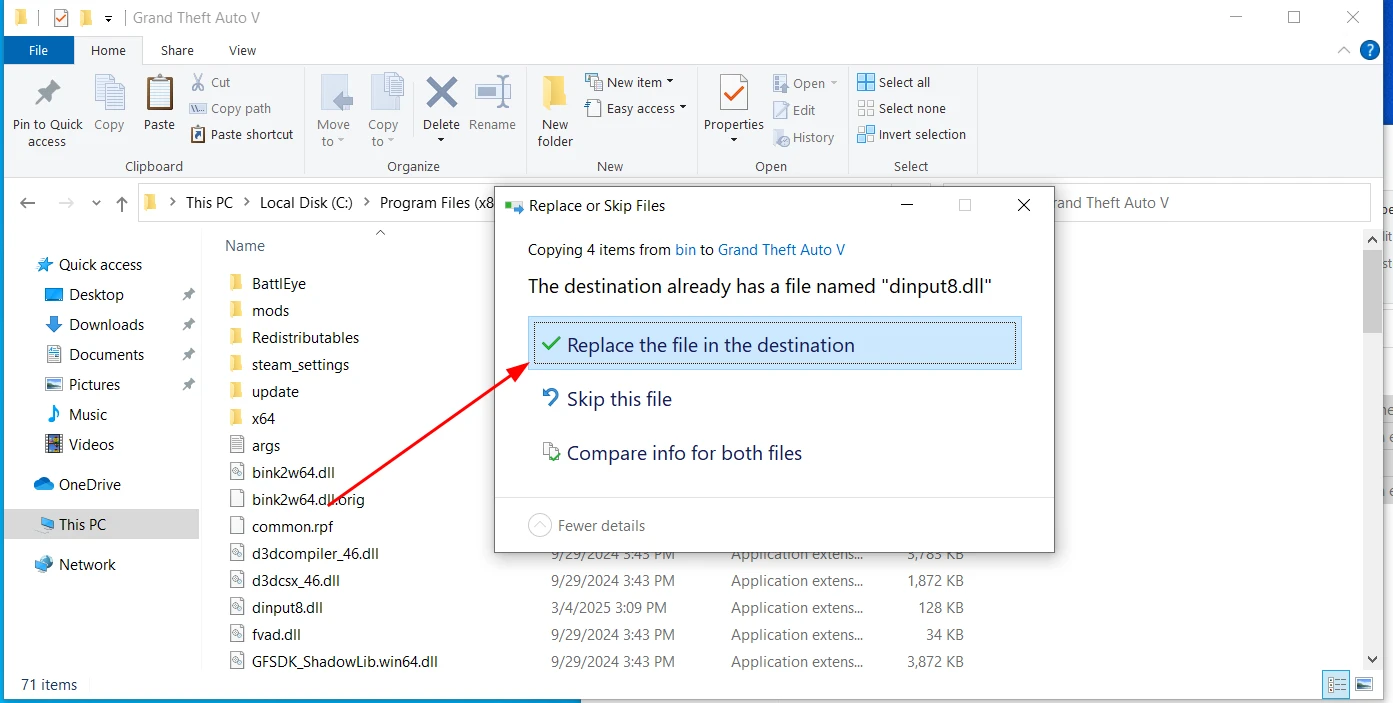
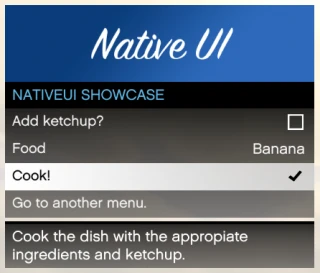
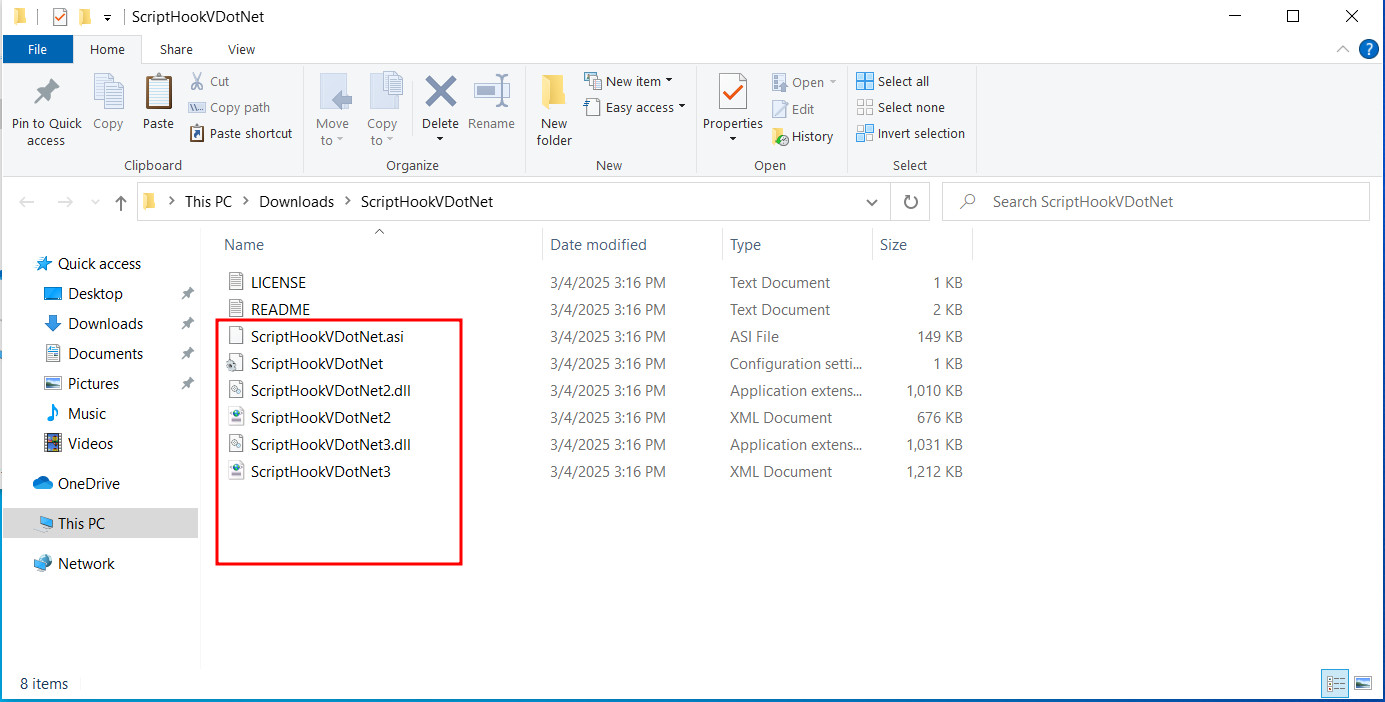
It doesn't end here! You also need to install the Script Hook V .NET library, which is responsible for the script mods. Go to the official GitHub page to download it. After downloading the archive, unzip the files and move all the contents to the game folder.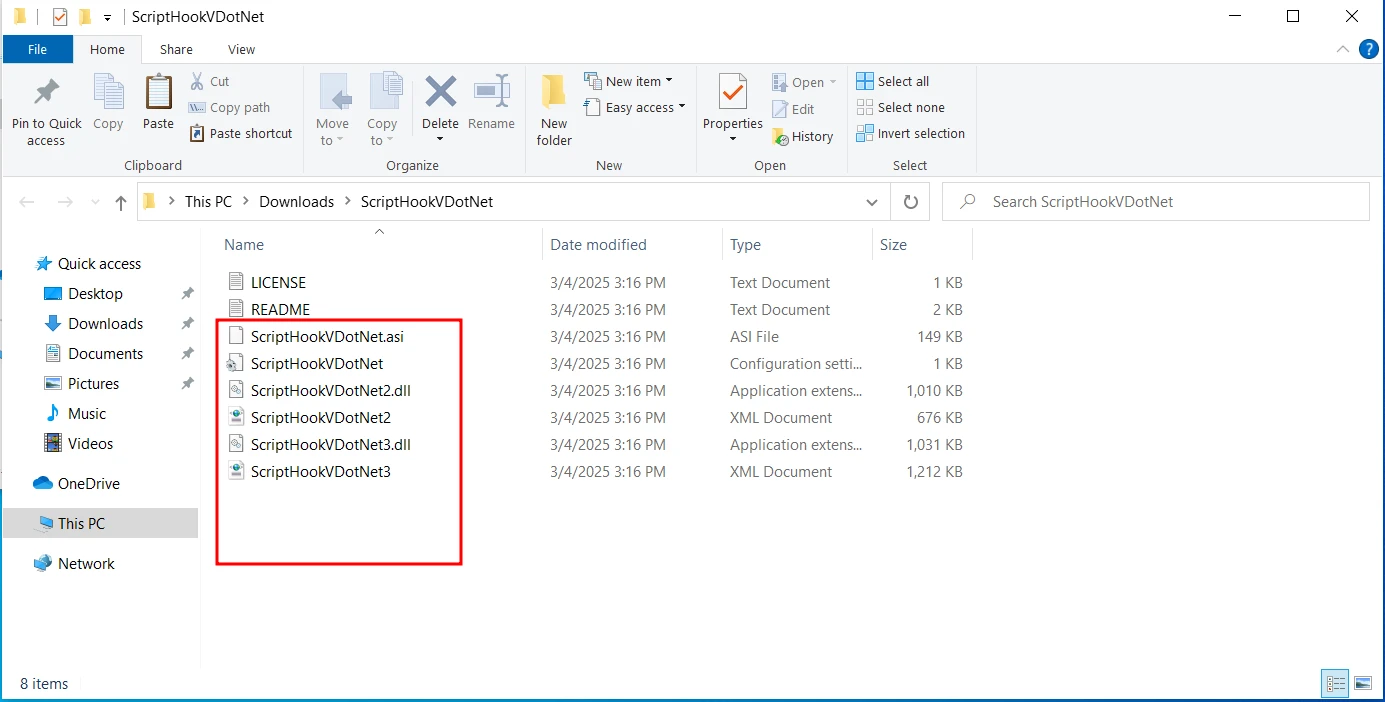
It is highly recommended to install Heap Adjuster and Packfile Limit Adjuster. They will help to avoid errors and crashes. Both mods are downloaded separately, then their files (usually asi and ini) are copied to the root folder of the game. After that you need to open the HeapAdjuster.ini file in Notepad and change the Heap Size value from 750 to 10 000, then save the changes.
Starting the game before installing mods
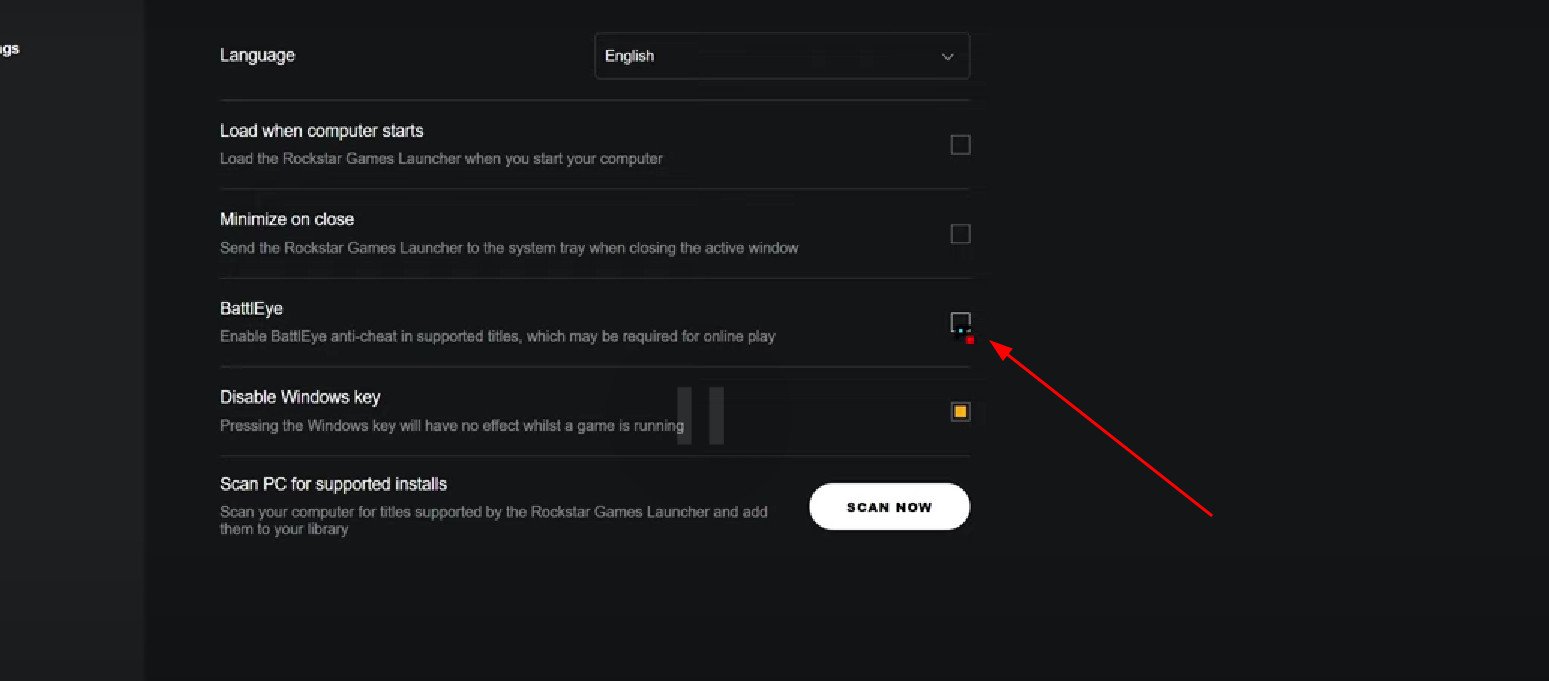
Before you start installing mods, it is important to check that all the necessary components are working correctly. To do this, you need to disable BattleEye - anti-cheat, which prevents the launch of the modified version of the game. To do this, open Rockstar Launcher, go into the settings and find the BattleEye option, then disable it.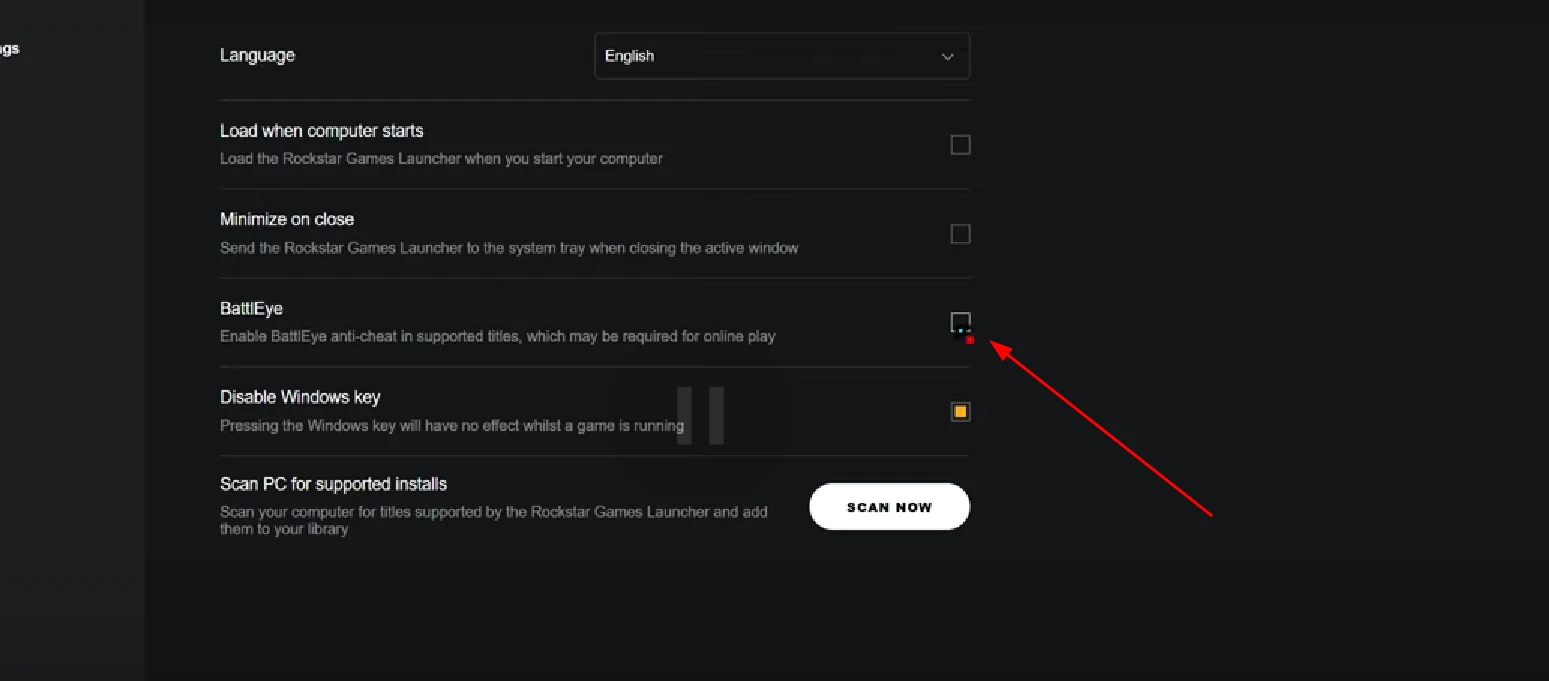
After that, you can try to launch the game and check if it loads without errors. If the game runs normally, it means that all the necessary tools are installed correctly.
Working with OIV mods via Open IV
Some mods come in OIV format, which is the installation package for Open IV. Installation of such mods is done through the program itself.
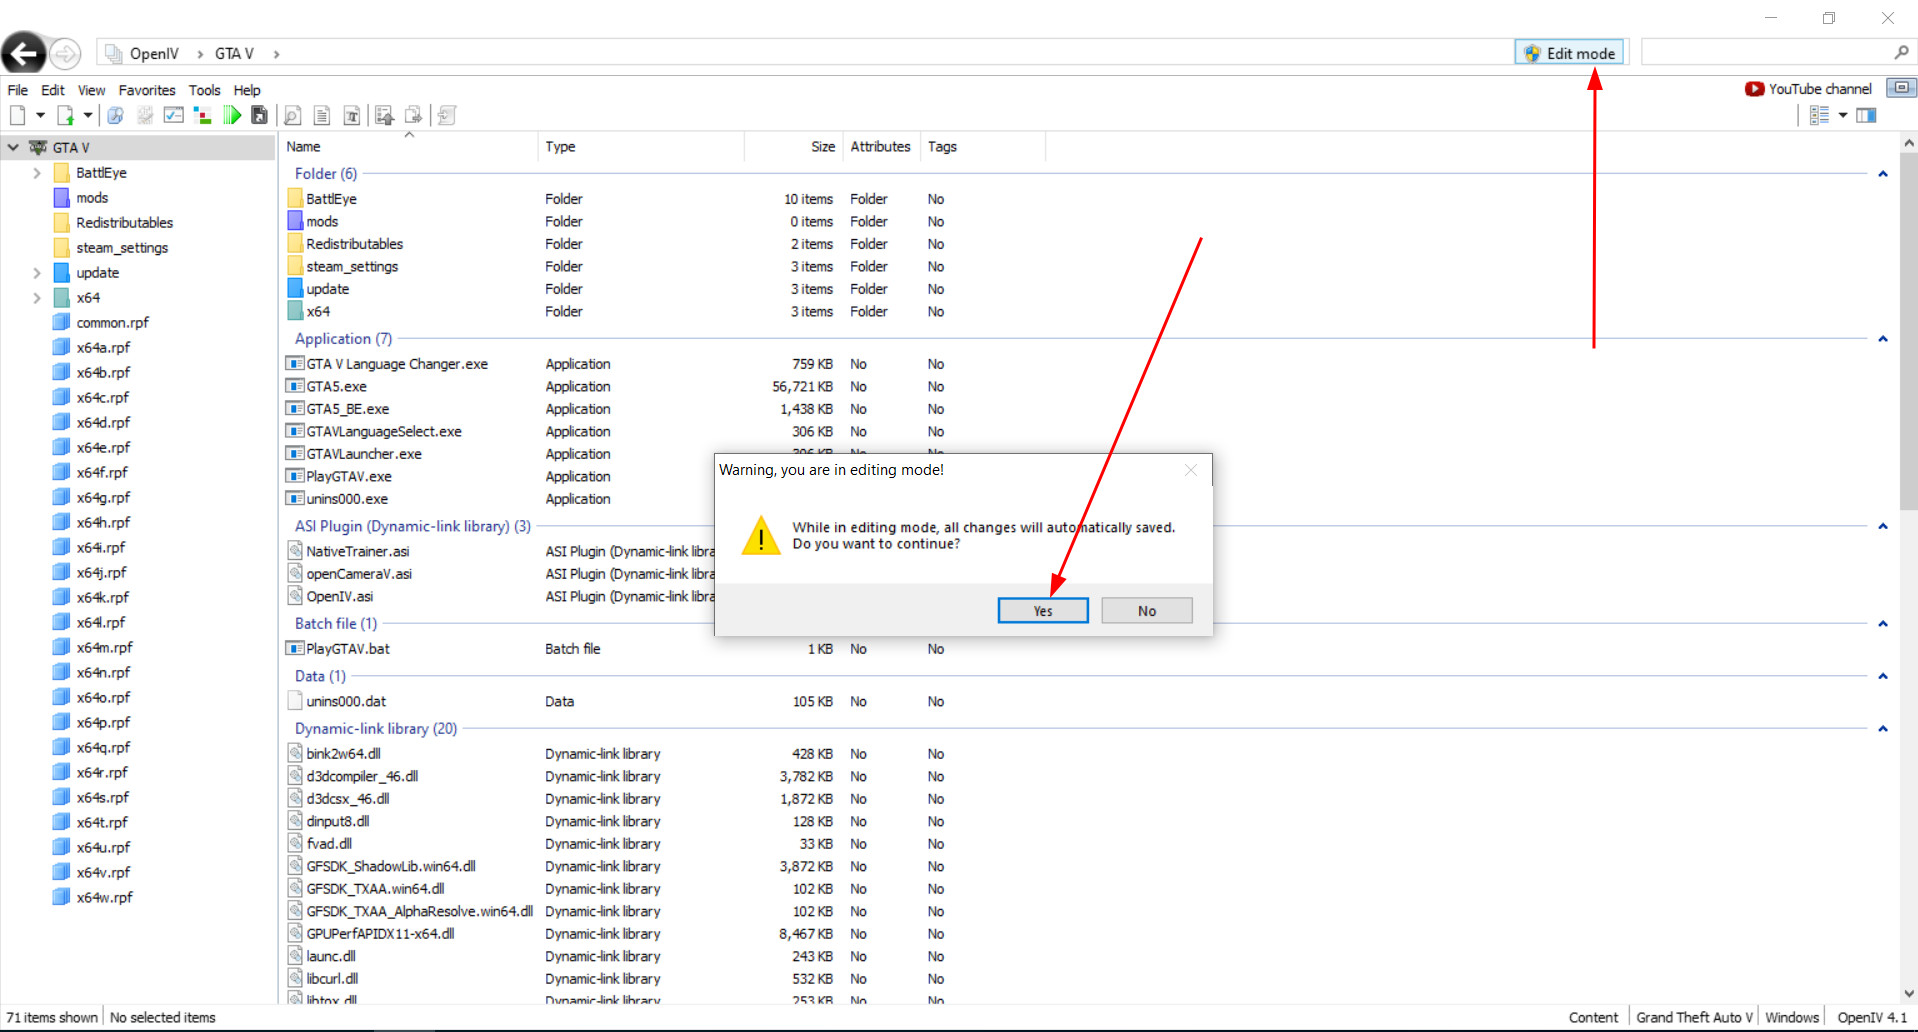
First, you need to launch Open IV, enable Edit Mode, then drag and drop the OIV file into the program window.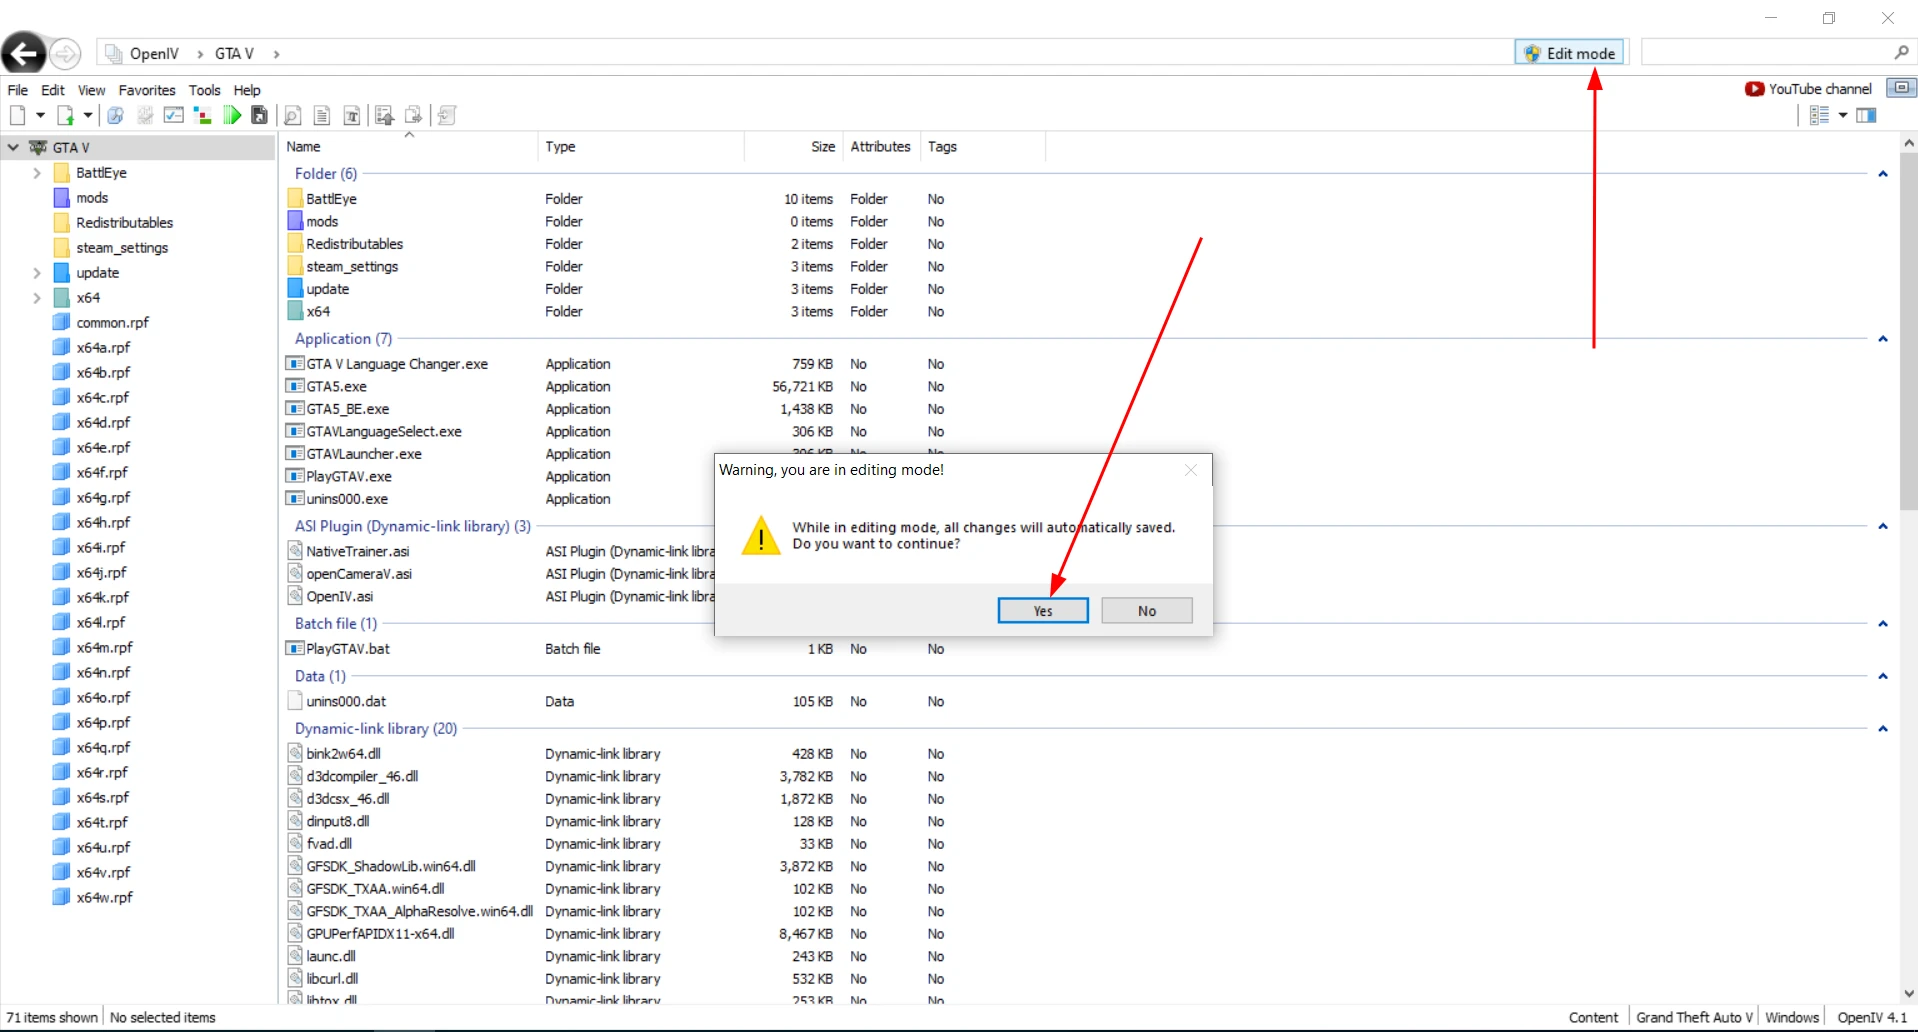
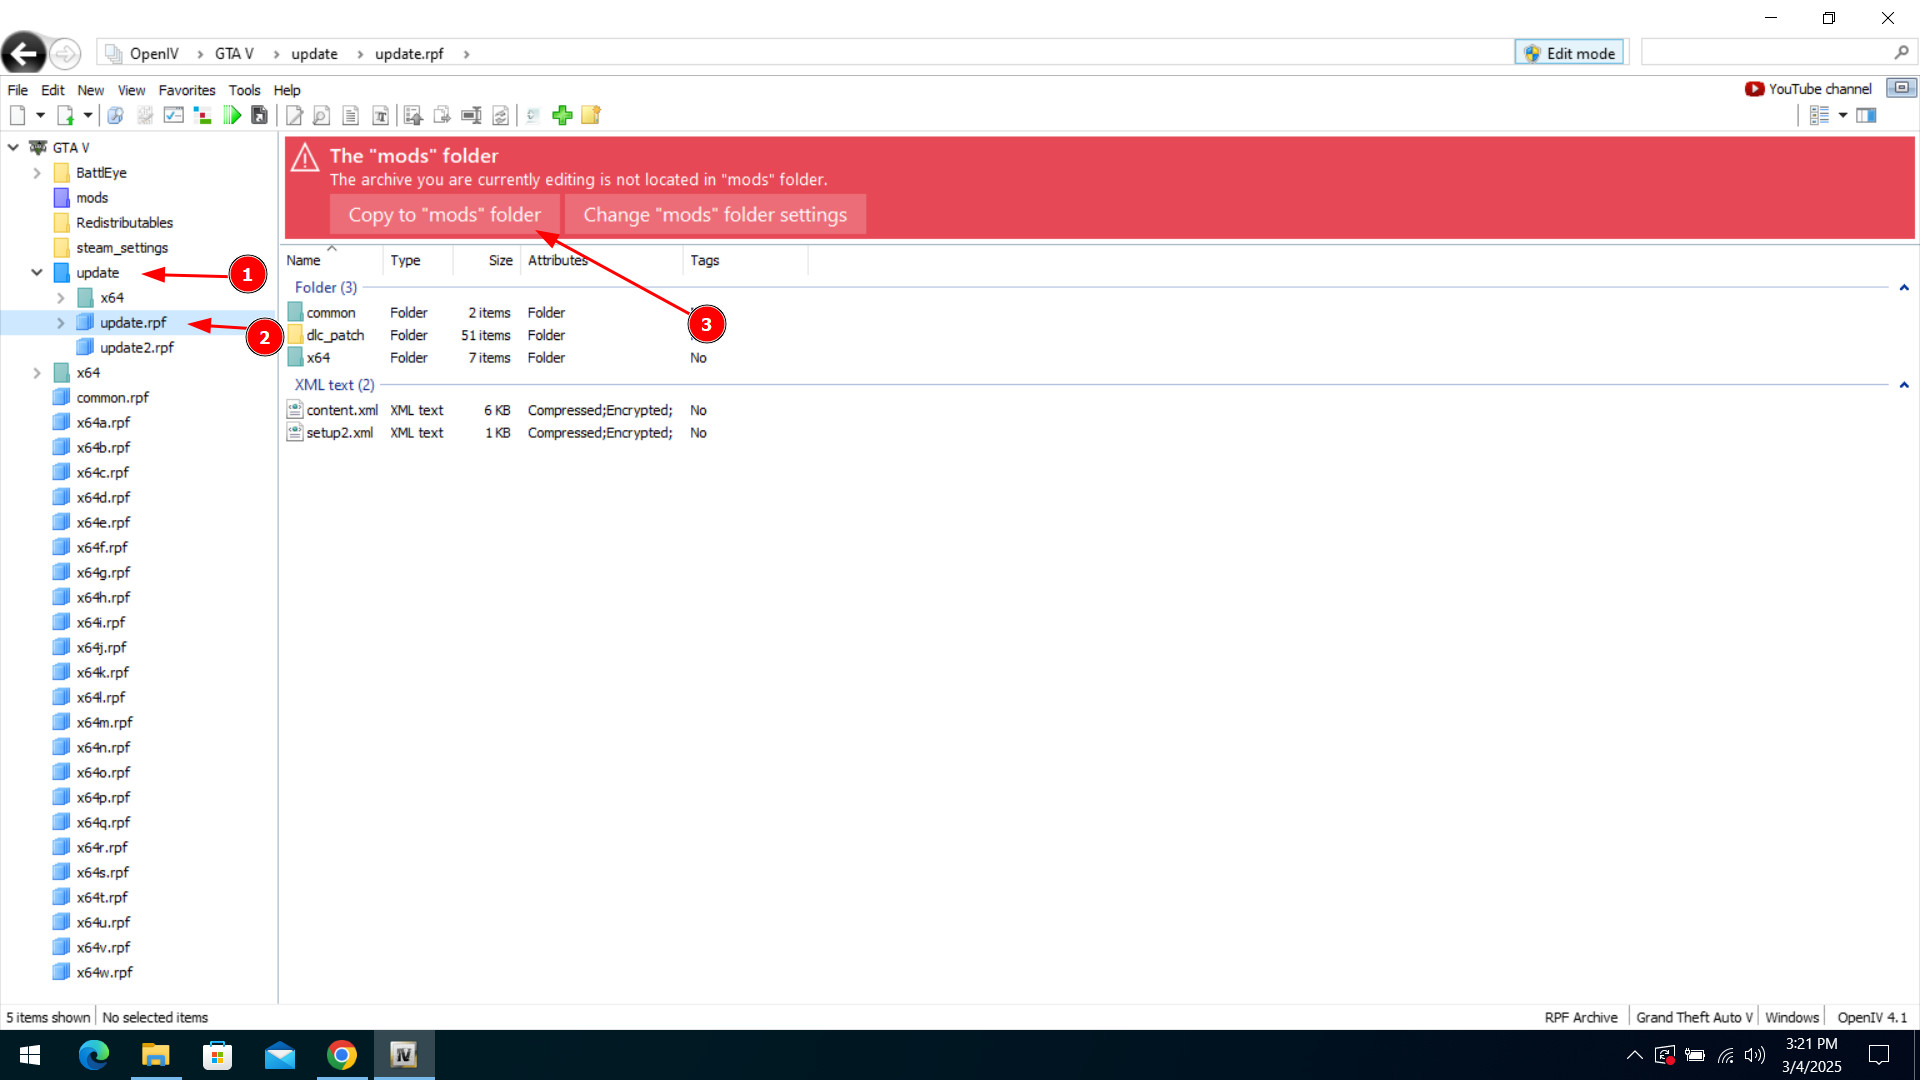
After that, the installation window will appear, where it is important to select the option to install in the mods folder, so as not to affect the original game files.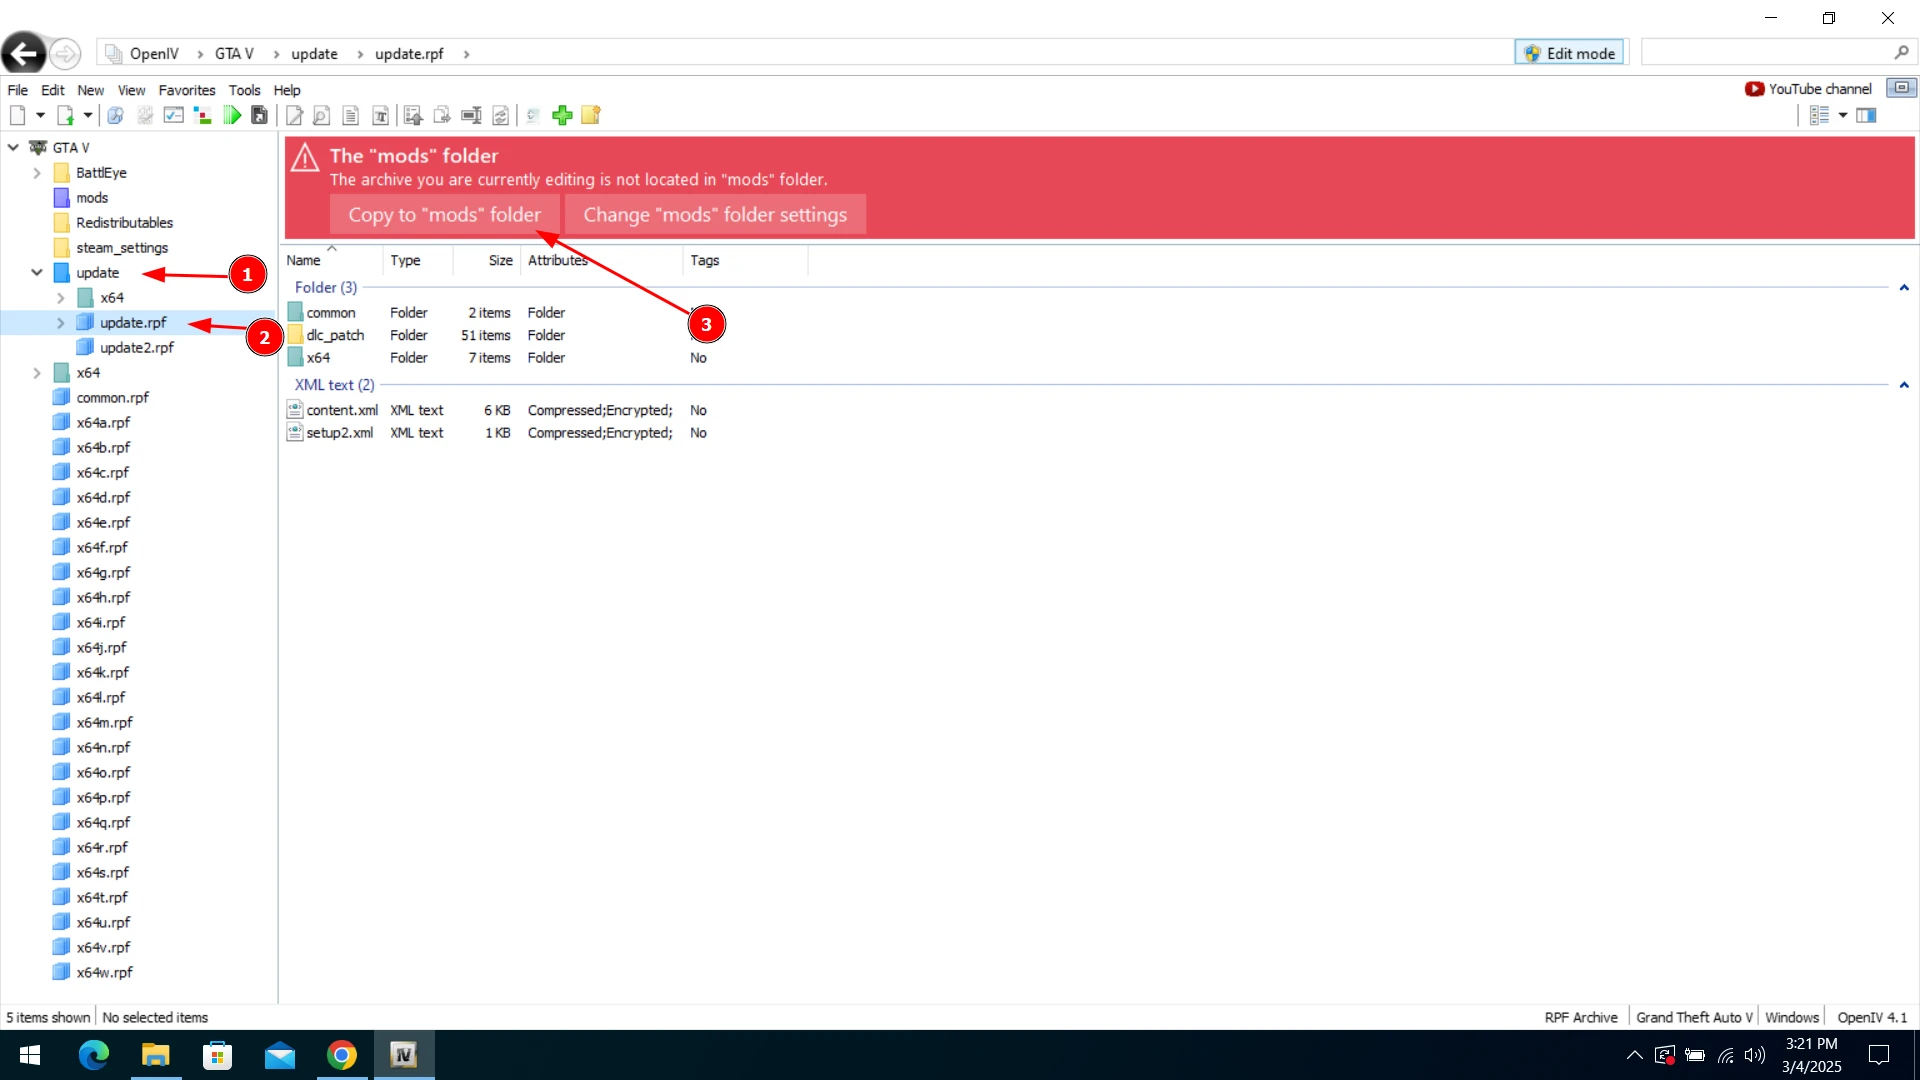
Copy mod file
Now you can install mods. For mods in .asi format, just copy the files to the root folder of the game. Script mods (.dll, .pdb) require the creation of a scripts folder, where they must be moved. OIV mods are installed via Open IV: enable Edit Mode, drag and drop the .oiv file into the program window, choose to install it in the mods folder.
If everything is installed correctly, you can safely go to the world of GTA 5 and enjoy the new features. Perhaps you will have crashes or errors - this is normal for modding. In this case, it is always useful to check the relevance of versions, read the discussions on the pages of downloaded mods and try to disable incompatible files. If some mod does not run - do not hurry to get upset, and try alternatives. For example, you can use a very handy tool for automatic installation of mods called GTA 5 mod installer. It allows you to easily install many modifications for this game.
Added by