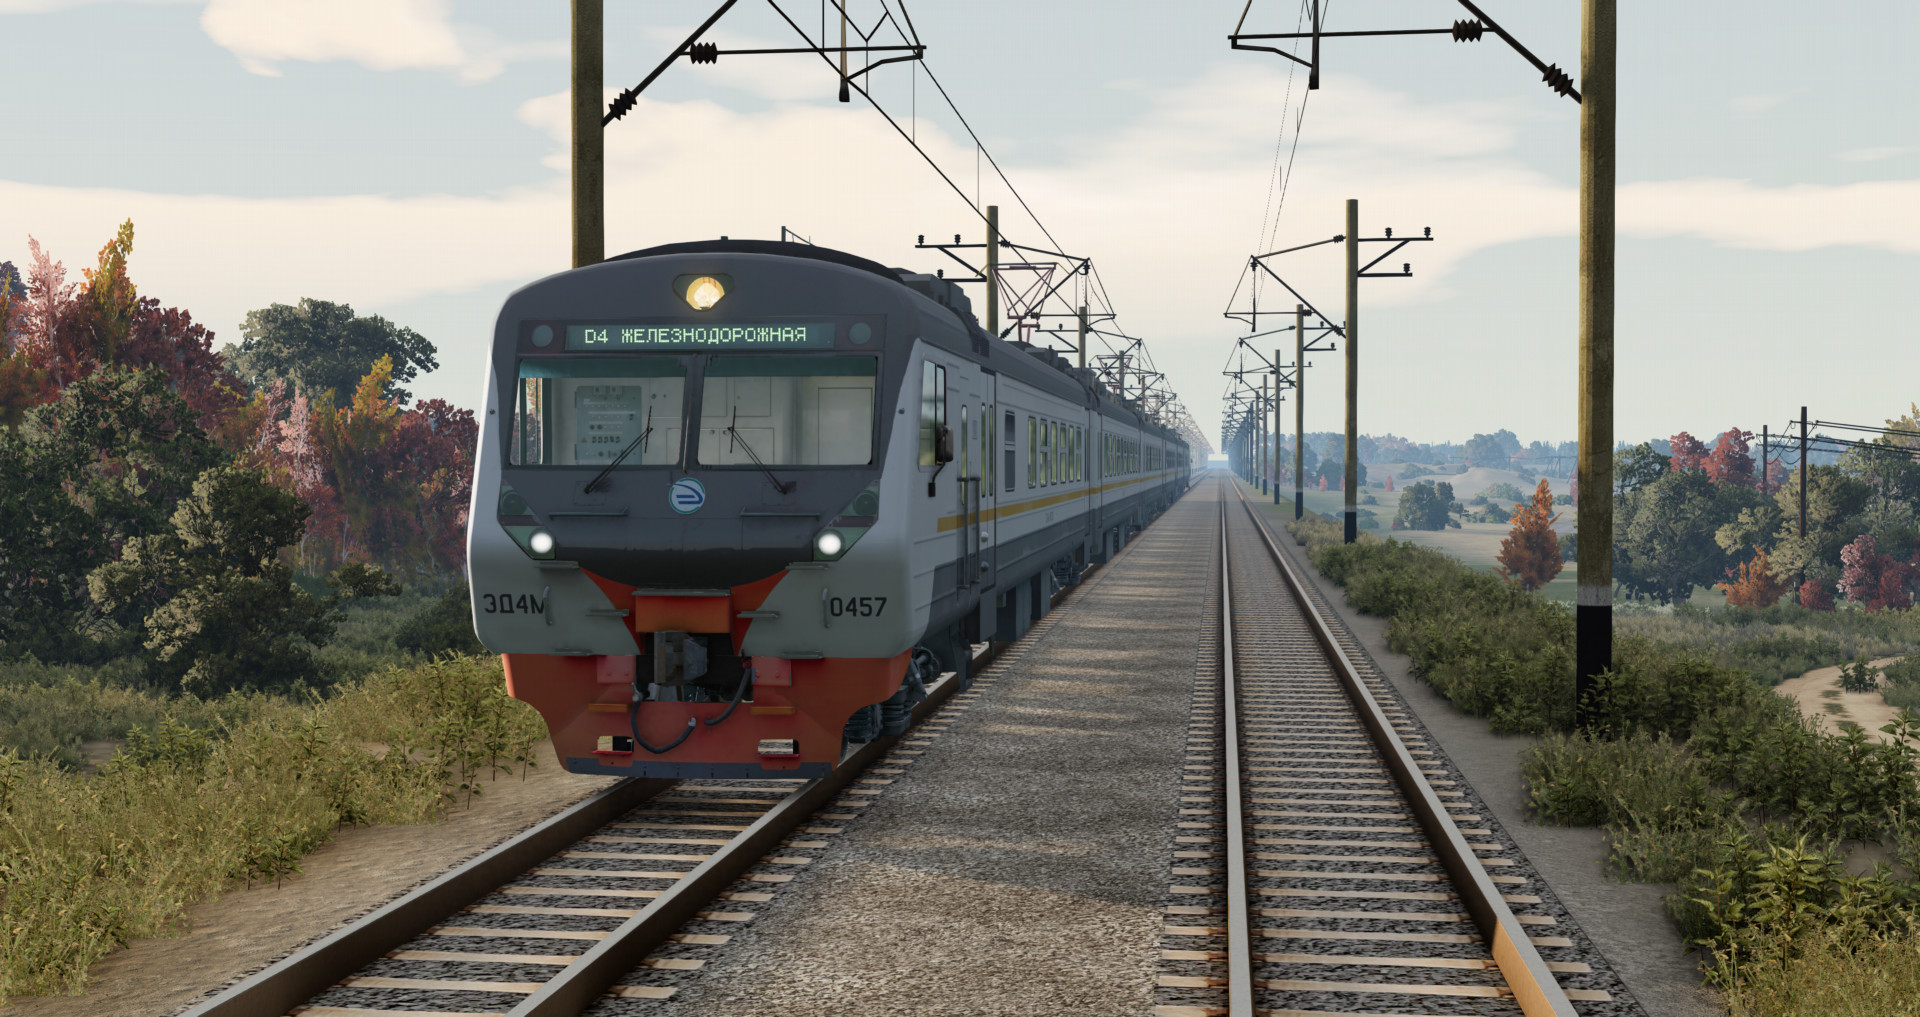
ED4M Russian EMU 1.0

![Lamborghini Urus [PACK]](https://temp2.modland.net/i/6a4a2a9c6e389/0_modland.webp)

5/5,
8
votes
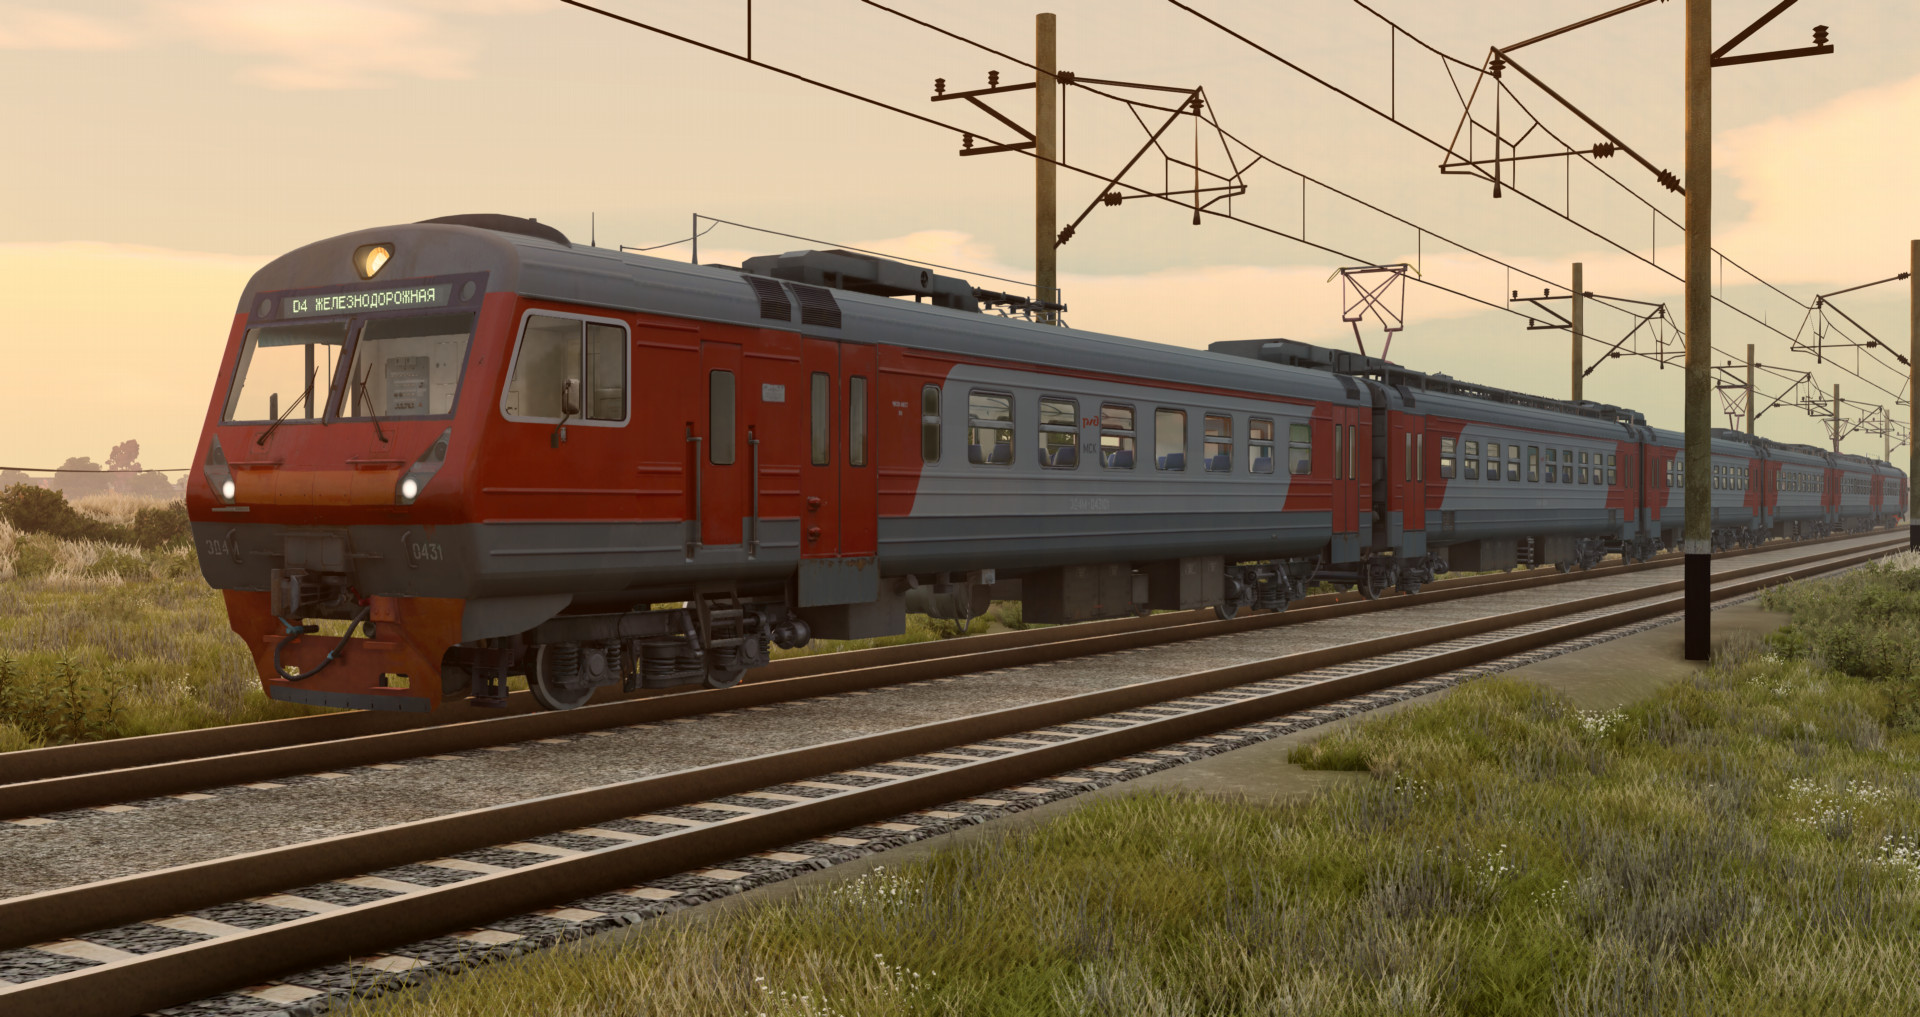
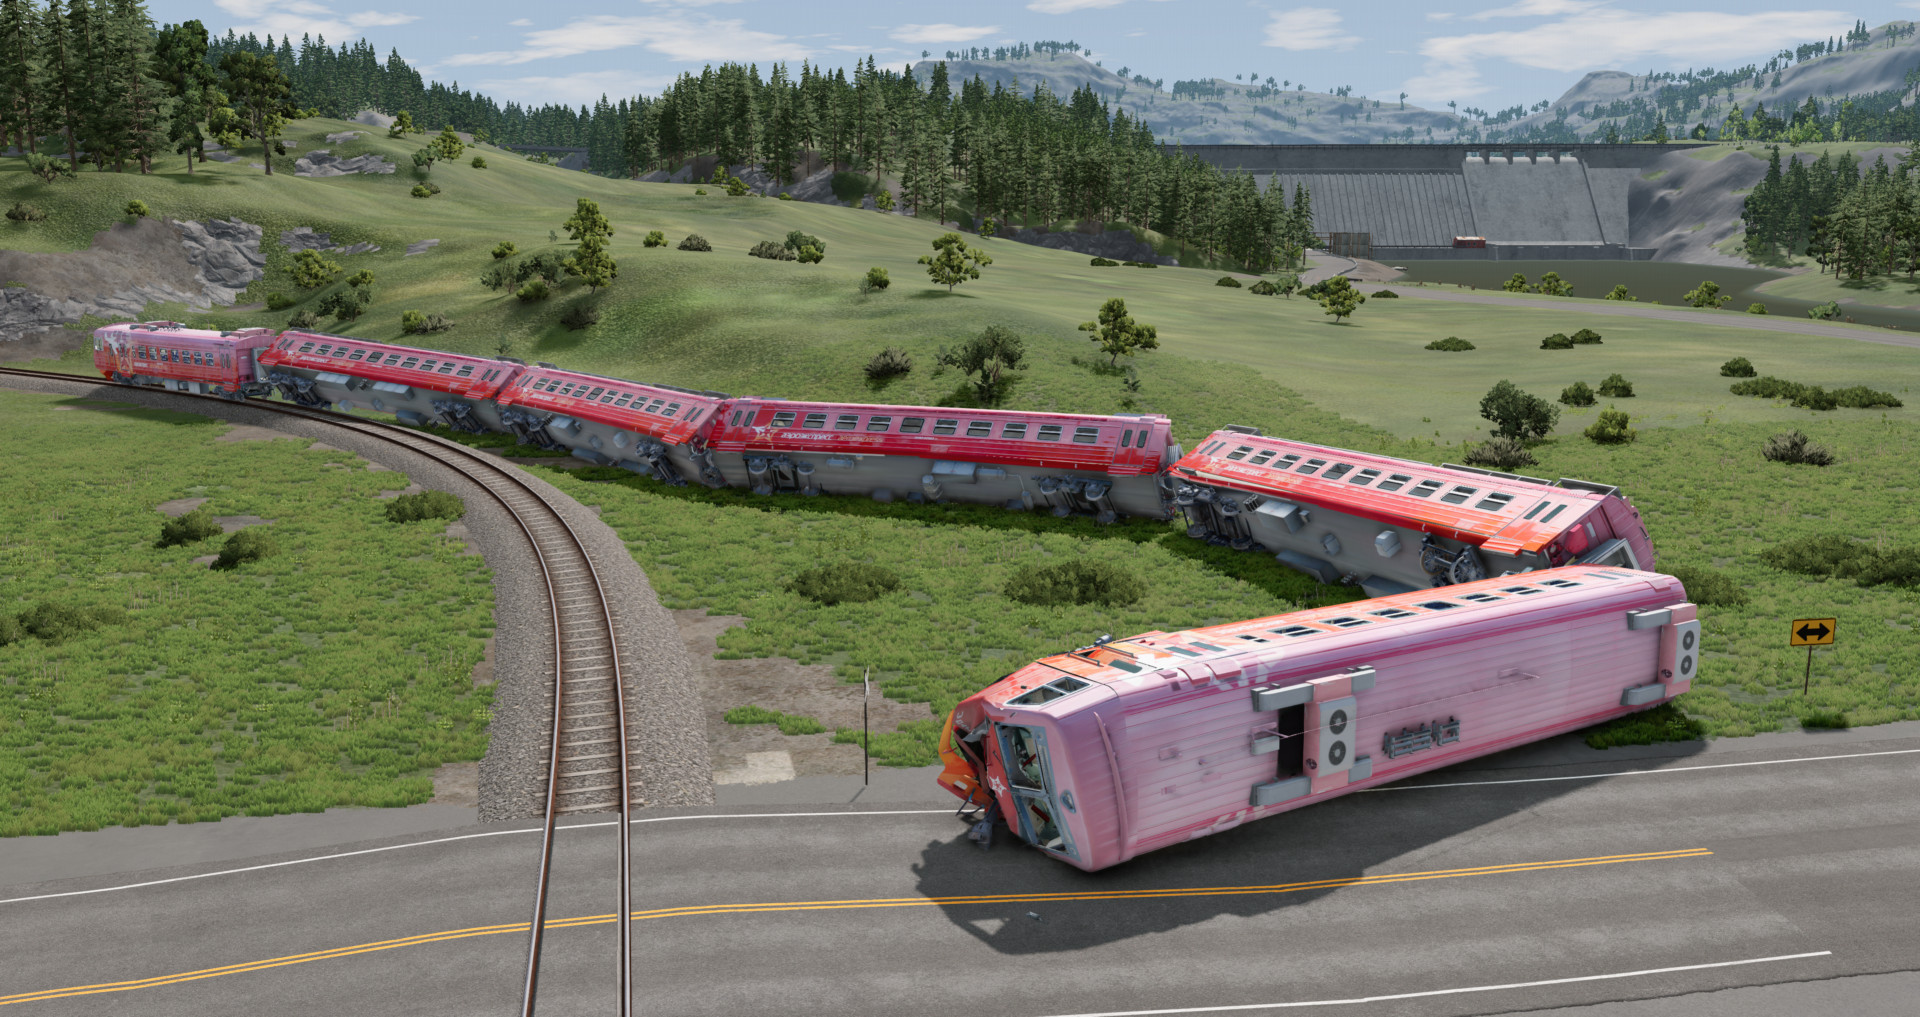
ED4M DC Russian EMU Train
The mod includes a head car, a trailer carriage, and a motor carriage. To install, simply drop the downloaded mod into the Mods folder.
- 24 configs, 12 liveries. (12 "Front", 12 "Rear" configs);
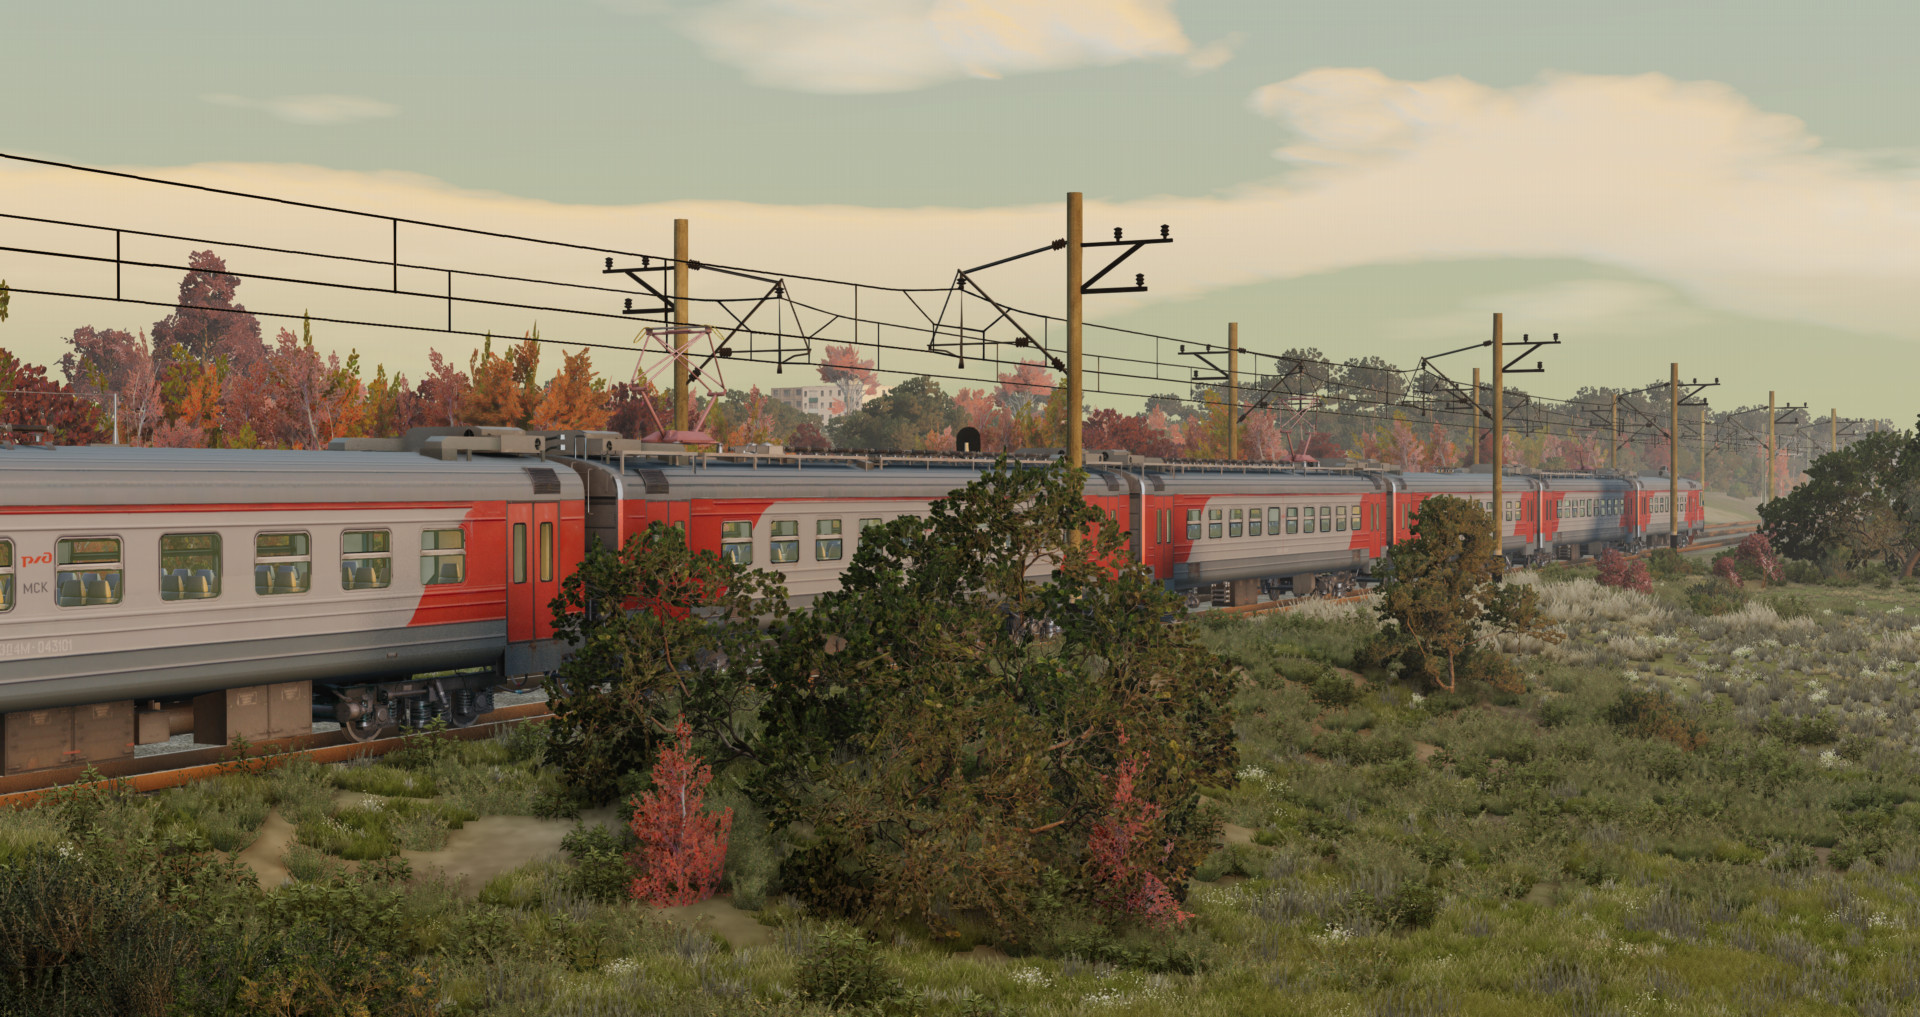
- CPPK and Russian Railways versions;
- Working lights (you can toggle front lights and main projector separately);
- Moving wheels;
- Realistic sounds;
- Seats with jbeam;
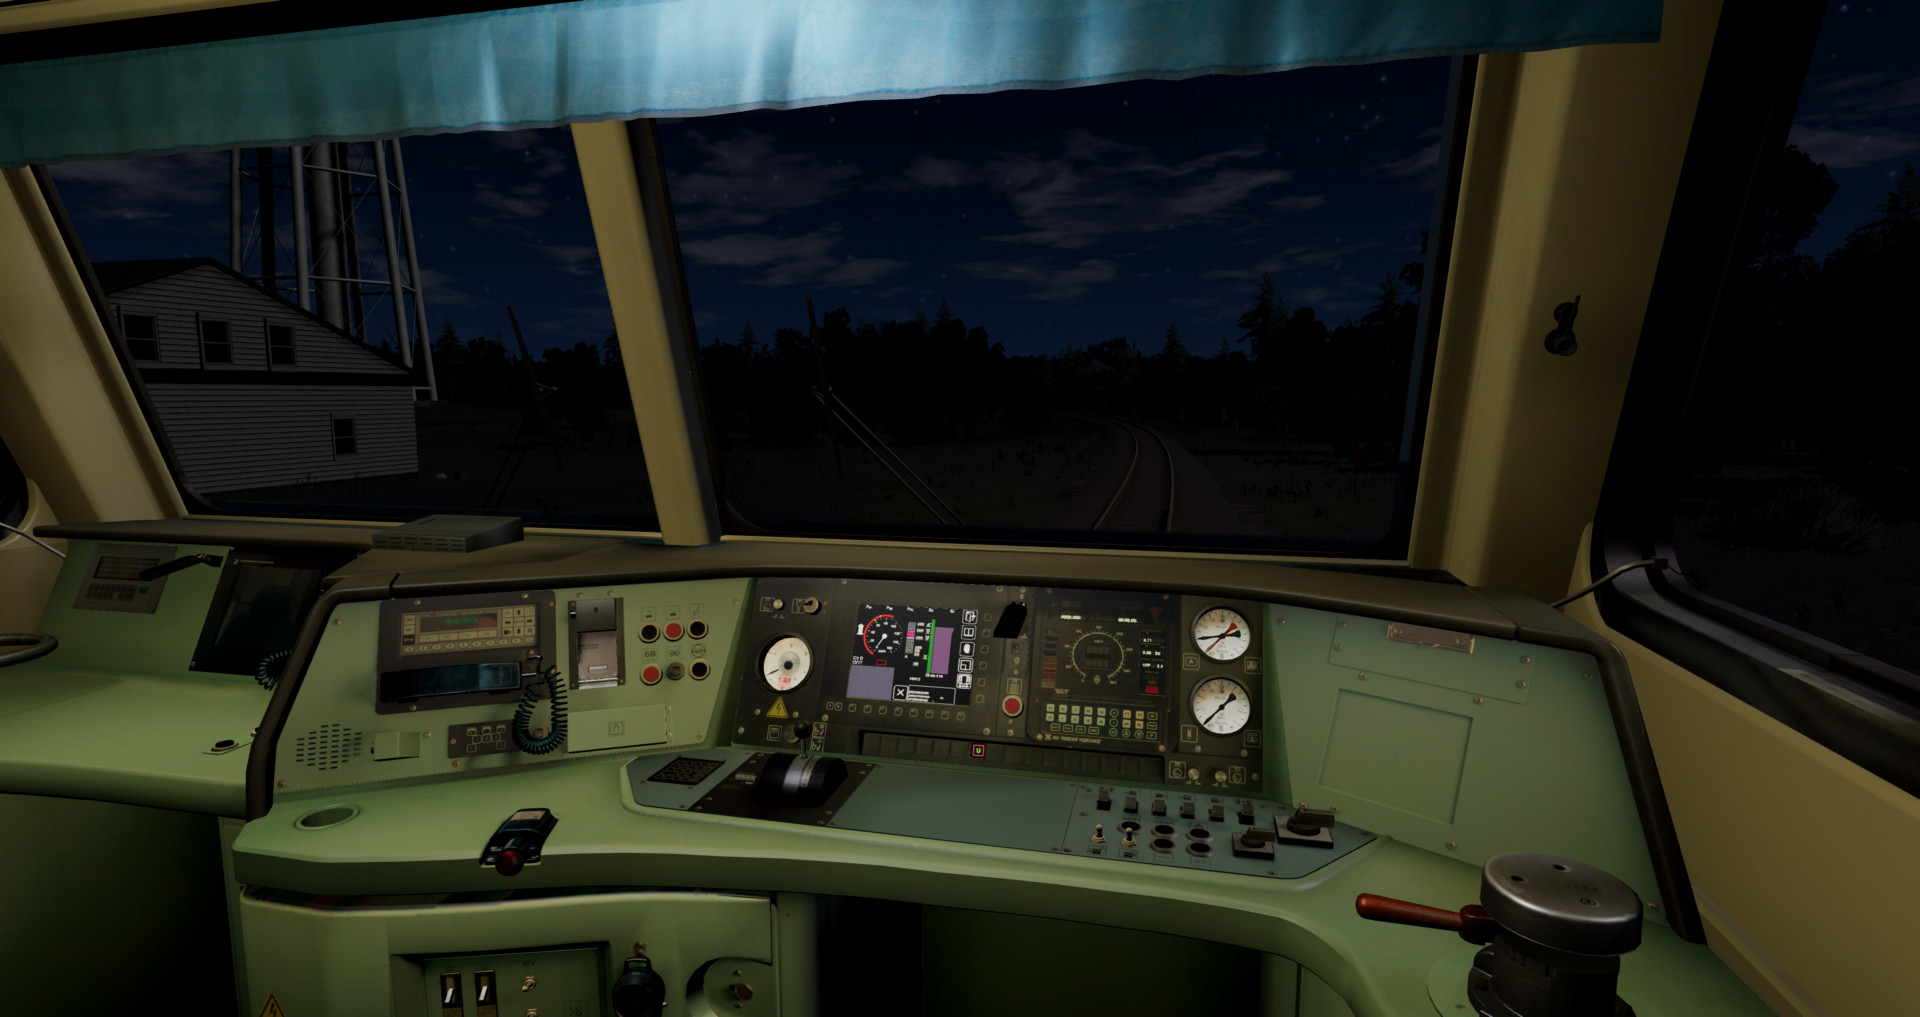
- Detailed cab;
- Realistic lighting in the cab and interior;
- Gauge Lightning in the cab;
- Working Gauges, animated buttons, brake indicators, speedometer. Some indicators are static;
- Working buttons with triggers (Front route display - control via the left control panel with triggers);
- Drives well.
- Doors work on turn signals.
Lead Car (ED4M) -
Configs marked "Front" are the front lead car, those marked "Rear" are the rear lead car;
Motor Carriage (ED4M Motor Carriage) -
Configs marked "Forward" are the front motor carriage, those marked "Backward" are the rotated motor carriage.
Assembling the train:
1. Place the ED4M lead car marked "Front" at the front of the train;
2. Place the Trailer/Motor Carriage behind it;
3. Copy the carriages in the World Editor by pressing F11 while holding down Shift, move them in the desired direction;
To rotate the motor carriage (one with pantograph) in the opposite direction - Select configs marked "Backward";
4. Place the ED4M lead car marked "Rear" at the end of the train;
5. Switch to the front lead car and press L, after which the first carriage should be coupled;
6. Switch to each last coupled carriage one by one by pressing Shift + L;
7. On the second-to-last car, behind which is the rear lead car, also press Shift + L;
8. Switch to the rear lead car, release the brakes by pressing Spacebar, and change direction (Alt + A);
9. If you pressed Shift + L on the second-to-last car, you will be able to press "W" and drive up to the carriages, and also press L;
10. Control the pantograph on motor carriages with Alt + N, switch to the front lead car, and start moving.
Controls:
H - Whistle.
T - Accelerate and press W
G - Slow down and press S
Alt + A - Change direction
K - Main projector;
I - Left Headlight;
O - Right Headlight;
[ - Left Lower Taillight;
] - Upper Taillights;
U - Cab Light;
B - Interior Light;
< - Left doors;
> - Right doors;
N - Gauge Lightning. (1 time - gauges on the right, 2 times - gauges on the left).
Y - Wipers;
Front route display control - via triggers on the left panel in the cab.
ED4M Motor Carriage/ED4M Carriage:
Alt + N - Raise pantograph;
B - Interior Light;
< - Left doors;
> - Right doors;
If the train doesnt move make sure it didnt get stuck in rails press f11 and lift it upwards slightly, if the train still doesnt move release air brakes (arrow down) and independent brakes (P / space bar) and shift into m1.
The mod includes a head car, a trailer carriage, and a motor carriage. To install, simply drop the downloaded mod into the Mods folder.
- 24 configs, 12 liveries. (12 "Front", 12 "Rear" configs);
- CPPK and Russian Railways versions;
- Working lights (you can toggle front lights and main projector separately);
- Moving wheels;
- Realistic sounds;
- Seats with jbeam;
- Detailed cab;
- Realistic lighting in the cab and interior;
- Gauge Lightning in the cab;
- Working Gauges, animated buttons, brake indicators, speedometer. Some indicators are static;
- Working buttons with triggers (Front route display - control via the left control panel with triggers);
- Drives well.
- Doors work on turn signals.
Lead Car (ED4M) -
Configs marked "Front" are the front lead car, those marked "Rear" are the rear lead car;
Motor Carriage (ED4M Motor Carriage) -
Configs marked "Forward" are the front motor carriage, those marked "Backward" are the rotated motor carriage.
Assembling the train:
1. Place the ED4M lead car marked "Front" at the front of the train;
2. Place the Trailer/Motor Carriage behind it;
3. Copy the carriages in the World Editor by pressing F11 while holding down Shift, move them in the desired direction;
To rotate the motor carriage (one with pantograph) in the opposite direction - Select configs marked "Backward";
4. Place the ED4M lead car marked "Rear" at the end of the train;
5. Switch to the front lead car and press L, after which the first carriage should be coupled;
6. Switch to each last coupled carriage one by one by pressing Shift + L;
7. On the second-to-last car, behind which is the rear lead car, also press Shift + L;
8. Switch to the rear lead car, release the brakes by pressing Spacebar, and change direction (Alt + A);
9. If you pressed Shift + L on the second-to-last car, you will be able to press "W" and drive up to the carriages, and also press L;
10. Control the pantograph on motor carriages with Alt + N, switch to the front lead car, and start moving.
Controls:
H - Whistle.
T - Accelerate and press W
G - Slow down and press S
Alt + A - Change direction
K - Main projector;
I - Left Headlight;
O - Right Headlight;
[ - Left Lower Taillight;
] - Upper Taillights;
U - Cab Light;
B - Interior Light;
< - Left doors;
> - Right doors;
N - Gauge Lightning. (1 time - gauges on the right, 2 times - gauges on the left).
Y - Wipers;
Front route display control - via triggers on the left panel in the cab.
ED4M Motor Carriage/ED4M Carriage:
Alt + N - Raise pantograph;
B - Interior Light;
< - Left doors;
> - Right doors;
If the train doesnt move make sure it didnt get stuck in rails press f11 and lift it upwards slightly, if the train still doesnt move release air brakes (arrow down) and independent brakes (P / space bar) and shift into m1.
External Download Links:
- Modsfire.com - ed4m_zlodikan.zip [202.3 MB]
- Sharemods.com - ed4m_zlodikan.zip [202.3 MB]
Direct Download Links
About Mod
| Latest Version | 1.0 |
| Game | BeamNG.drive |
| Category | Other |
| Game Version | 0.38.x |
| Downloads | 1927 |
| Created | 4 months ago |

![Lamborghini Urus [PACK]](https://temp2.modland.net/i/6a4a2a9c6e389/0_modland.jpg)


If you want to make doors with JBeam, you can use the code from the Wentward DT40L bus.
Cool mod 10/10, but it still has its flaws, and yes, in the jbeam files the author is listed as masuo, did you use TEM2 as a basis?
@Zlodikan https://www.beamng.com/resources/train-axle-system.6538/ I hope this resource will be useful to you in the future.
@wuser 1 yes