How to install Farming Simulator 19 mods: Detailed Guide!
-lg_modland.jpg)


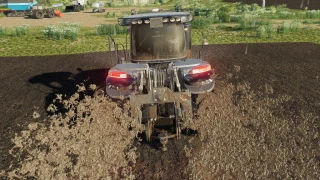
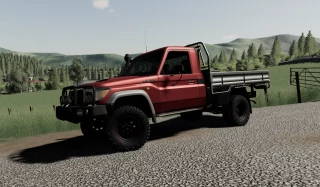
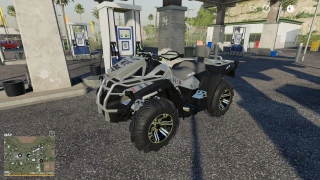
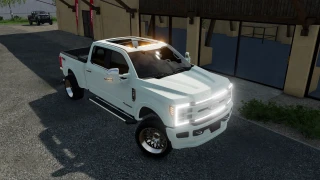
Mods are third-party add-ons that can add new tractors, vehicles, maps, buildings, scenarios and more to FS 19.
The developers have provided two main ways to install mods - through the in-game mod-hub and manually from external sites. Let's consider all the options for installing modifications in the game.
Installing mods via ModHub in-game
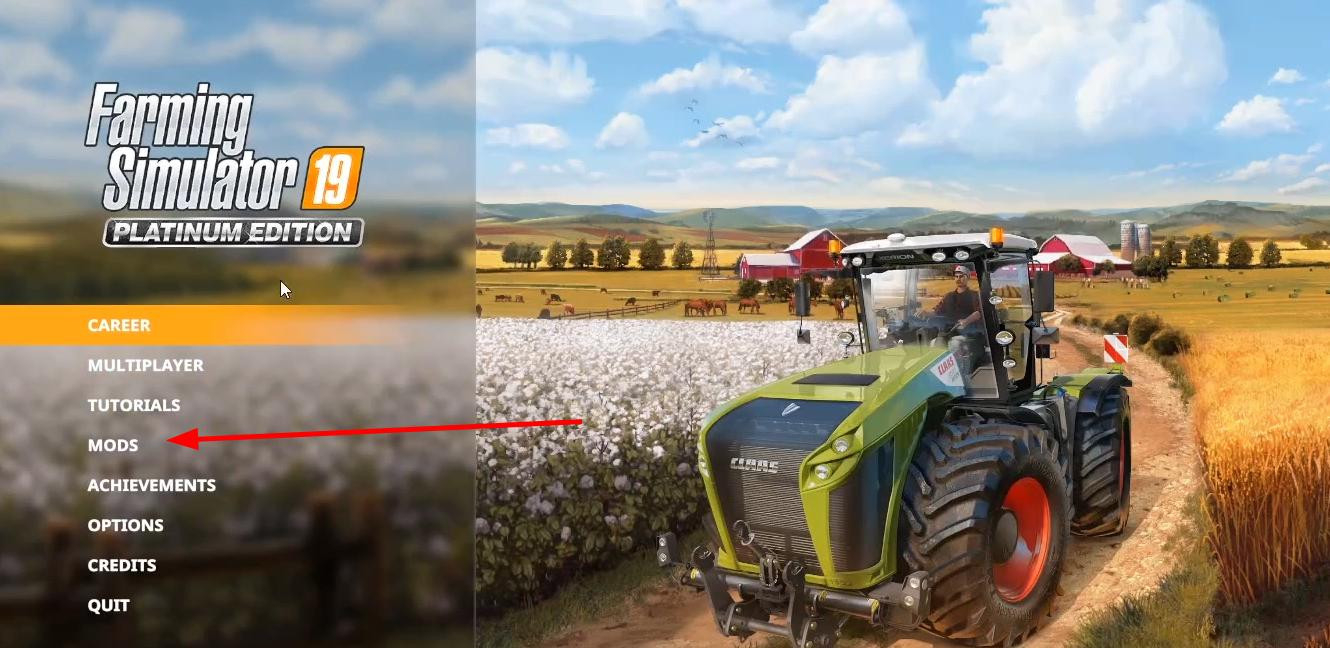
The easiest, fastest and safest way to add modifications to Farming Simulator 19 is to use the built-in ModHub. It is available directly from the main menu of the game. The method is good because it doesn't require any additional actions with files and you won't have to move anything manually. After launching the game, just select “Mods” or “ModHub” in the main menu.
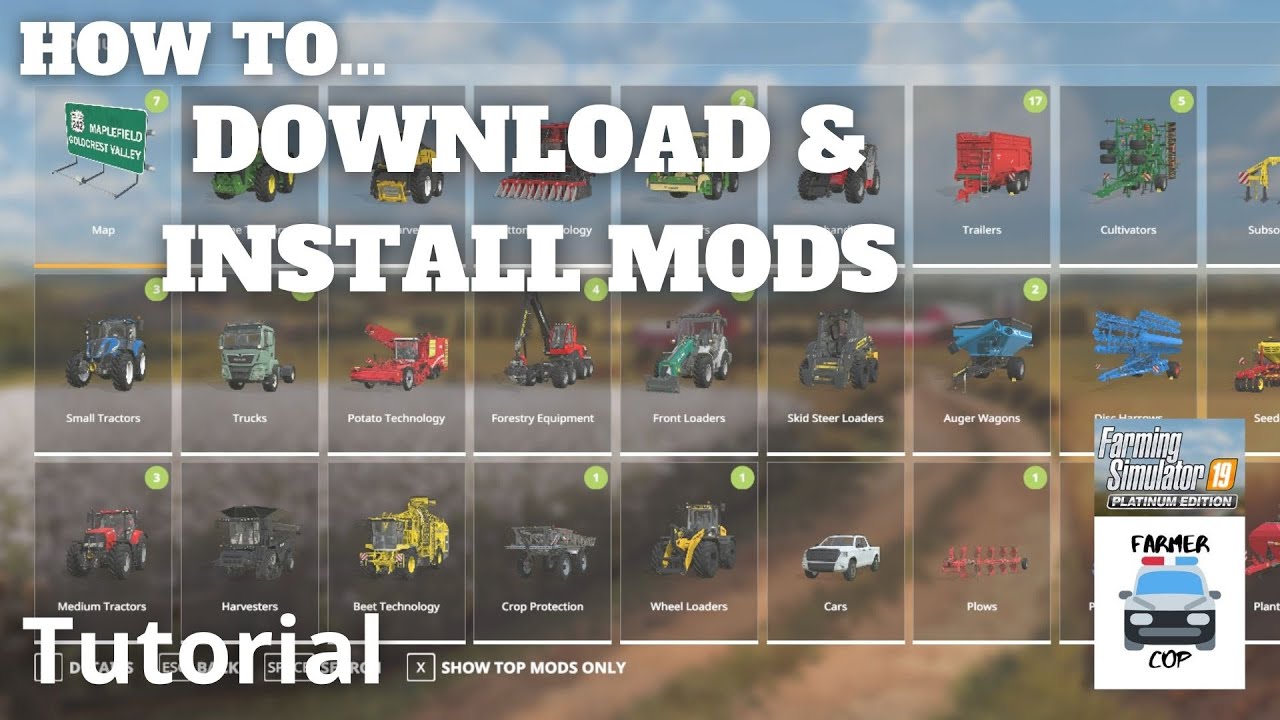
A convenient interface will open, where you can view mods by category: vehicles, maps, buildings, gameplay improvements and others.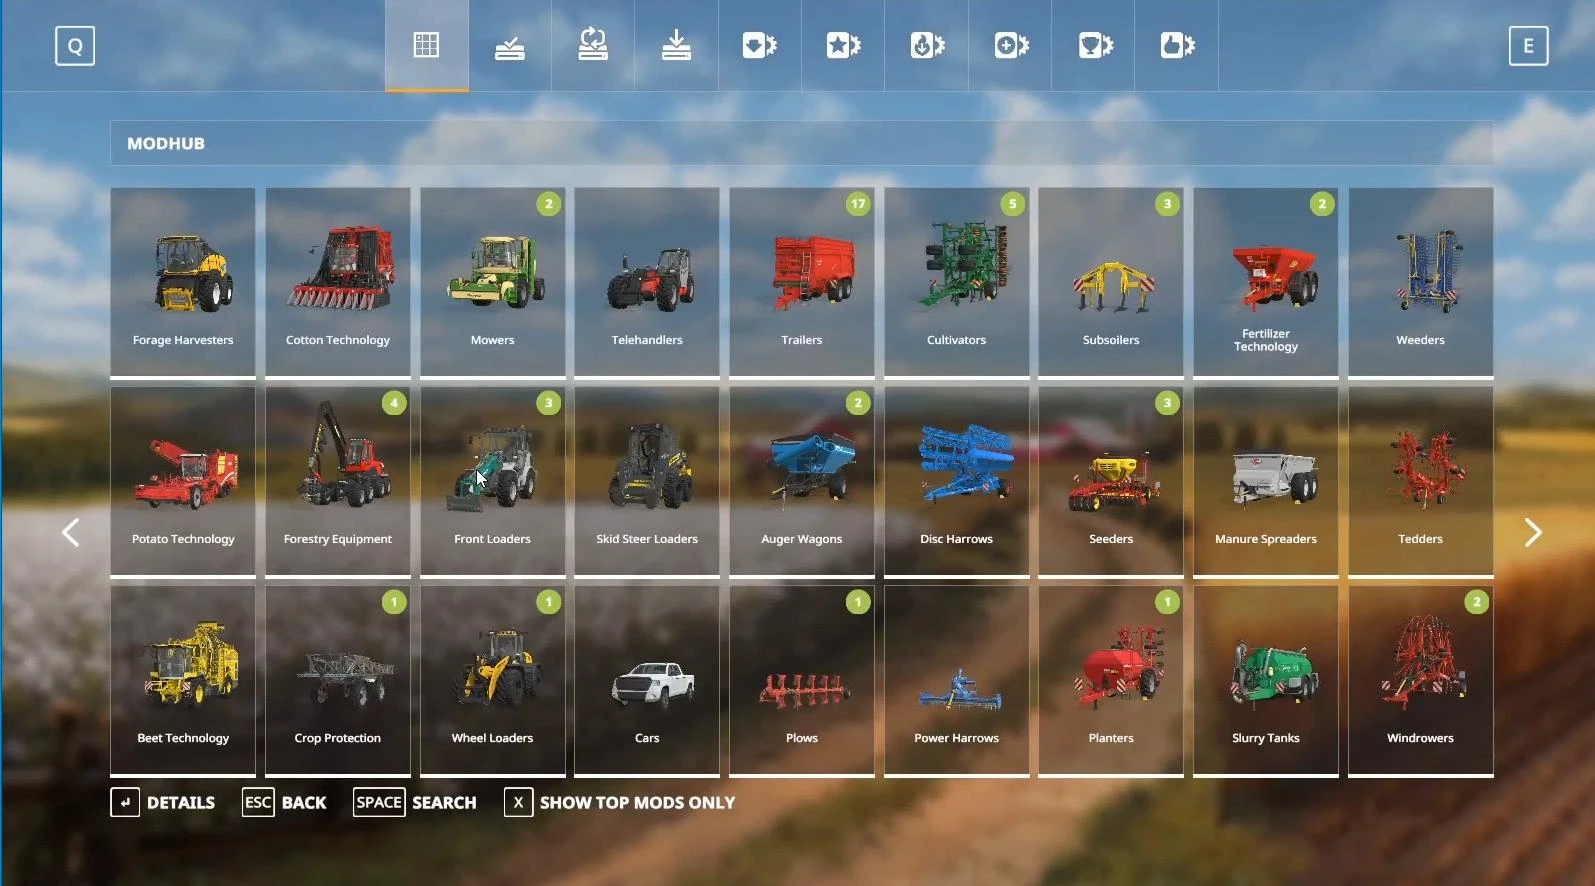
Each modification can be opened to read the description, see screenshots and find out the file size.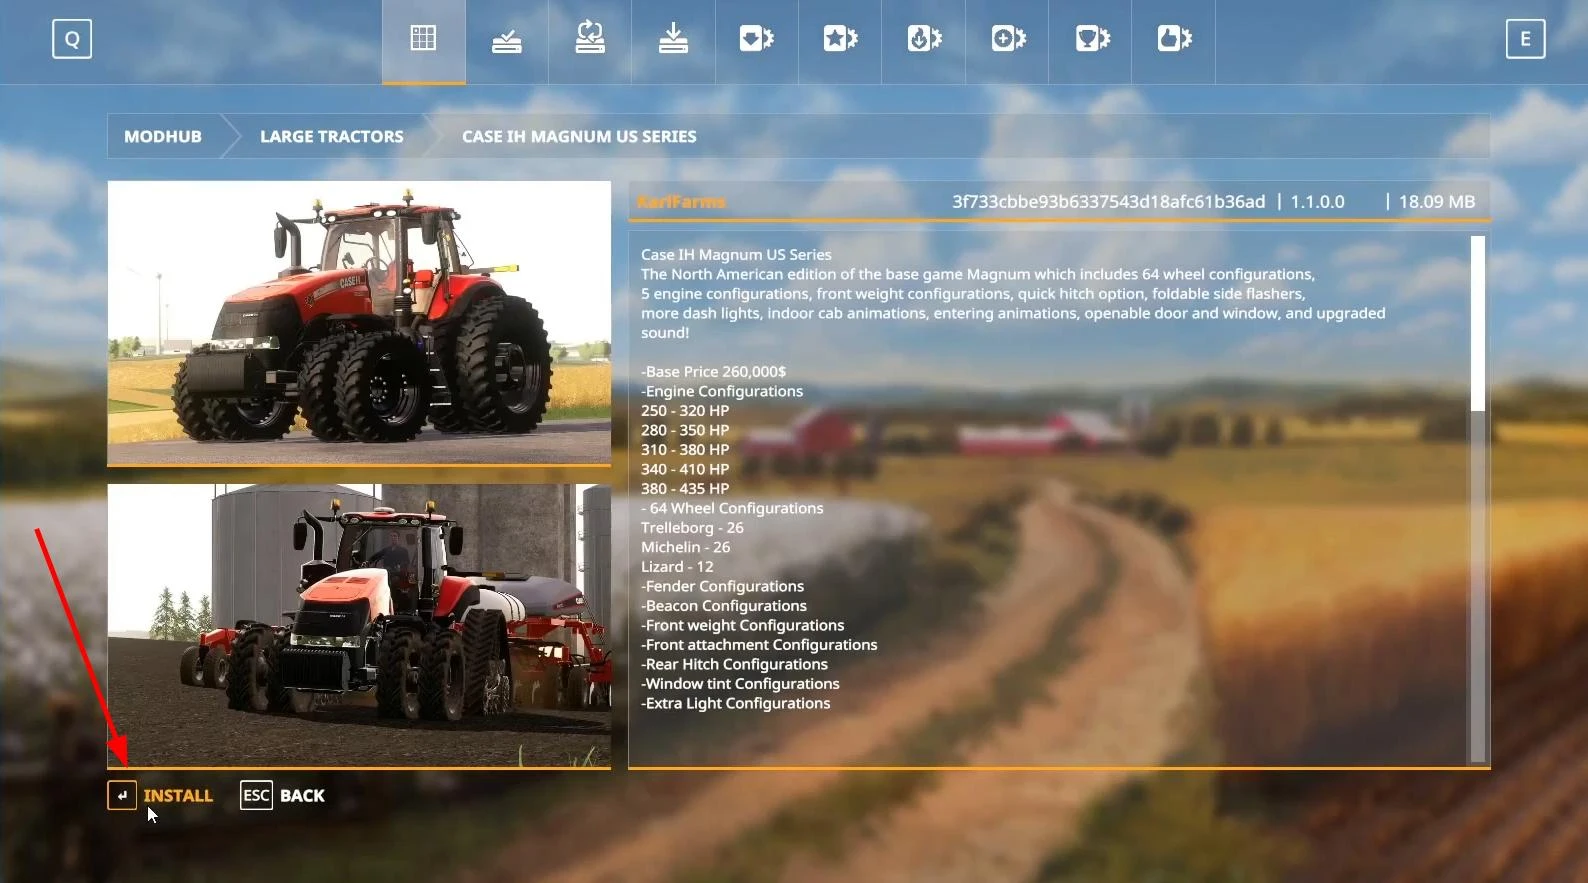
If the mod suits you, click the “Install” button. The download process will start automatically, and after its completion the game will offer to restart the client to make the mod active.
Manual installation of mods in FS 19
Manual installation of mods is most often used when the desired mod is not available in the official mod-hub. Usually such mods are downloaded in the form of ZIP-archives, and this is the format in which they should remain, you do not need to unpack them.
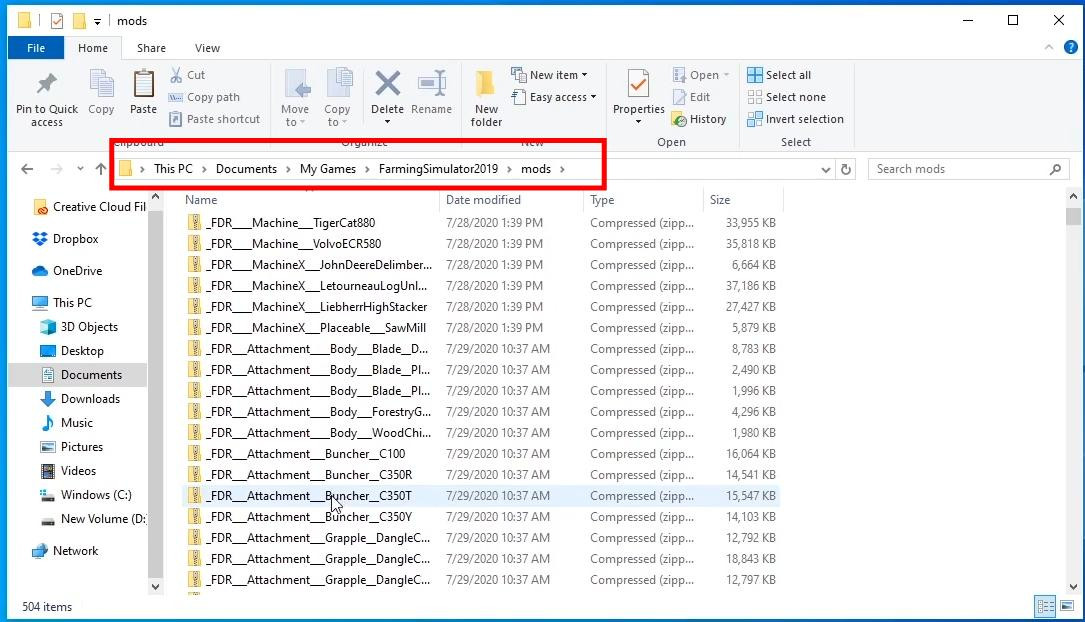
Once you have downloaded the mod, it must be moved to a special folder that the game uses to store all installed add-ons. On a Windows computer, this folder is usually located in the following path: Documents > My Games > FarmingSimulator2019 > mods.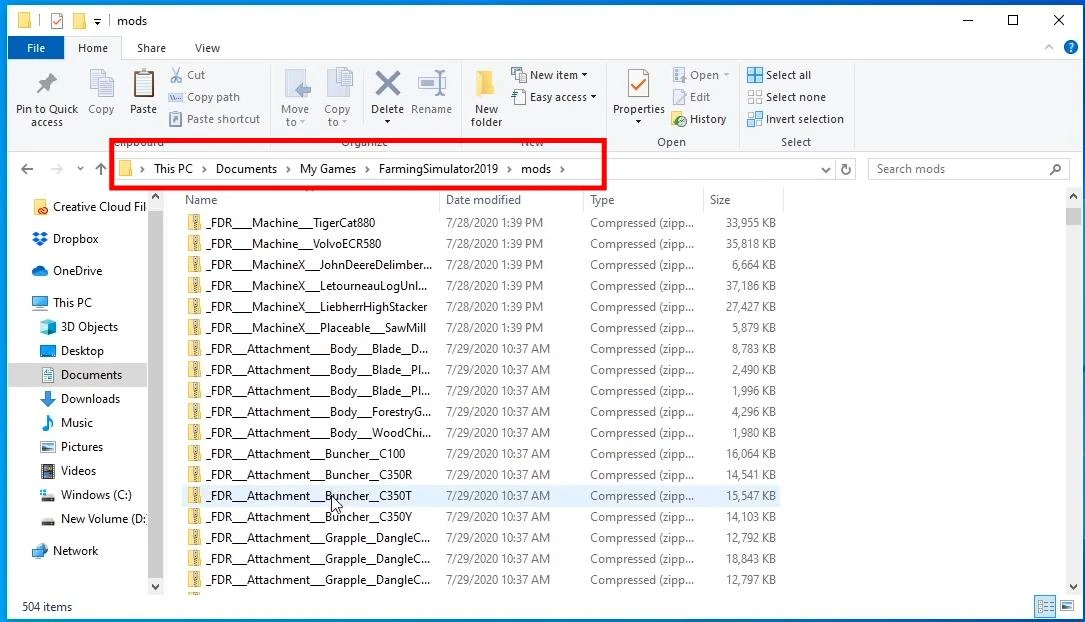
This directory may already contain other mods in ZIP format. Simply copy or move the downloaded archive to this folder.
Sometimes the downloaded archive may contain not the mod itself, but another archive inside. In this case, you should first open the main archive, extract the internal ZIP files from it and place them in the mods folder. If the archive contains files with .exe or .rar extensions, you will need an unpacking program. For ZIP-files built-in Windows features are usually enough, but RAR opens only through third-party software, such as 7Zip or WinRar.
After the mod was in the desired folder, restart the game, if it was open. Then when you start the game and select a map or create a new save, you will see a list of all available mods. To enable the necessary ones, just tick them before starting the game. If the mod is not displayed in the list, check its format, it should be exactly ZIP, and its name should not contain dots or dashes. Such symbols can lead to the fact that the game simply "will not see" the mod.
Additional features of installing mods on different operating systems
Farming Simulator 19 is also available on MacOS, and the process of installing mods on these systems is slightly different. For Mac users, it's important to know that the path to the mod folder differs depending on the version of the game.
If you installed FS19 through the official website or a third-party store, mods should be placed in the following folder: /Library/Application Support/FarmingSimulator2019/mods.
However, if the game is downloaded through the App Store, the path will be different: ~/Library/Containers/com.focus-home.farmingsim2019/Data/Library/Application Support/FarmingSimulator2019/mods. But the principle of installation remains the same - you copy the ZIP-file of the mod and paste it into the folder without unpacking. After that, restart the game, and the mod should appear in the list when you start a new map or save.
Players on consoles (PlayStation and Xbox) are a little less lucky - they are limited to only those mods that are available in the mod hub. It is impossible to install a mod from an external site on a console due to manufacturers' policies regarding security and copyright. This explains why many interesting mods are created only for PC. Because there are no such strict restrictions on them.
Also note that installed modifications are not automatically synchronized between versions of the game or devices. For example, if you played on the PC and moved to the console, you will have to re-search and install the necessary mods through the mod-hub. The same applies to reinstallation of the system - if you reinstalled Windows or bought a new computer, you need to save the mods folder in advance, so as not to lose all the content.
What to do if the mod does not work
Sometimes it happens that the mod is installed according to all the rules, but in the game it is not displayed or causes errors. Most often the problem is solvable.
The first reason is an incorrect archive format. In the mods folder you need to put a ZIP-file with game files, not a folder or archive inside the archive. If there are other ZIP-files inside the ZIP, it is a mod-pack. In that case, you only need to extract the individual mods.
The second reason is the presence of invalid characters in the archive name. Farming Simulator 19 may not read the mod if its name contains dots, dashes or special characters. Simply reimunite the file, replacing the prohibited characters with underscores or simply removing them. For example, john-deere-v3.5.zip should be renamed to john_deere_v3_5.zip.
The third reason is version conflict. The mod may not work if the game is outdated. Check compatibility and do not put mods with the same functions - it causes errors and crashes.
If a mod is installed, but does not appear in the list of active modifications when you start the map, try uninstalling it, restart your computer, move the archive to the mods folder again and restart the game. This often helps.
If nothing helps, be sure to check the game log file (log.txt in the FarmingSimulator2019 folder) - you can find detailed information about the error there.
How to remove mods from Farming Simulator 19
If the mod was installed manually, you just need to open the mods folder at Documents > My Games > FarmingSimulator2019 > mods and delete the required ZIP file.
However, if you have already started the game with this mod and it was used in the save, then after deleting it, the save may fail to load or give an error. Before deleting, make sure that this mod is not used anywhere else. Especially if it involves vehicles, buildings or map elements.
If you installed a mod through the in-game mod-hub, you can remove it directly from the game interface. To do this, go to the "Mods" section in the main menu, then find the desired mod and select the "Uninstall" option. After confirmation, the game will automatically delete all files associated with this add-on. But you will be able to install the deleted mod again at any time if you want.
Videos
Added by