How to Install Maps on Minecraft: Step-By-Step Guide
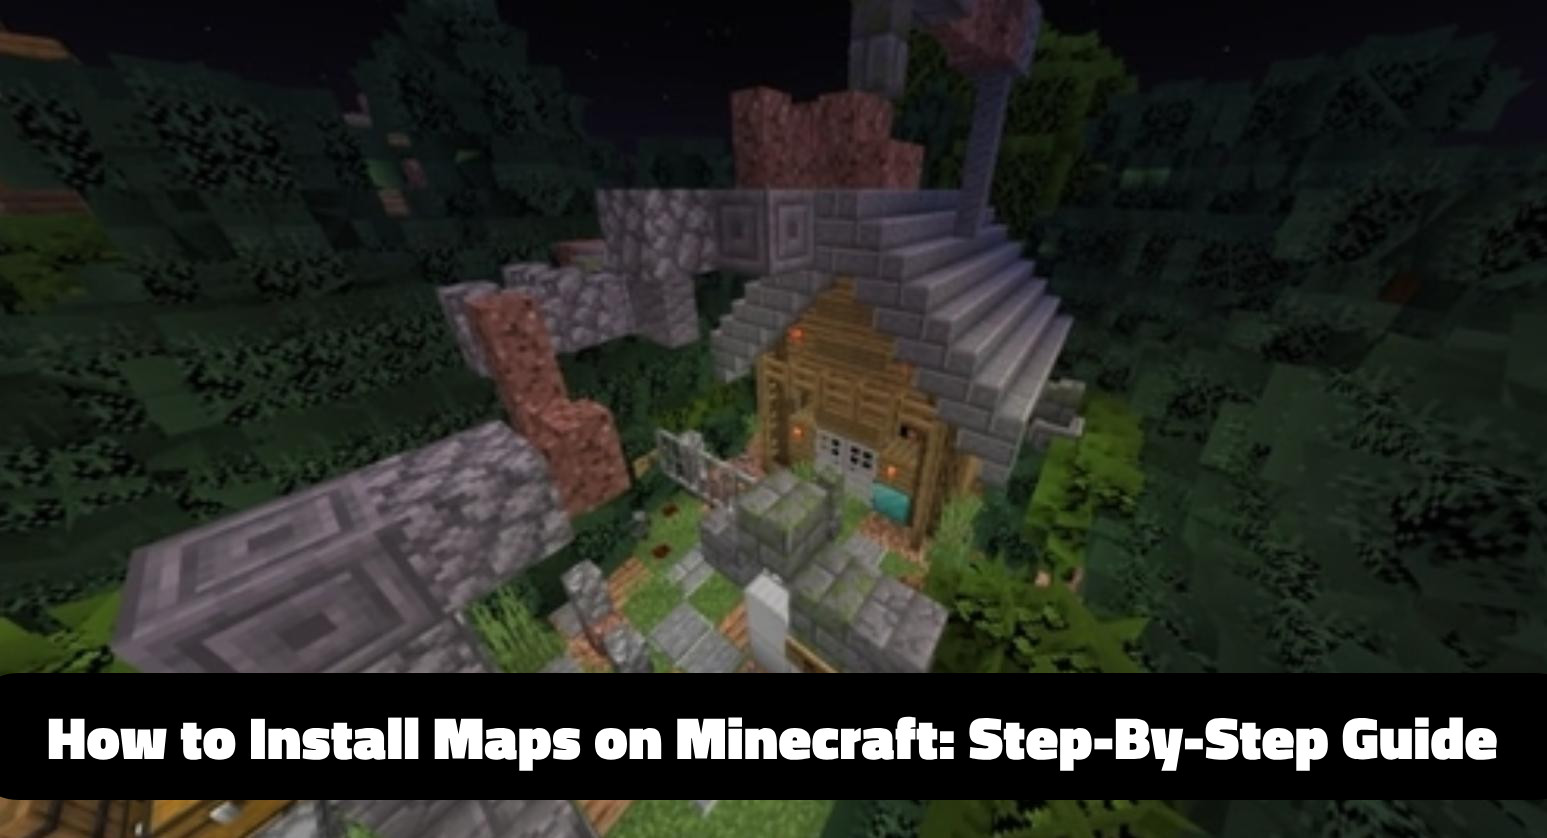
A map in Minecraft is a custom world with buildings, tasks, mechanisms and even mini-games. To install a map, you need to keep in mind a few simple steps.
1. Make sure the version of the map matches your game. The version information is usually listed in the title or description. It is better to use exactly the version for which the map was created to avoid errors. Running on a different version may cause commands and mechanics to work incorrectly.
2. Download the map and unzip the archive. These are usually .zip, .rar, or .7z files. Use 7-Zip or WinRar. This will give you a folder with the map files (level.dat, region, etc.).
3. Copy the folder with the map to the following directory:
makefileCopyEditC:\Users\UserName\AppData\Roaming\.minecraft\saves
Make sure you copy the folder with the map contents, not the archive or a subfolder.
4. Start Minecraft, select single-player, and open the map. It will appear in the list of worlds and you can start playing immediately.
Optional: if there are texturepacks or mods in the archive - they also need to be installed manually. Texturepacks go in .minecraft/resourcepacks, mods - in .minecraft/mods (requires Forge or Fabric).
For TLauncher the installation path is the same. The main thing is to choose the right version of the game.
If the map does not work: check the folder structure, version compatibility and integrity of the archive.
Added by
![NeoForge Installer [Minecraft 1.21.1, 1.20.6 - 1.20.1]](https://i2.modland.net/i/66c5cbeb7e5ee/neoforge_modland.jpg)
![Timeless and Classics Zero (TaCZ) [Minecraft 1.20.1, 1.19.2, 1.18.2]](https://i2.modland.net/i/669683678b42d/description_0ac47139-8e79-4b76-8a0c-d79bcb9039df_modland.jpg)

![Armor Durability HUD [Minecraft 1.21.4, 1.21.3, 1.21.2, 1.21.1, 1.21]](https://i2.modland.net/i/674bc2c2c404b/190618141923060623_modland.jpg)
![[1.5] THE DROPPER](https://li1.modland.net/minecraft/maps/thumbnail/th_ModLandNet_1.jpg)
_modland.jpg)
_modland.jpg)