How to Install a Skin in Minecraft (Java Edition)
-lg_modland.jpg)


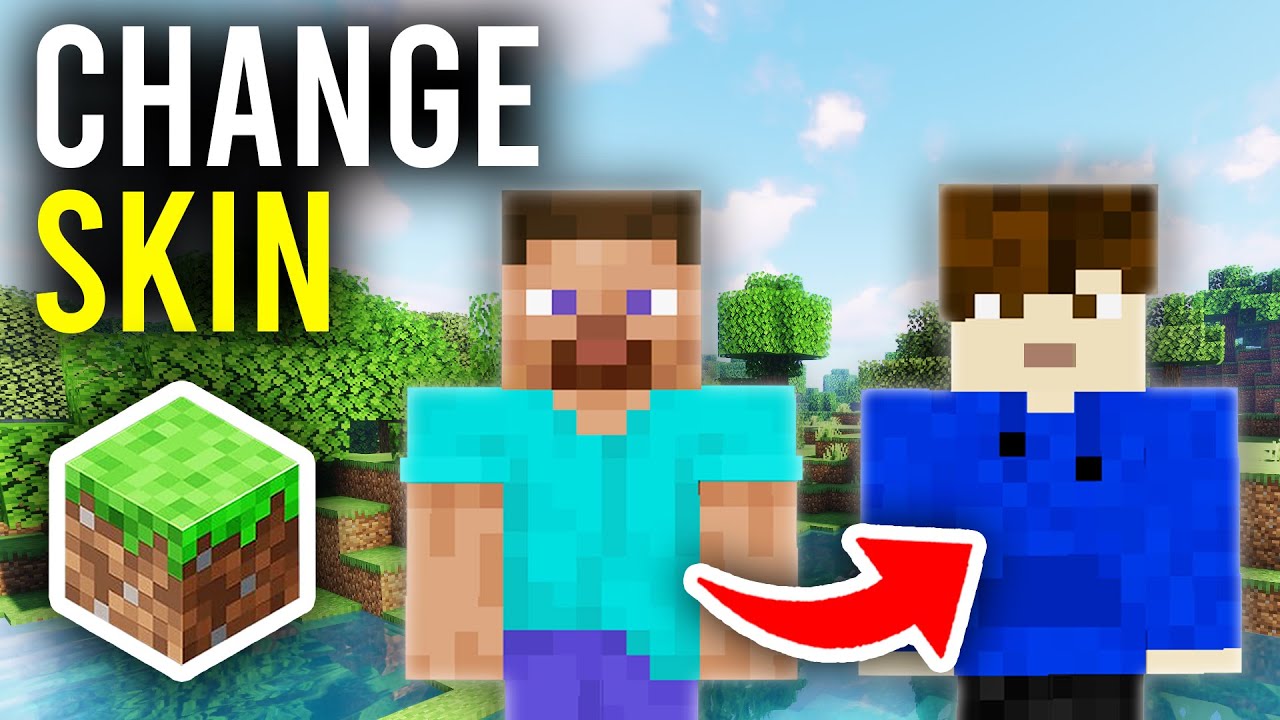
The appearance of the character in Minecraft reflects his personality and specialty. And since Minecraft is most often played online, the appearance of the character is especially important. Do you want your character looks unusual? For example, in the form of a spider man, or hulk? Use skins! Skin allows you to stand out among others, create a recognizable image or recreate your favorite hero.
But then you will ask yourself the question - how to install a skin in Minecraft? This is what we will talk about in this material.
Downloading a new Minecraft skin
You should start by selecting a new skin. In the network there are many sites where you can download a free skin for Minecraft. Type in a Google search for something like - “download skins for Minecraft”, go to the site from the first page and download your favorite skin.
However, be careful when choosing a site to avoid infecting your computer with a virus. Use only trusted sites for downloading!
Installing the skin via Minecraft Launcher
When the skin is downloaded, close your browser and open Minecraft Launcher. Wait for it to fully load, then select Minecraft: Java Edition from the left menu if it is not automatically selected. Go to the Skins tab, which is located at the top of the interface.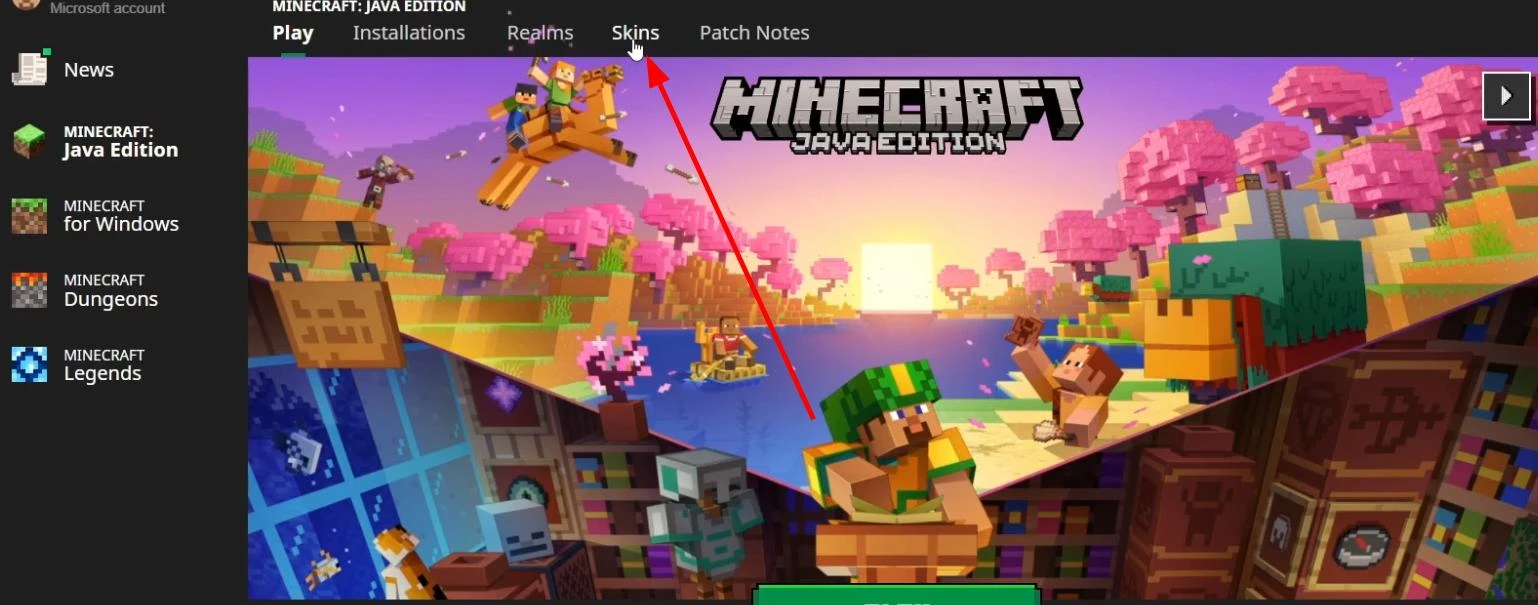
In the menu that opens, click New Skin to add a new variant. A form will appear where you can set a name for the skin - for example, “Gamer” or “New Image”.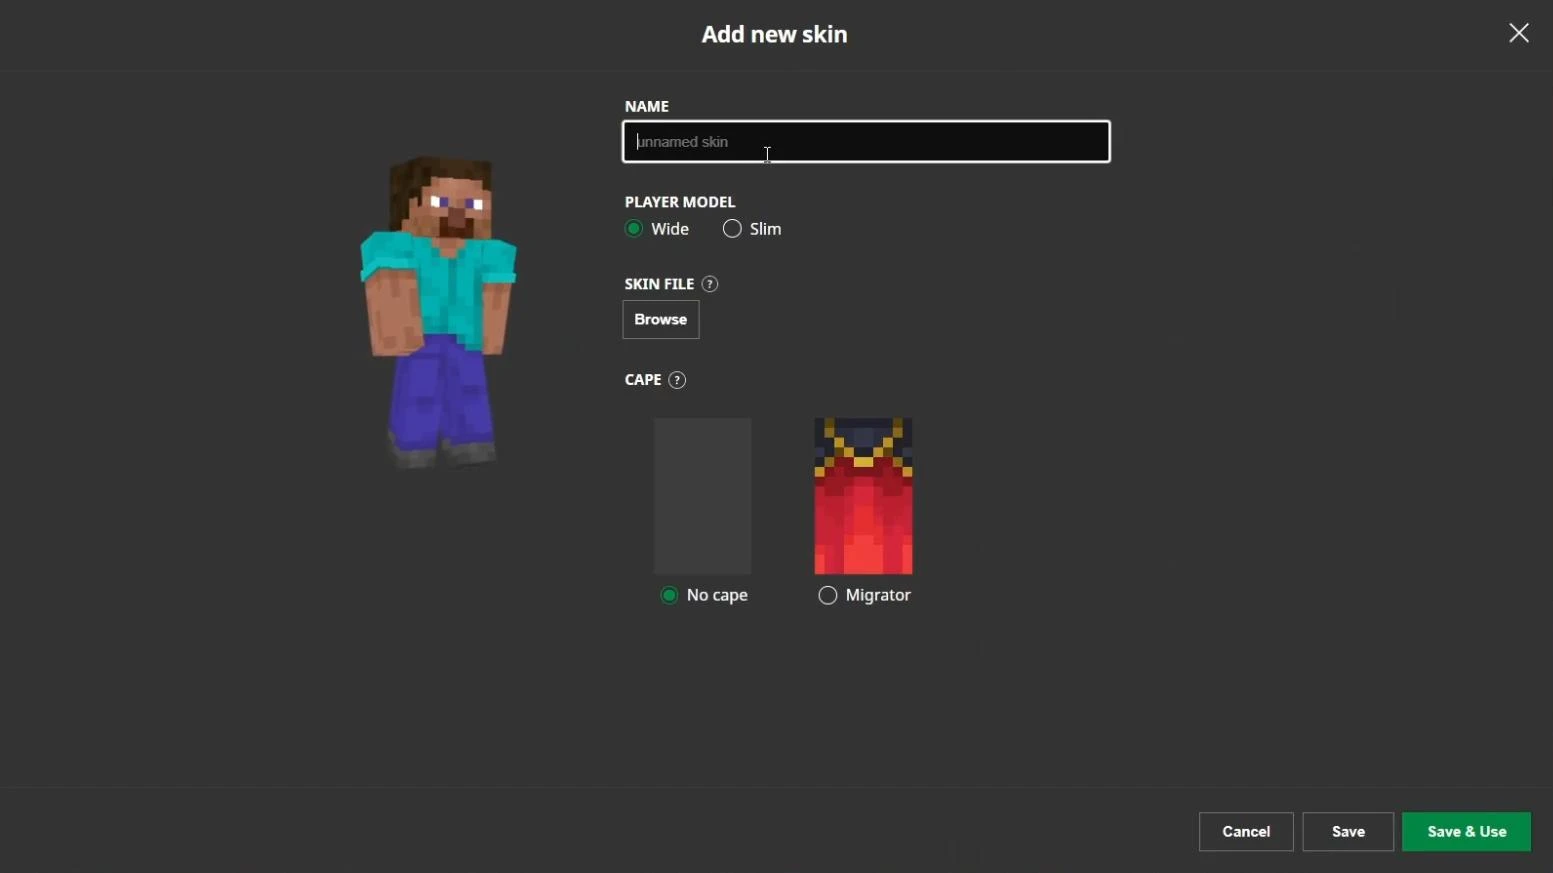
Next, select the model type: Classic (wide arms) or Slim (thin arms). If you are not sure, look at the skin visually - if the arms are narrow, choose Slim.
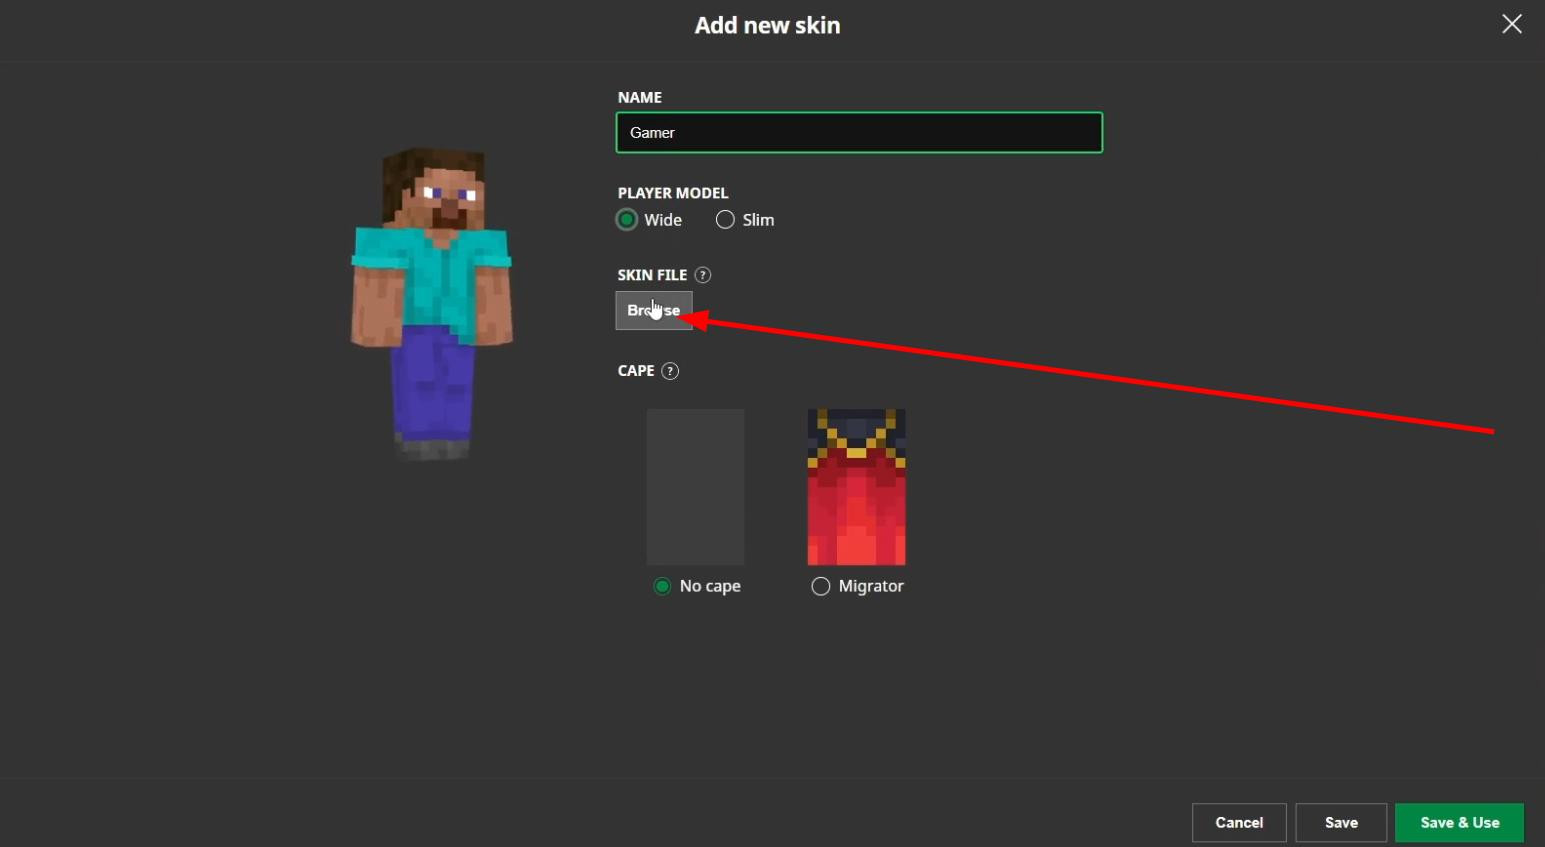
Now click the Browse button to open the file selection window on your computer.
Find the PNG file of the skin you downloaded earlier - it's usually saved in your Downloads folder if you haven't changed the path. After selecting the skin, click Open and the image will be displayed in the Launcher.
Additionally, you can choose to have a cape if you have one, although it is not necessary. After all the settings, click Save & Use to save the skin and apply it immediately.
Checking the skin in the game
Now you can start Minecraft. After loading the world, press F5 on your keyboard to switch to third-person mode. You will immediately see your character with the new skin. Pressing F5 again allows you to switch views to view your character's skin from both sides.
If the skin doesn't apply immediately, open the Launcher again, go to Skins, find the skin you want in the library and click Use. Then restart the game. After that, you can enjoy the new look of the character in Minecraft!
Videos
Added by
![NeoForge Installer [Minecraft 1.21.1, 1.20.6 - 1.20.1]](https://i2.modland.net/i/66c5cbeb7e5ee/neoforge_modland.webp)
![Armor Durability HUD [Minecraft 1.21.4, 1.21.3, 1.21.2, 1.21.1, 1.21]](https://i2.modland.net/i/674bc2c2c404b/190618141923060623_modland.webp)
![Timeless and Classics Zero (TaCZ) [Minecraft 1.20.1, 1.19.2, 1.18.2]](https://i2.modland.net/i/669683678b42d/description_0ac47139-8e79-4b76-8a0c-d79bcb9039df_modland.webp)
![[1.5] THE DROPPER](https://li1.modland.net/minecraft/maps/thumbnail/th_ModLandNet_1.jpg)

![Mod Menu [Minecraft 1.21.1 - 1.14]](https://i2.modland.net/i/670844d8dfaa0/220113162237010137 (1)_modland.webp)
_modland.webp)