Netherite in Minecraft: Where to Mine and How to Use?
-lg_modland.jpg)


Want to create durable armor, weapons or tools in Minecraft? Then you need neserite! It is a very strong material in Minecraft, from which you can craft various items and they will have great strength.
But to find neserite is not so easy. It is quite a rare material and to get it, you must first find ancient debris. Then you should melt them into neserite debris, combine them with gold and only then use them to improve items.
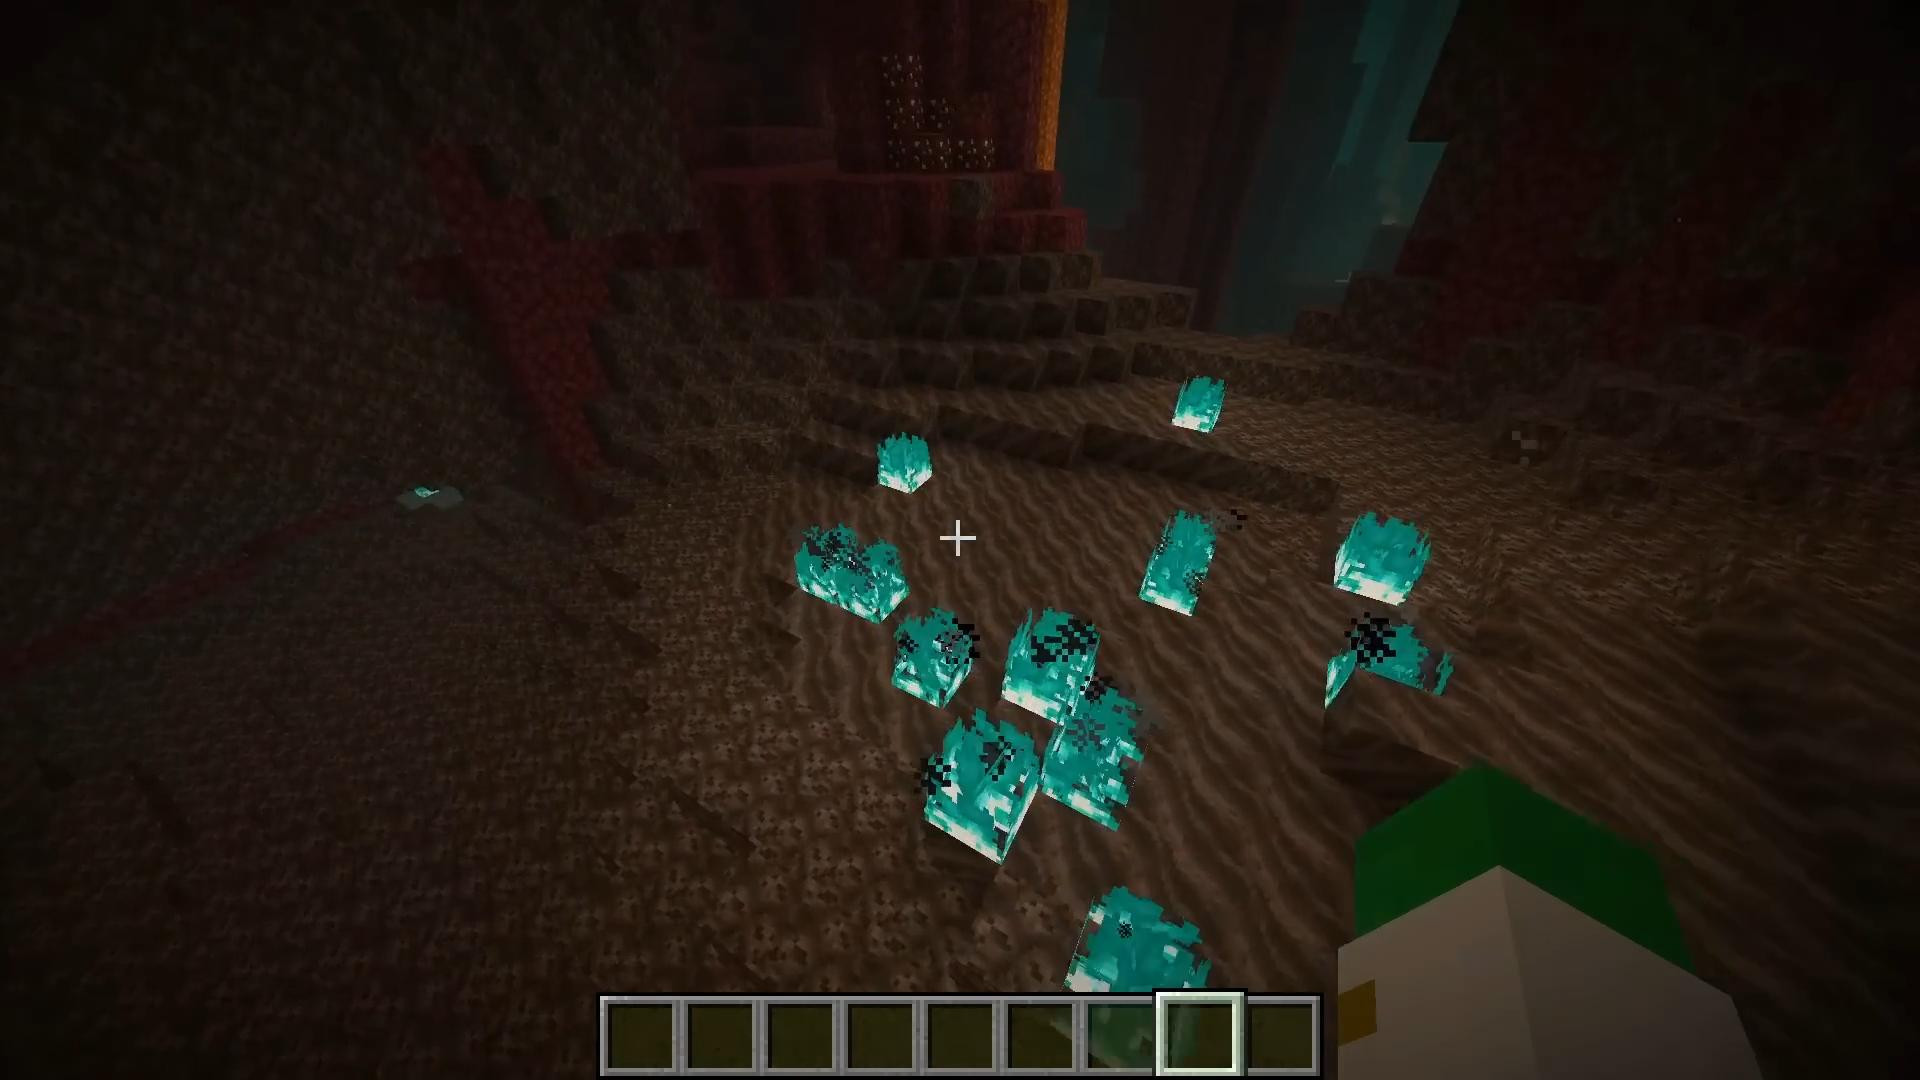
Neserite is created from Ancient Debris, which can be found in the Lower World.
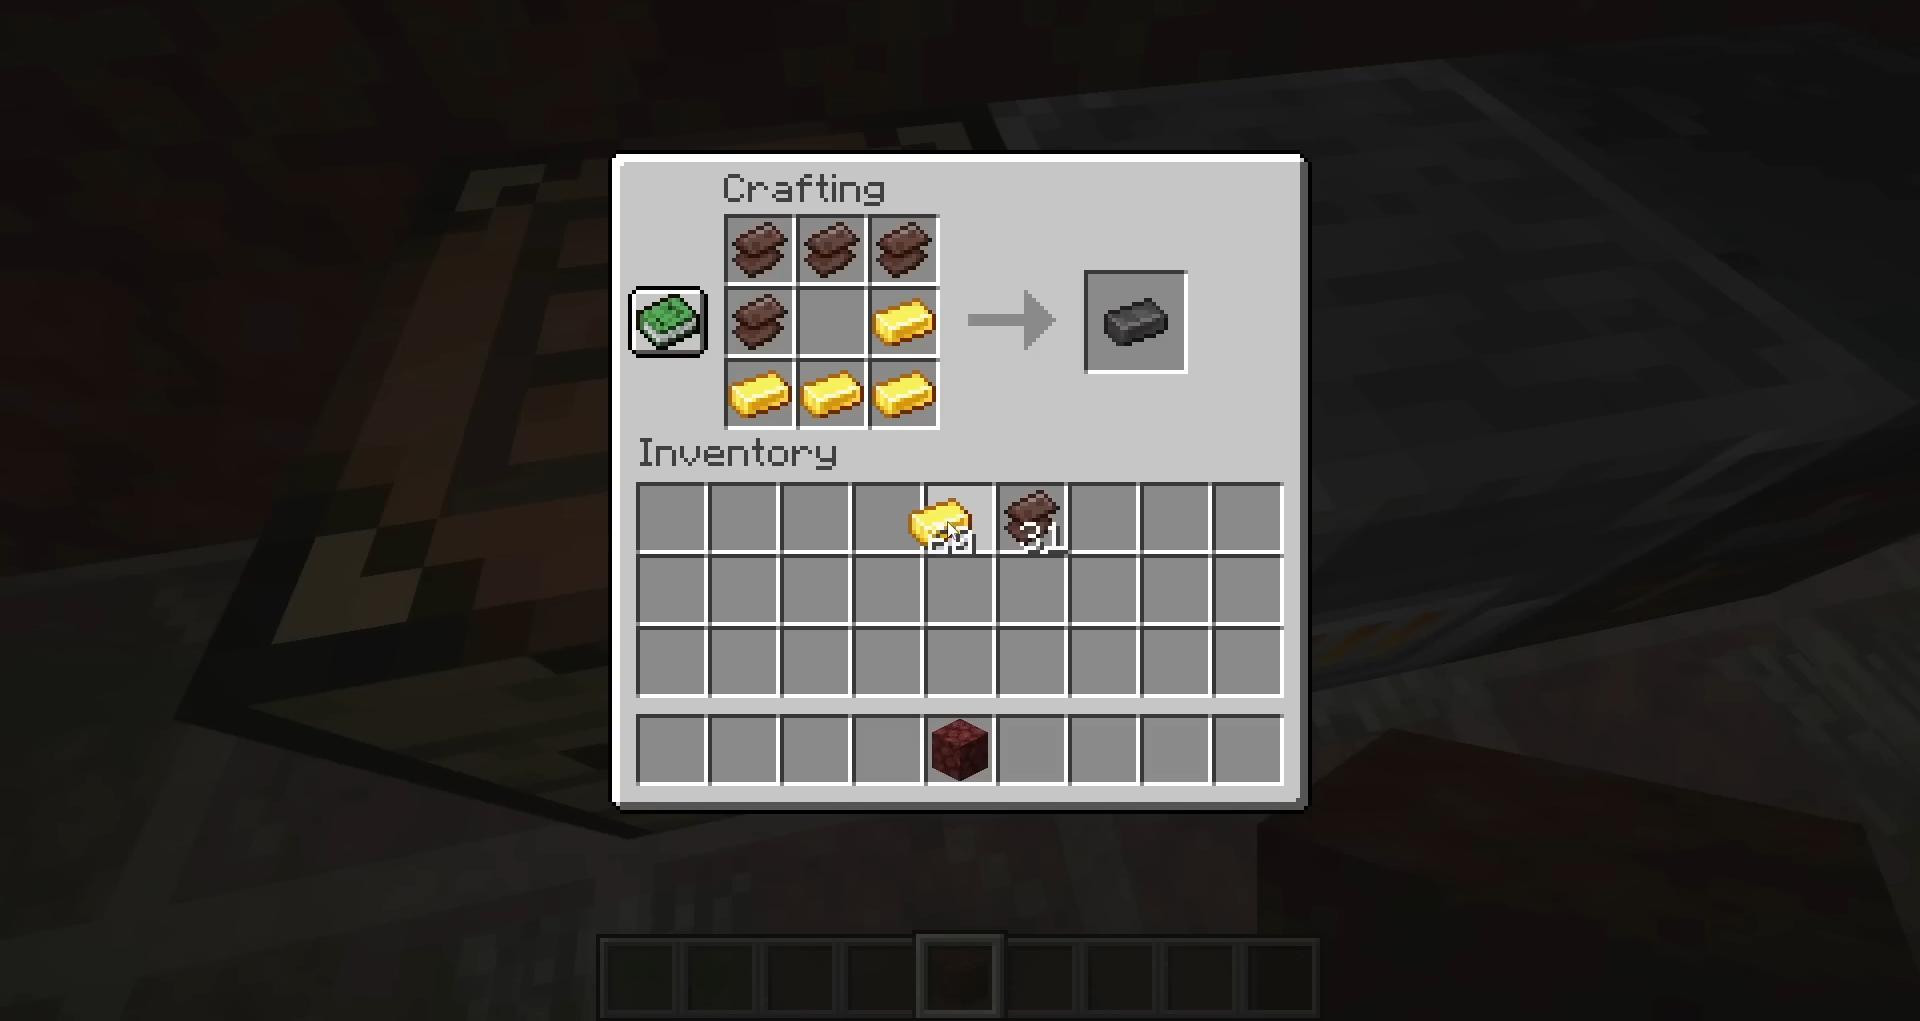
After melting them down, you get neserite debris. These are combined with gold ingots in a 4:4 ratio to make one neserite ingot.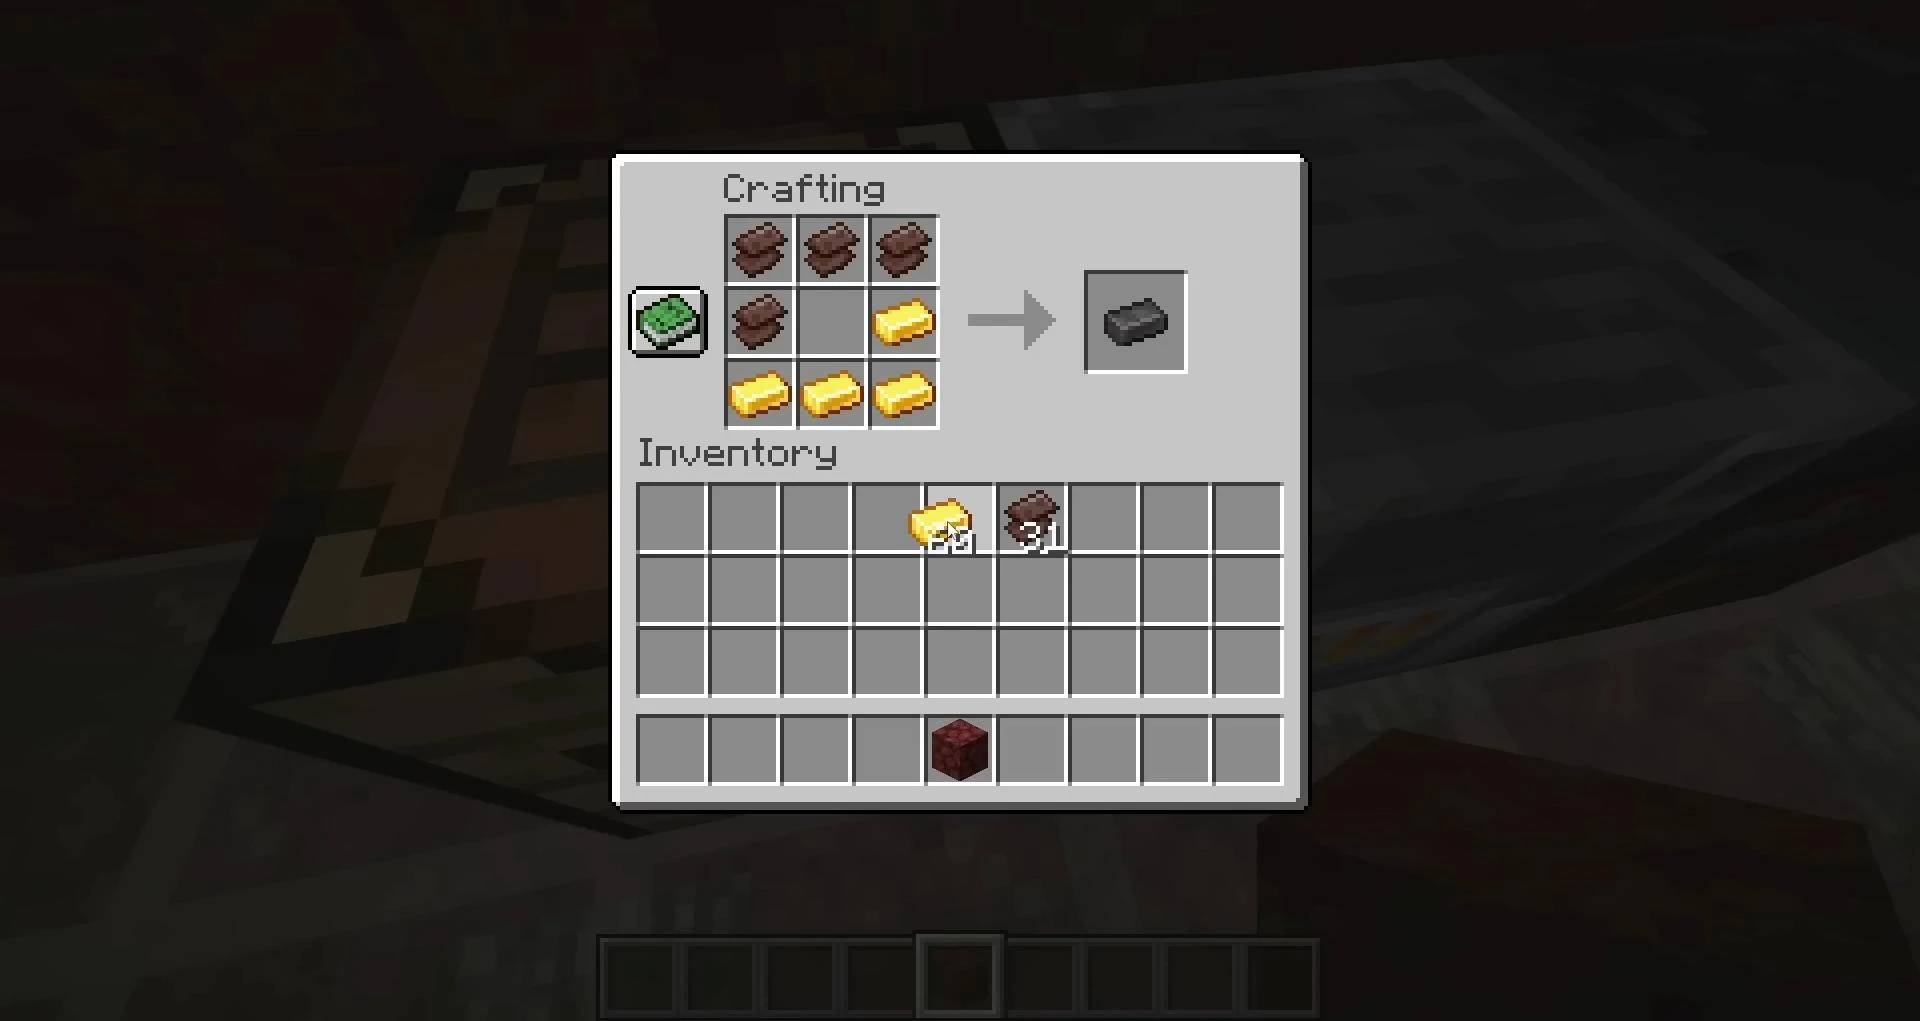
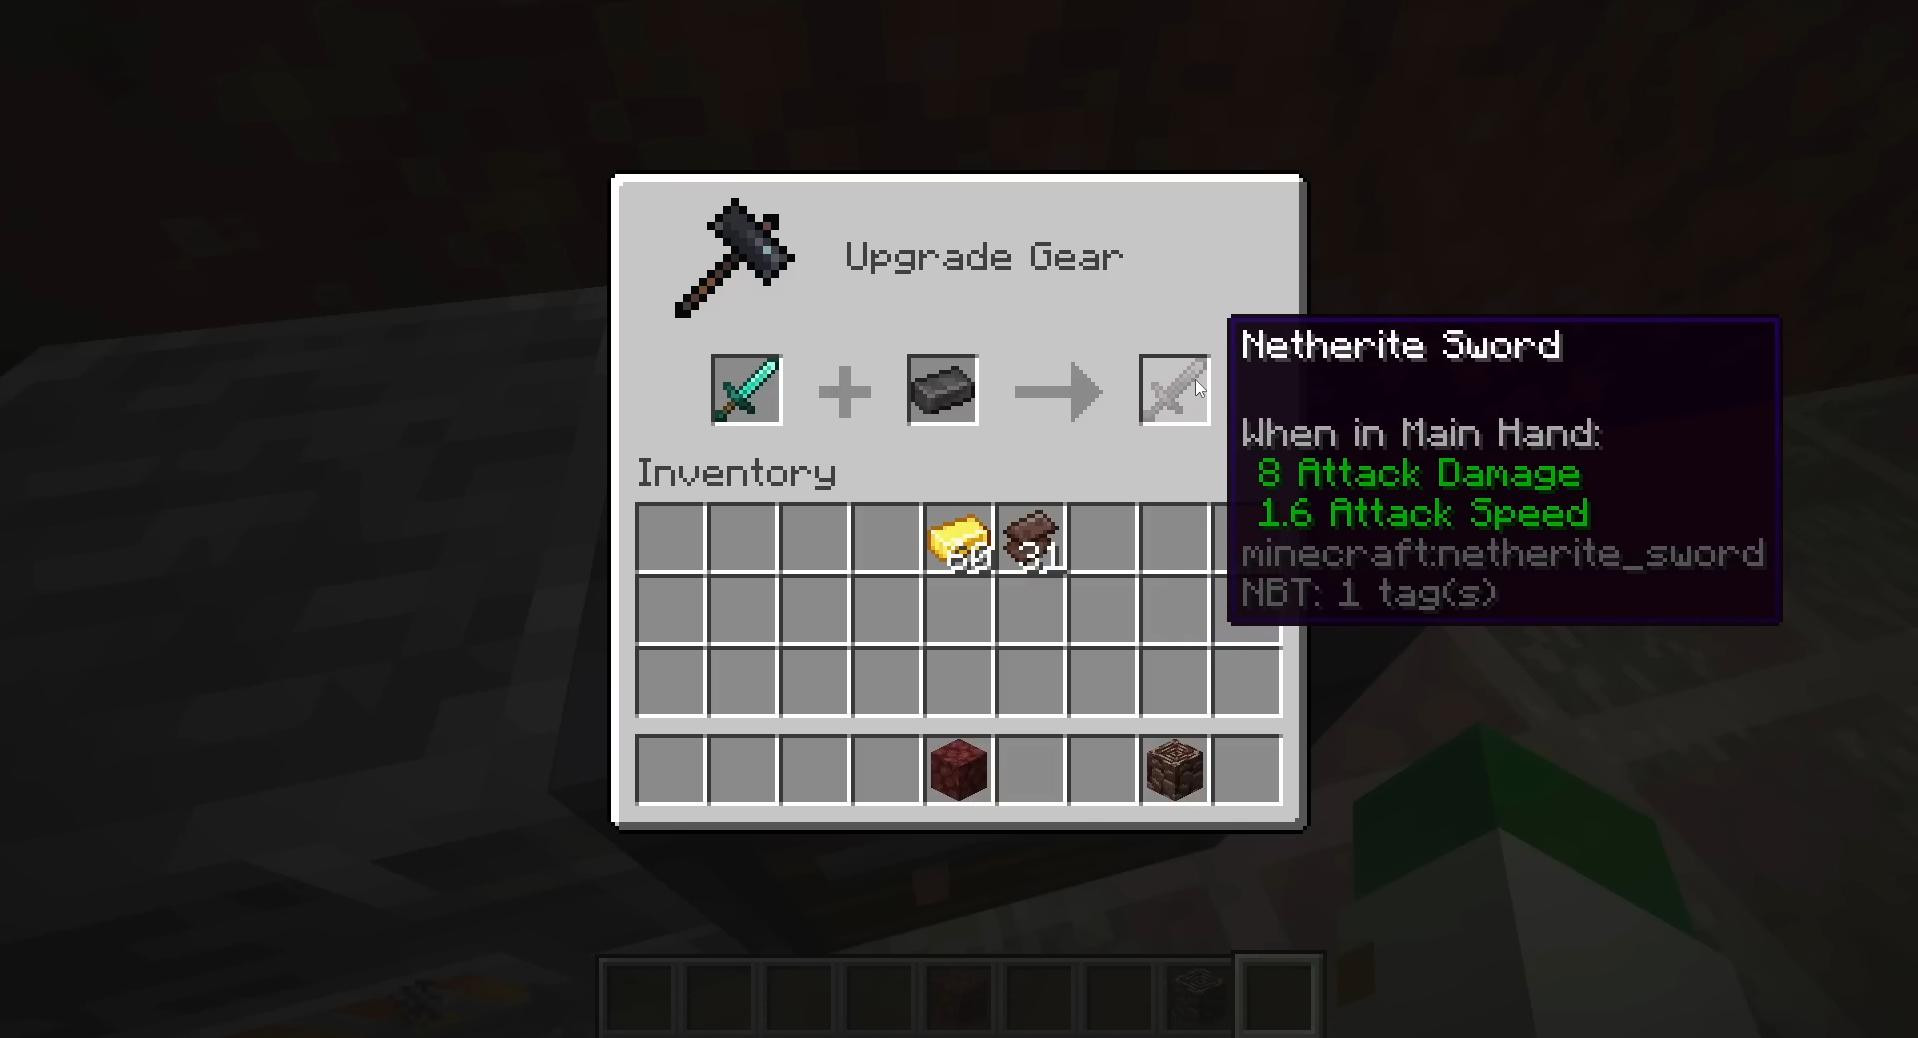
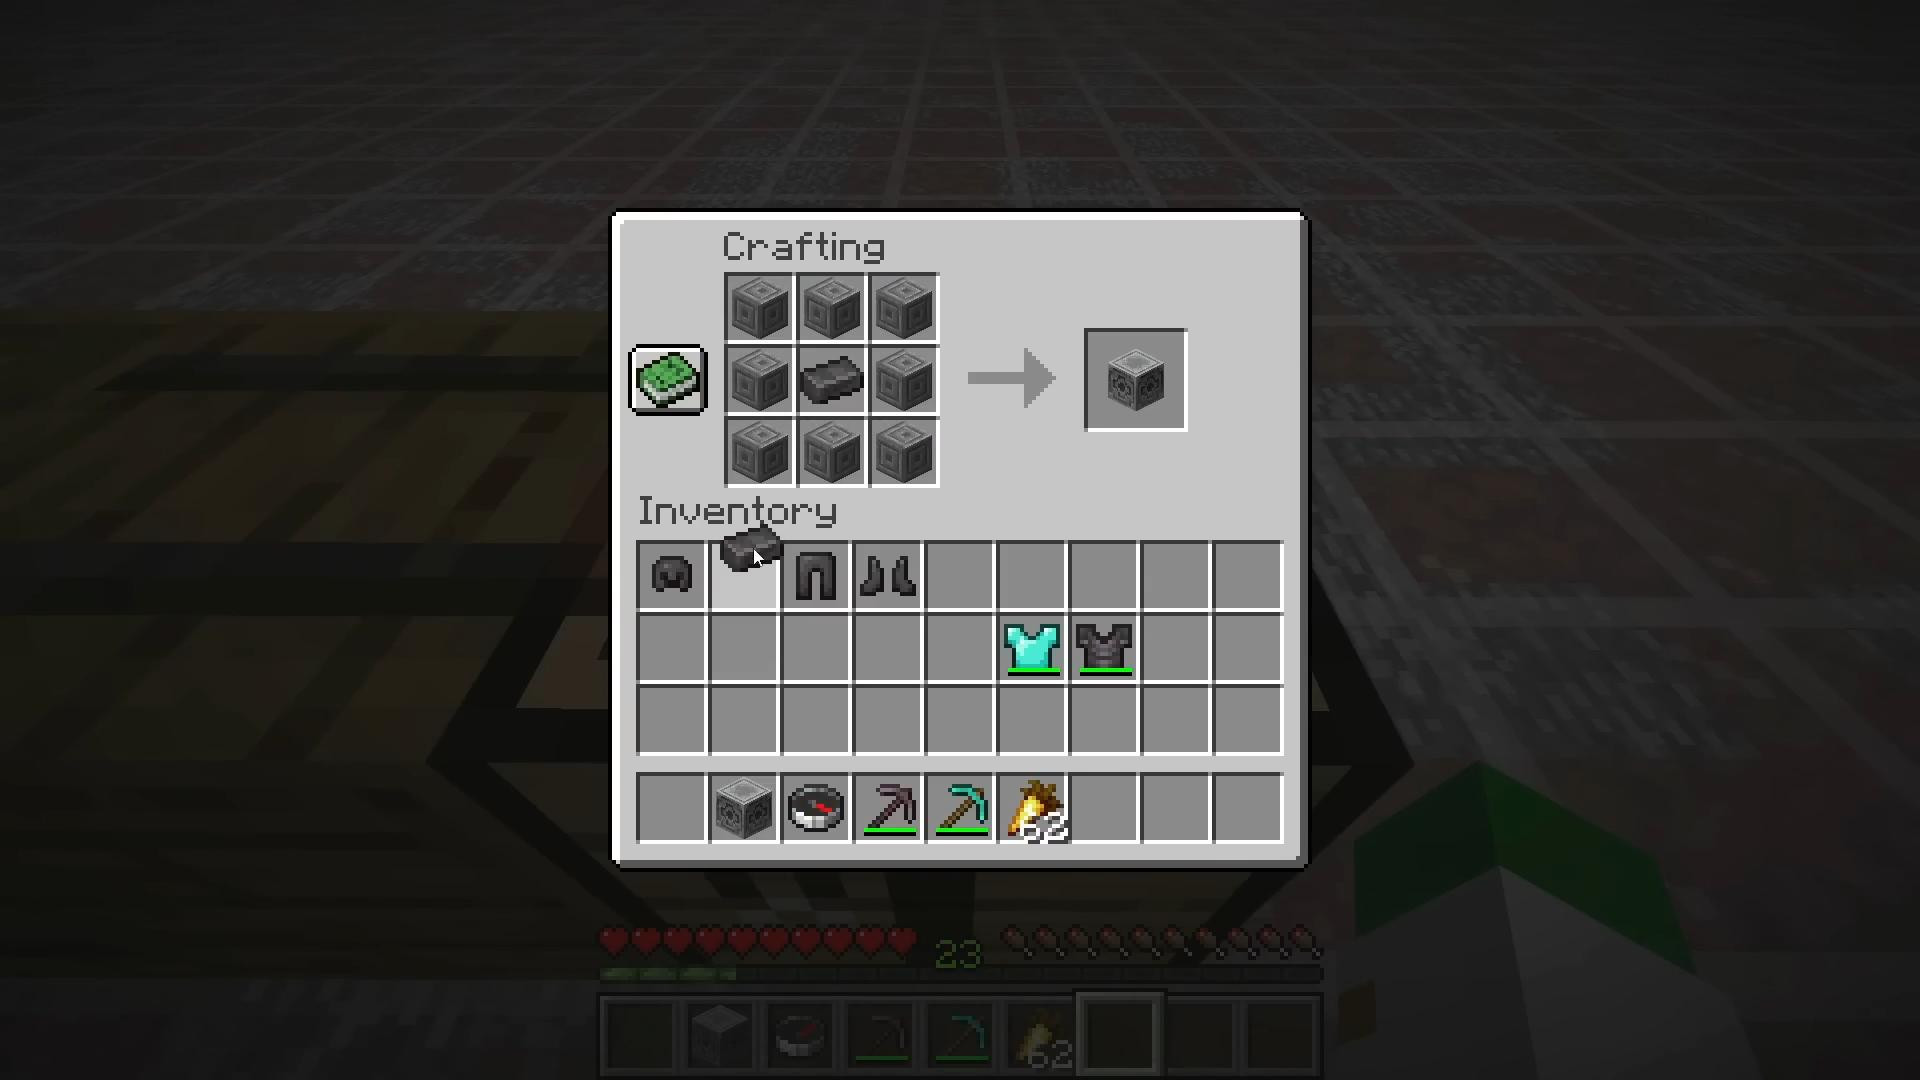
It can be used on the blacksmithing table to upgrade diamond items to neserite.
Neserite doesn't burn in lava and gives more strength and defense. So let's find out where to find it.
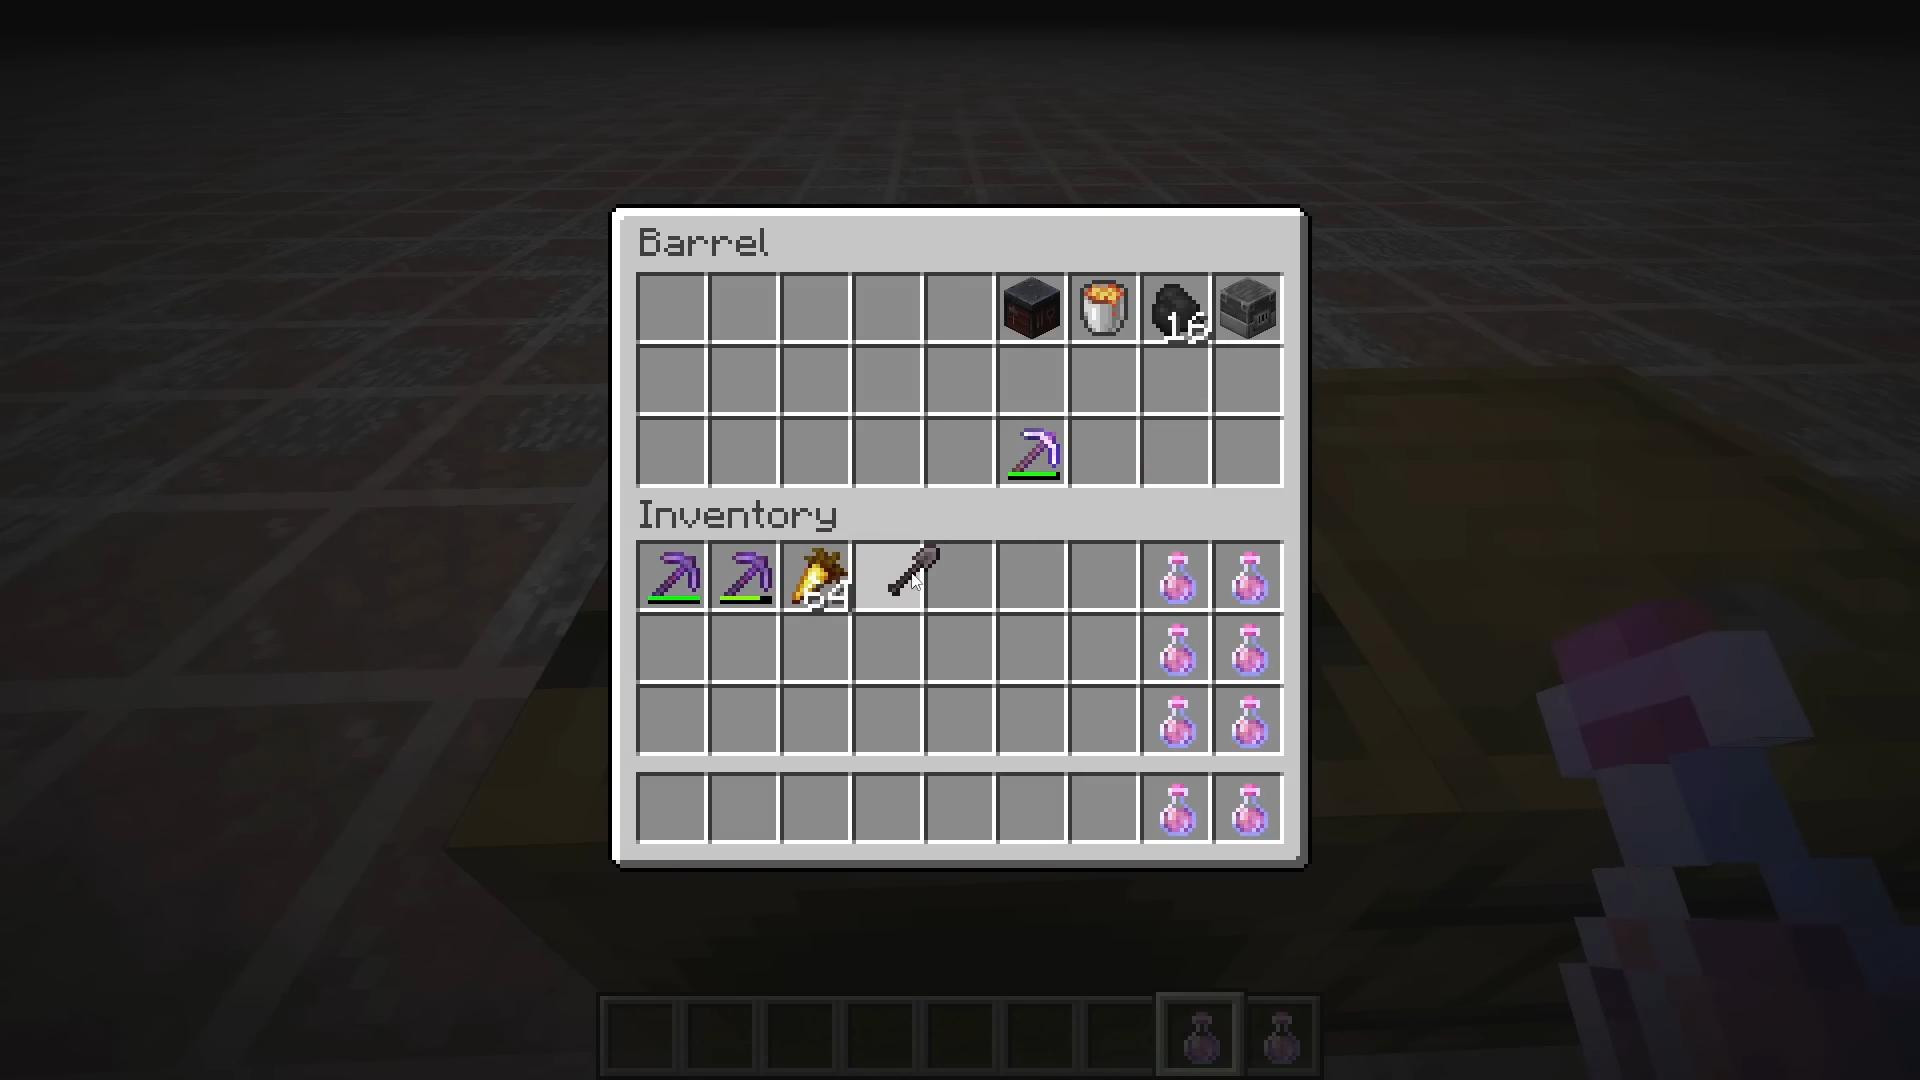
Here's what you can create from neserite: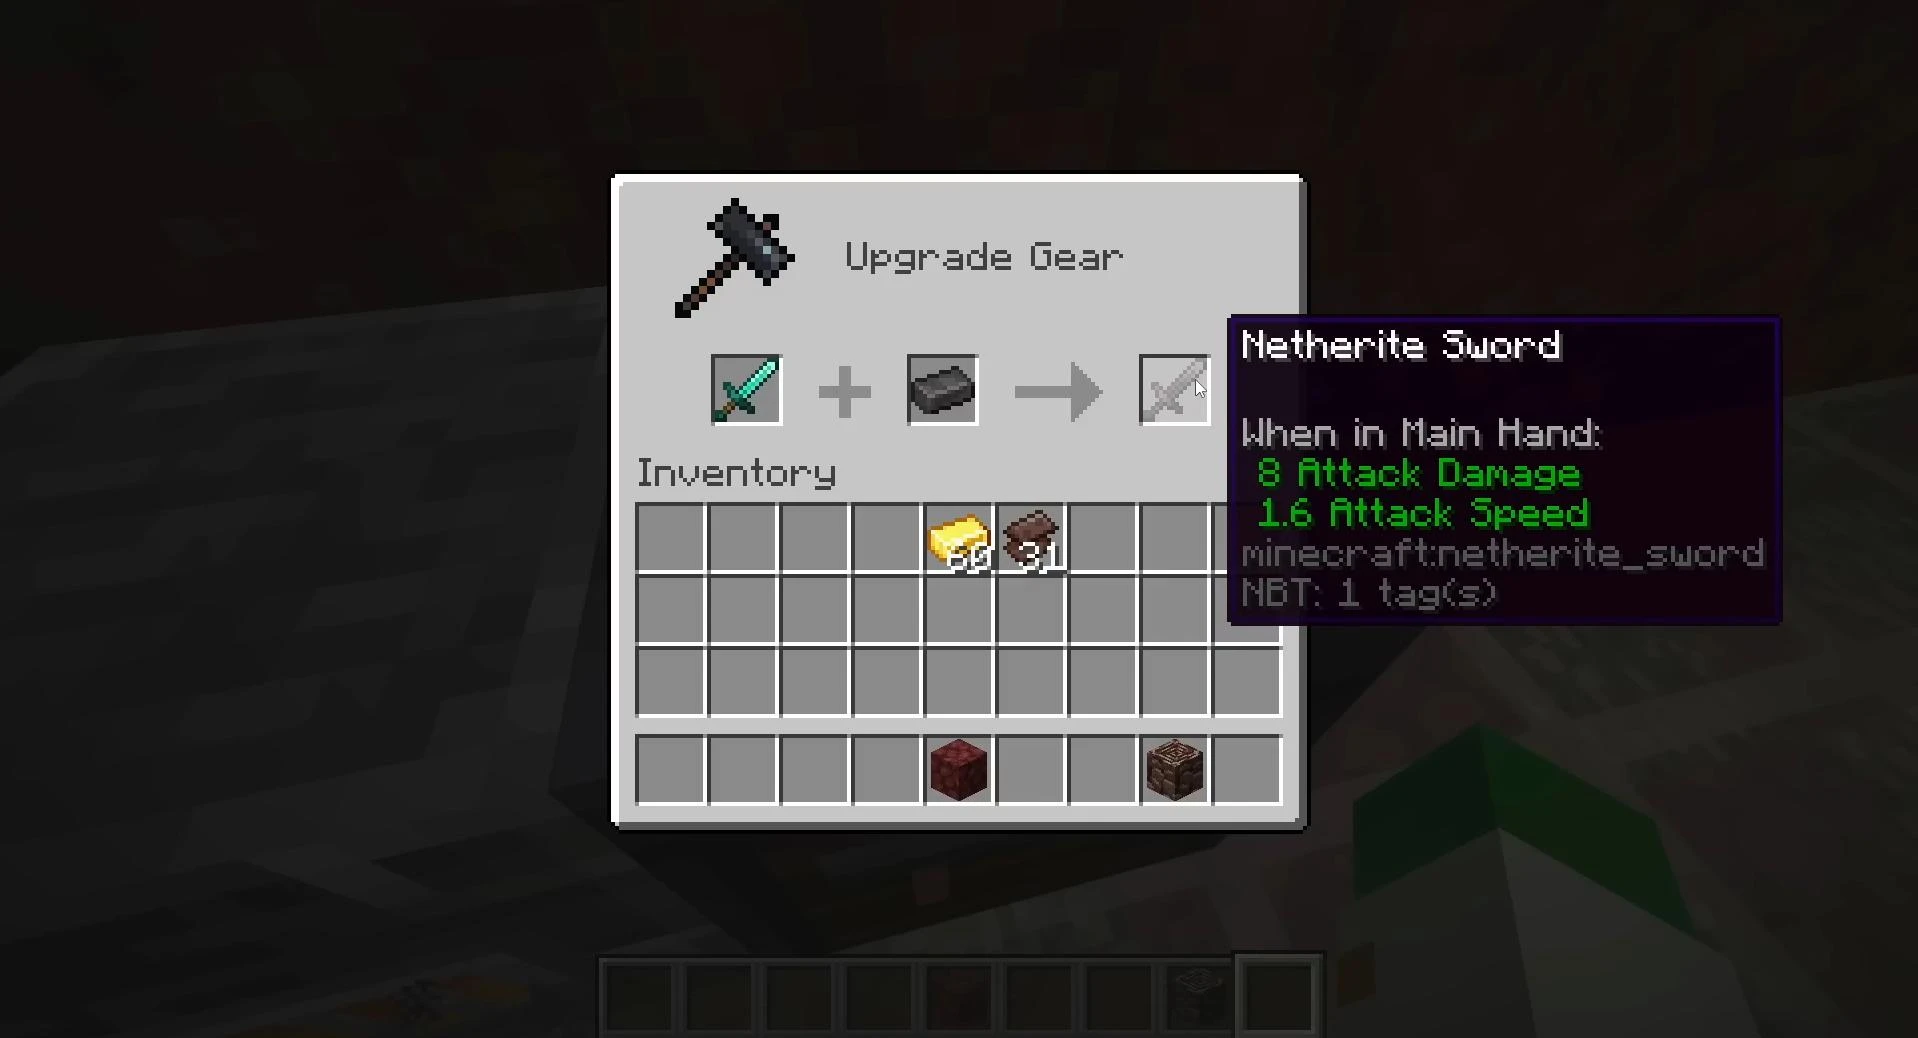
- Neserite hoe
- Neserite boots
- Neserite cuirass
- Netherite axe
- Neserite helmet
- Netherite shovel
- Mottled sword
- Netherite greaves
- Netherite pickaxe
Where to look for ancient wreckage
The most common spavin height is Y=15, but it is more efficient to dig at Y=14, as the player's head will be at the right height.
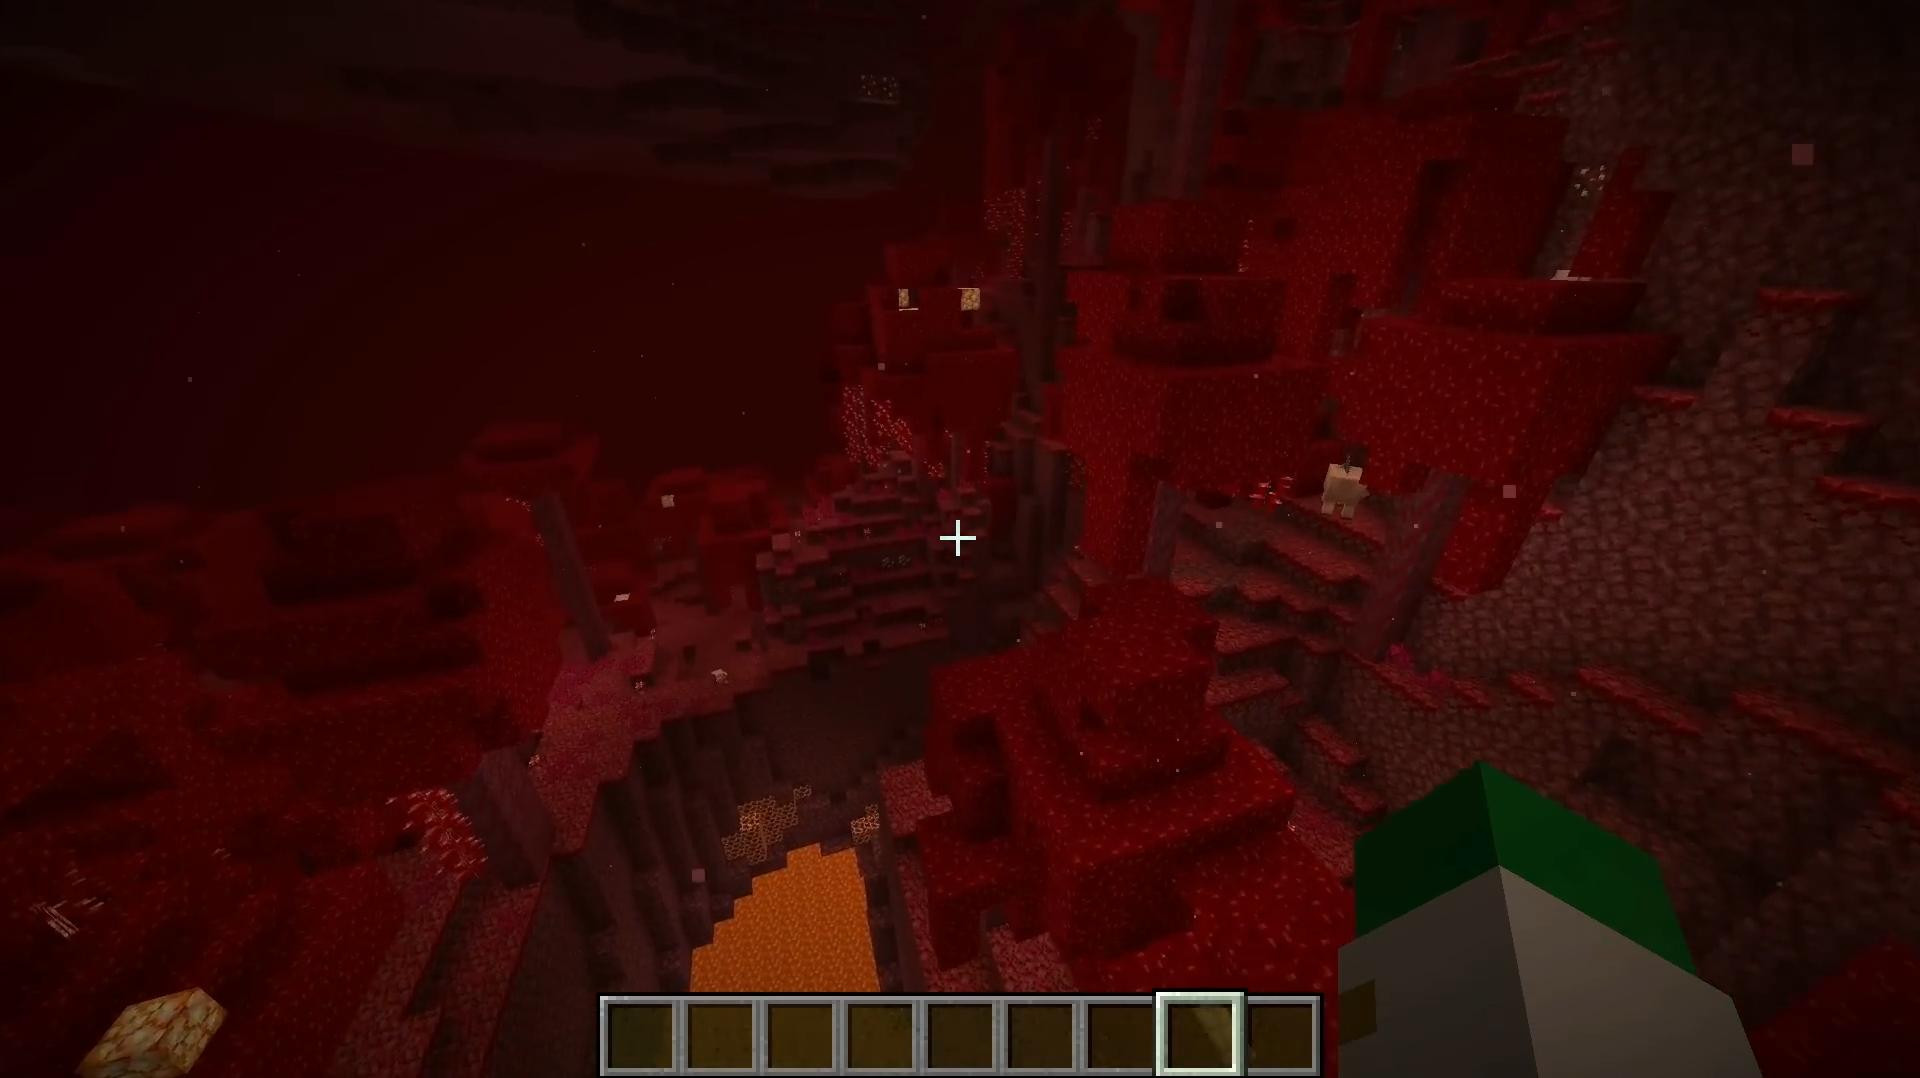
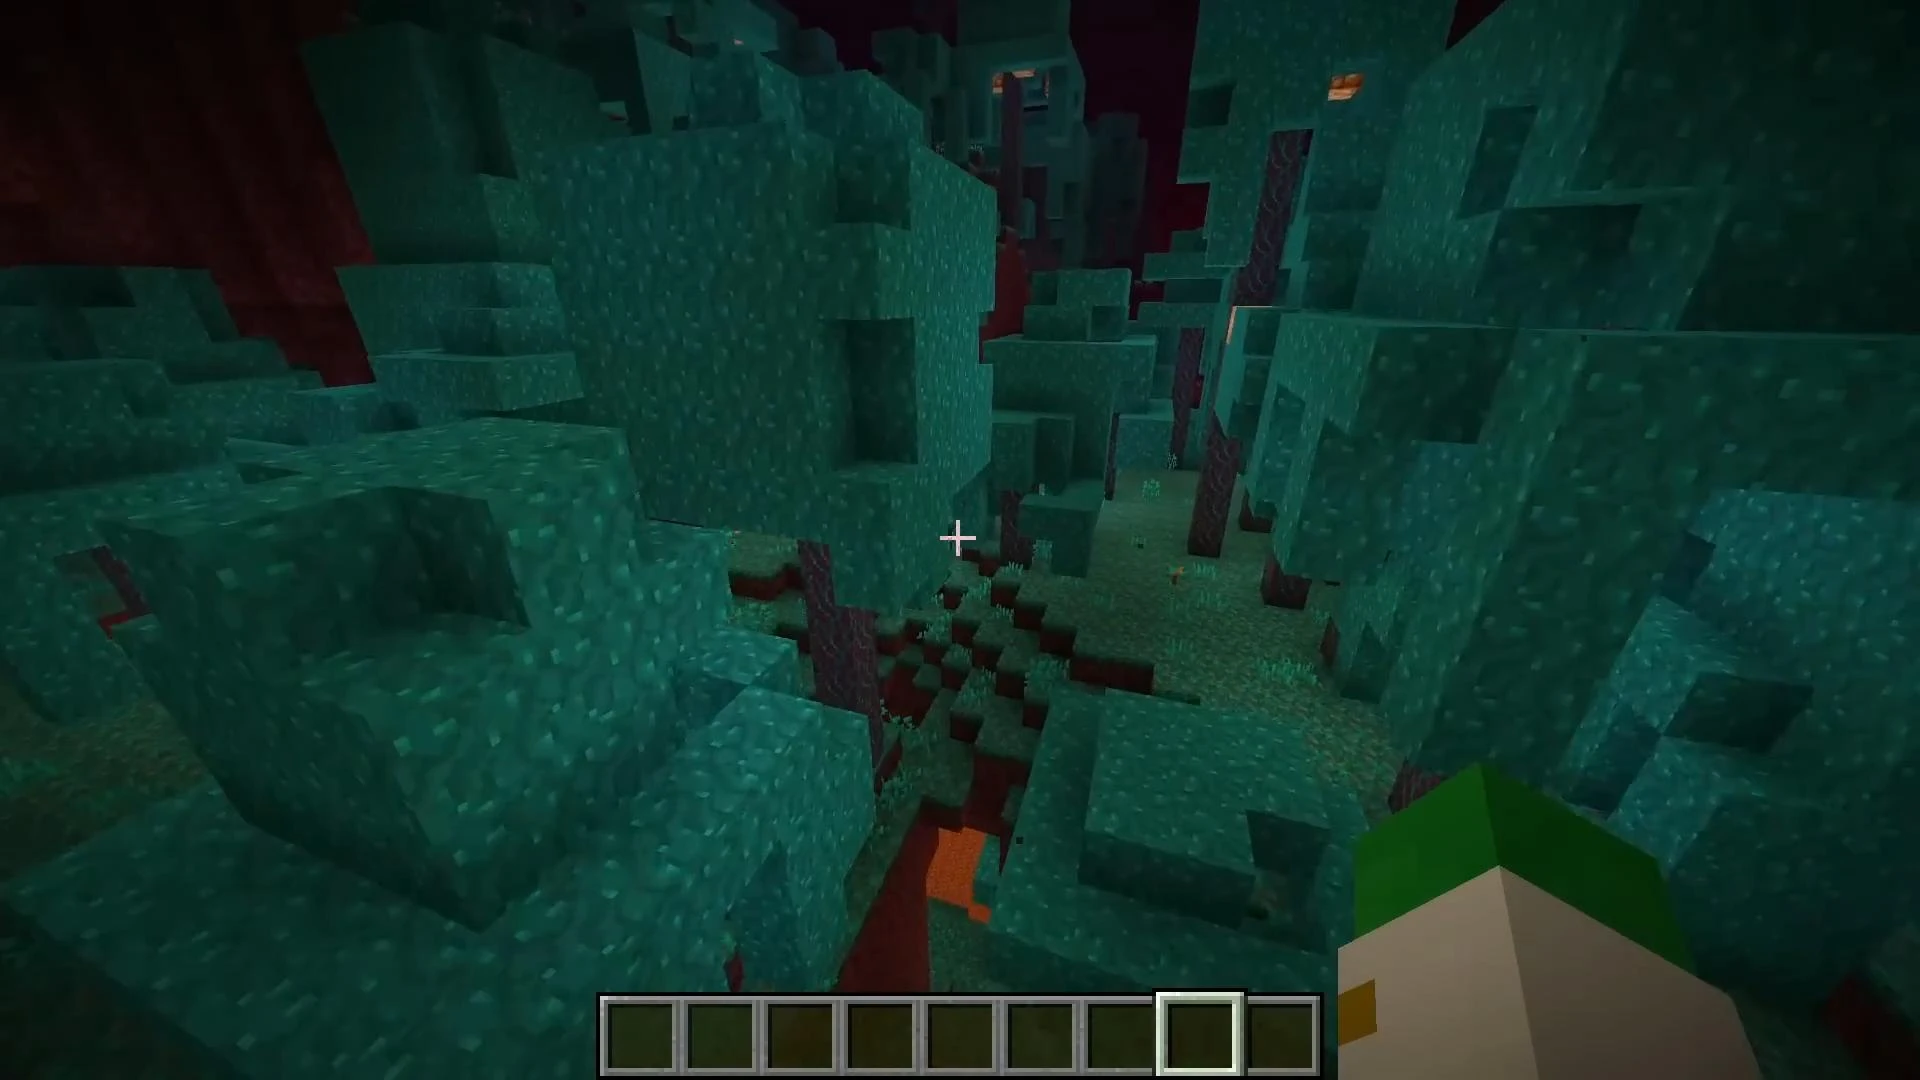
Netherite is generated evenly in all biomes, but the efficiency of mining depends on the environment.
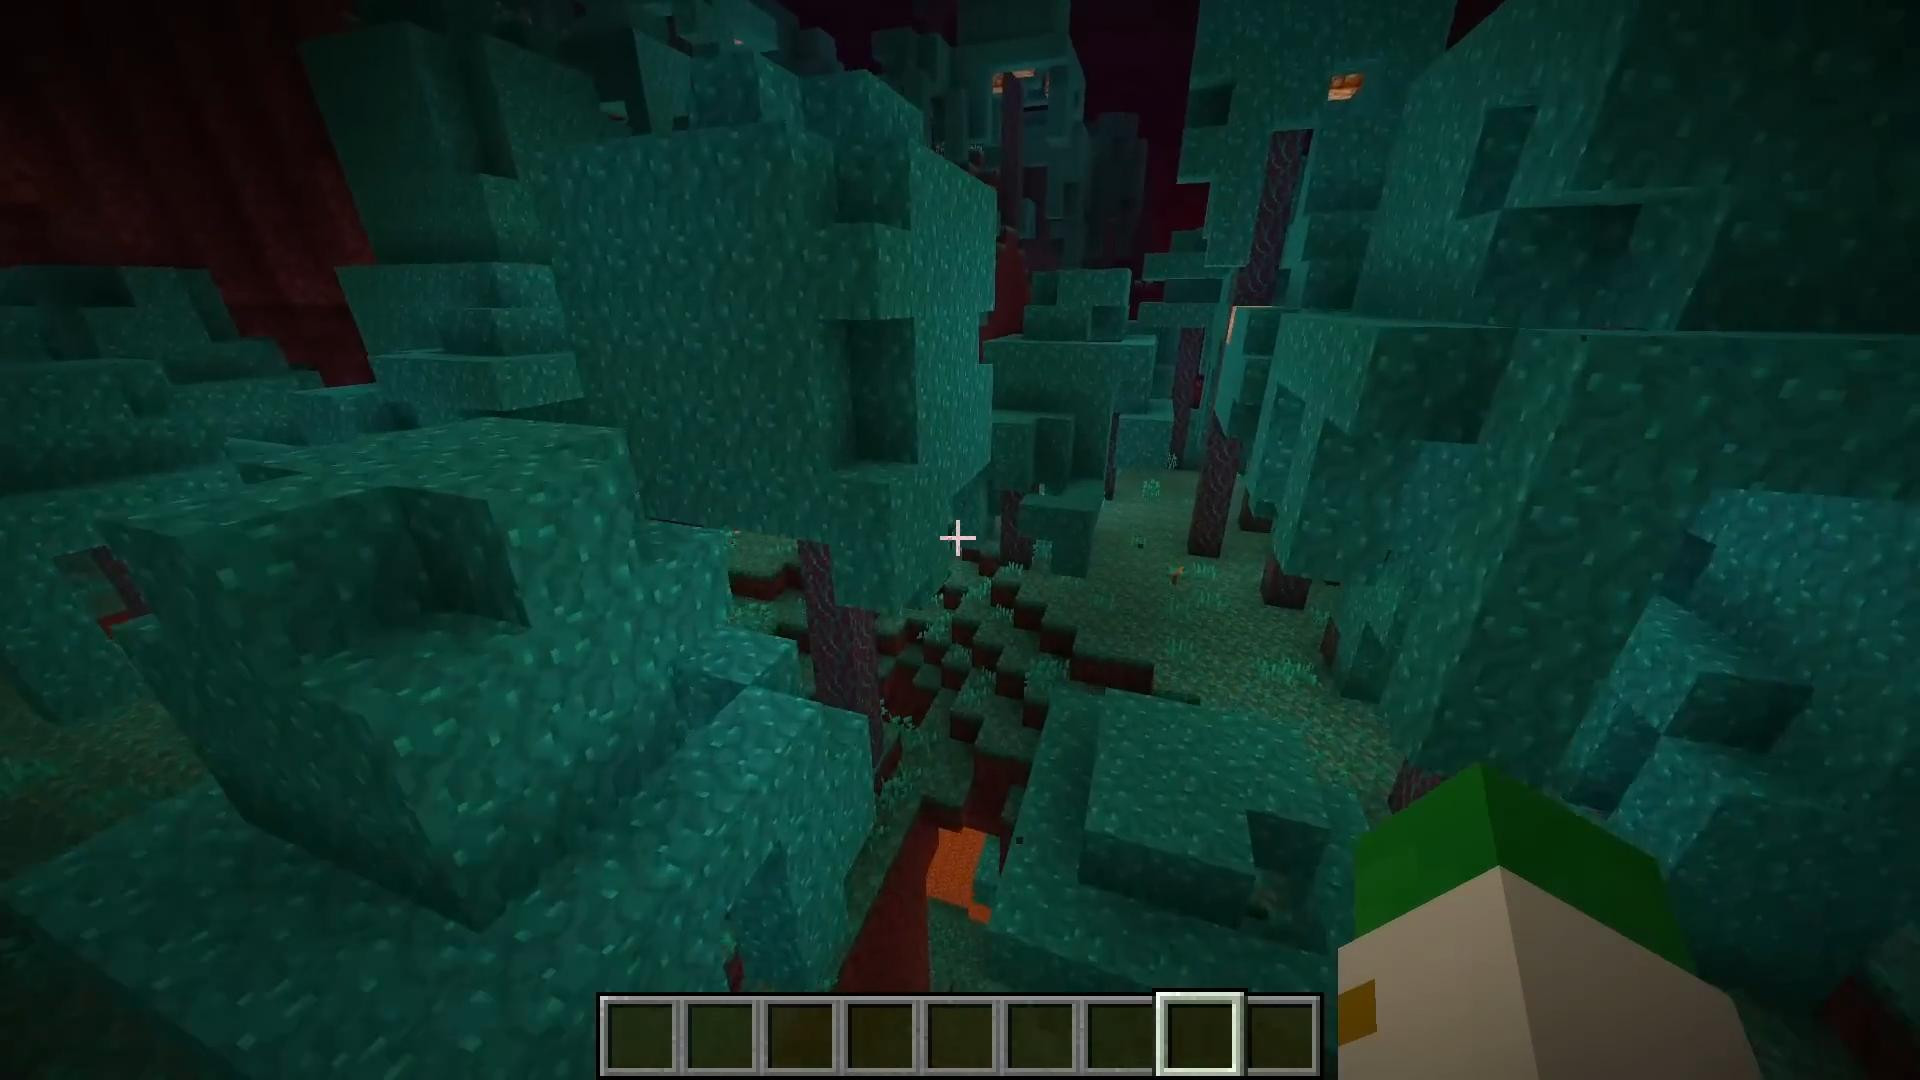
The Warped Forest is considered the best biome for mining ancient debris. There are almost no hostile mobs spawning in it. In addition, the blocks in this biome are quite soft and easy to destroy.
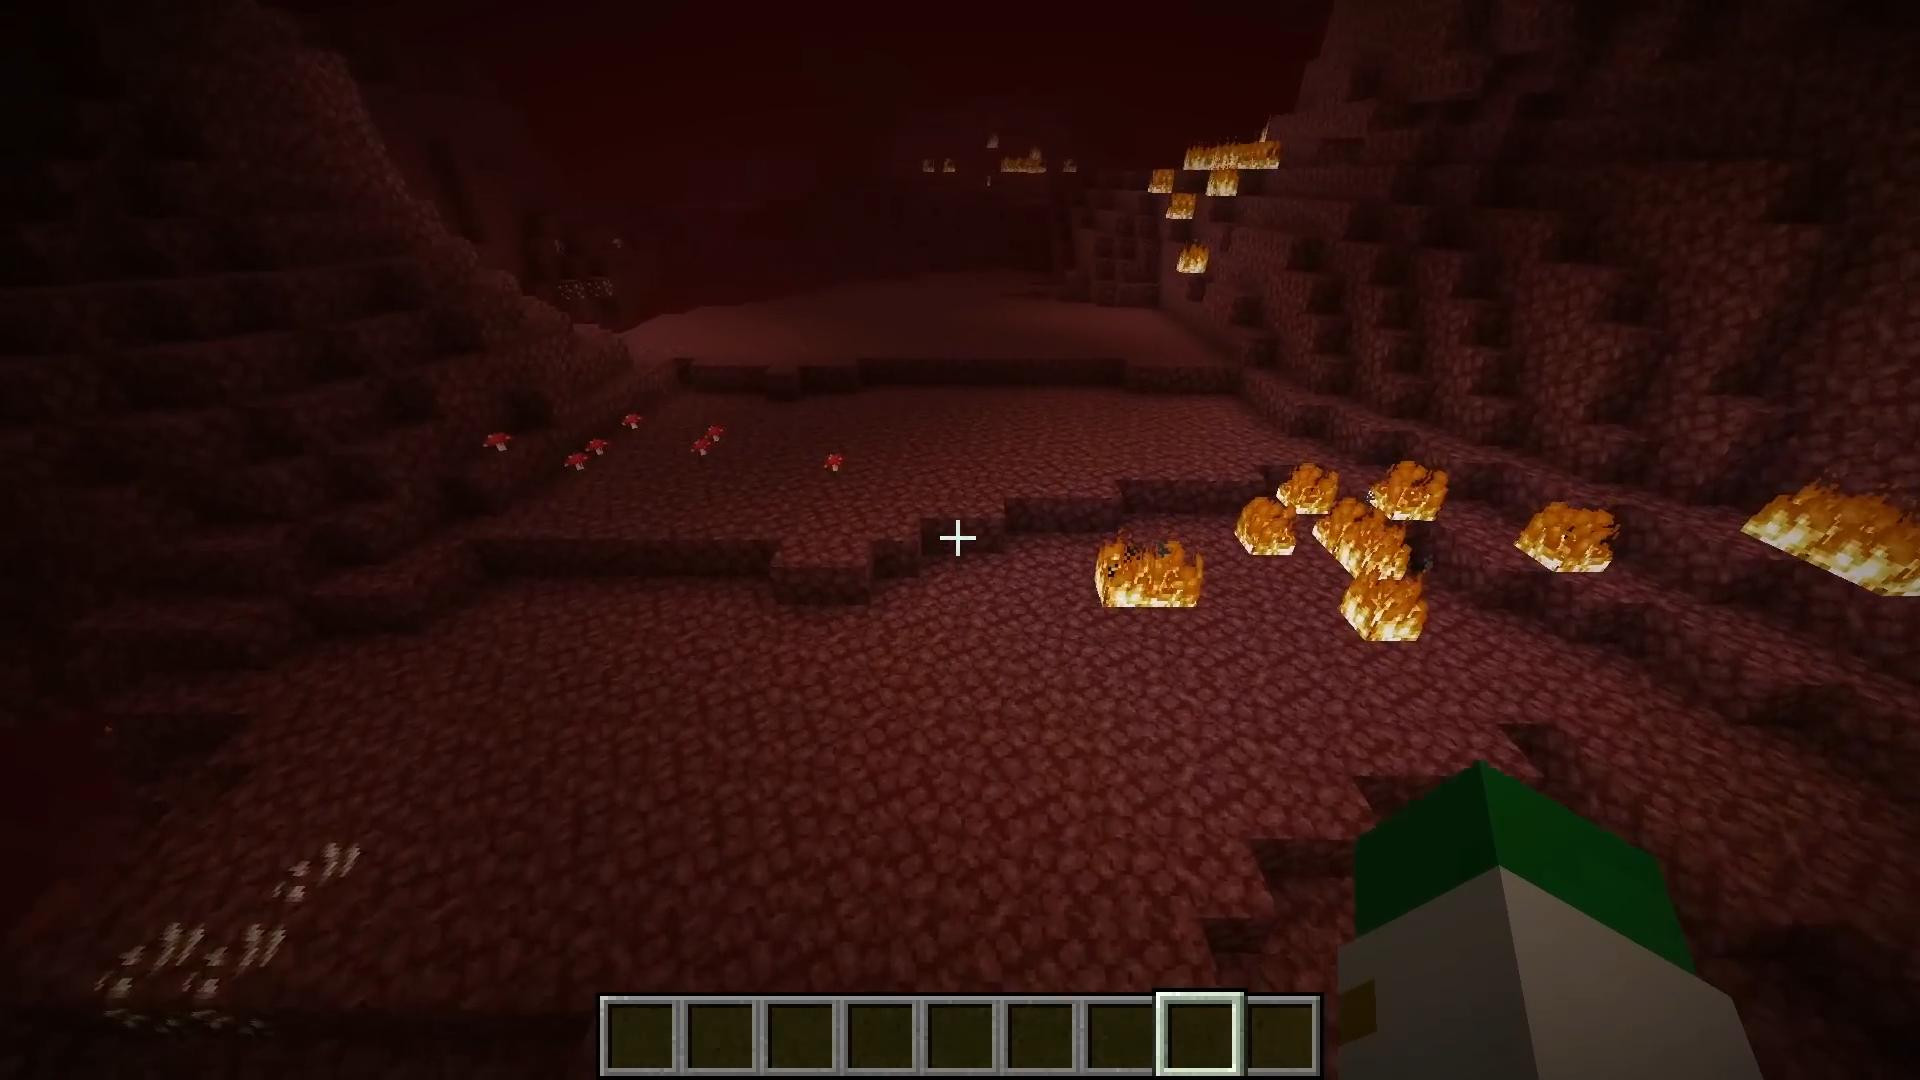
The Netherworld Wasteland is a classic hell biome and one of the most balanced options for mining ancient debris. Here you can meet pygmies. But they do not appear that often and usually do not pose a serious threat. If you wear a golden helmet, the danger will be reduced to a minimum.
Also in this biome there are almost no difficult blocks for digging, mostly dominated by ordinary neserak, which is easy to destroy even with an unskilled pickaxe.
Sand valley is also suitable, but it is less safe because of skeletons and gasts. But there are a lot of soft blocks here that are easy to break and you can find a lot of neserite in them.

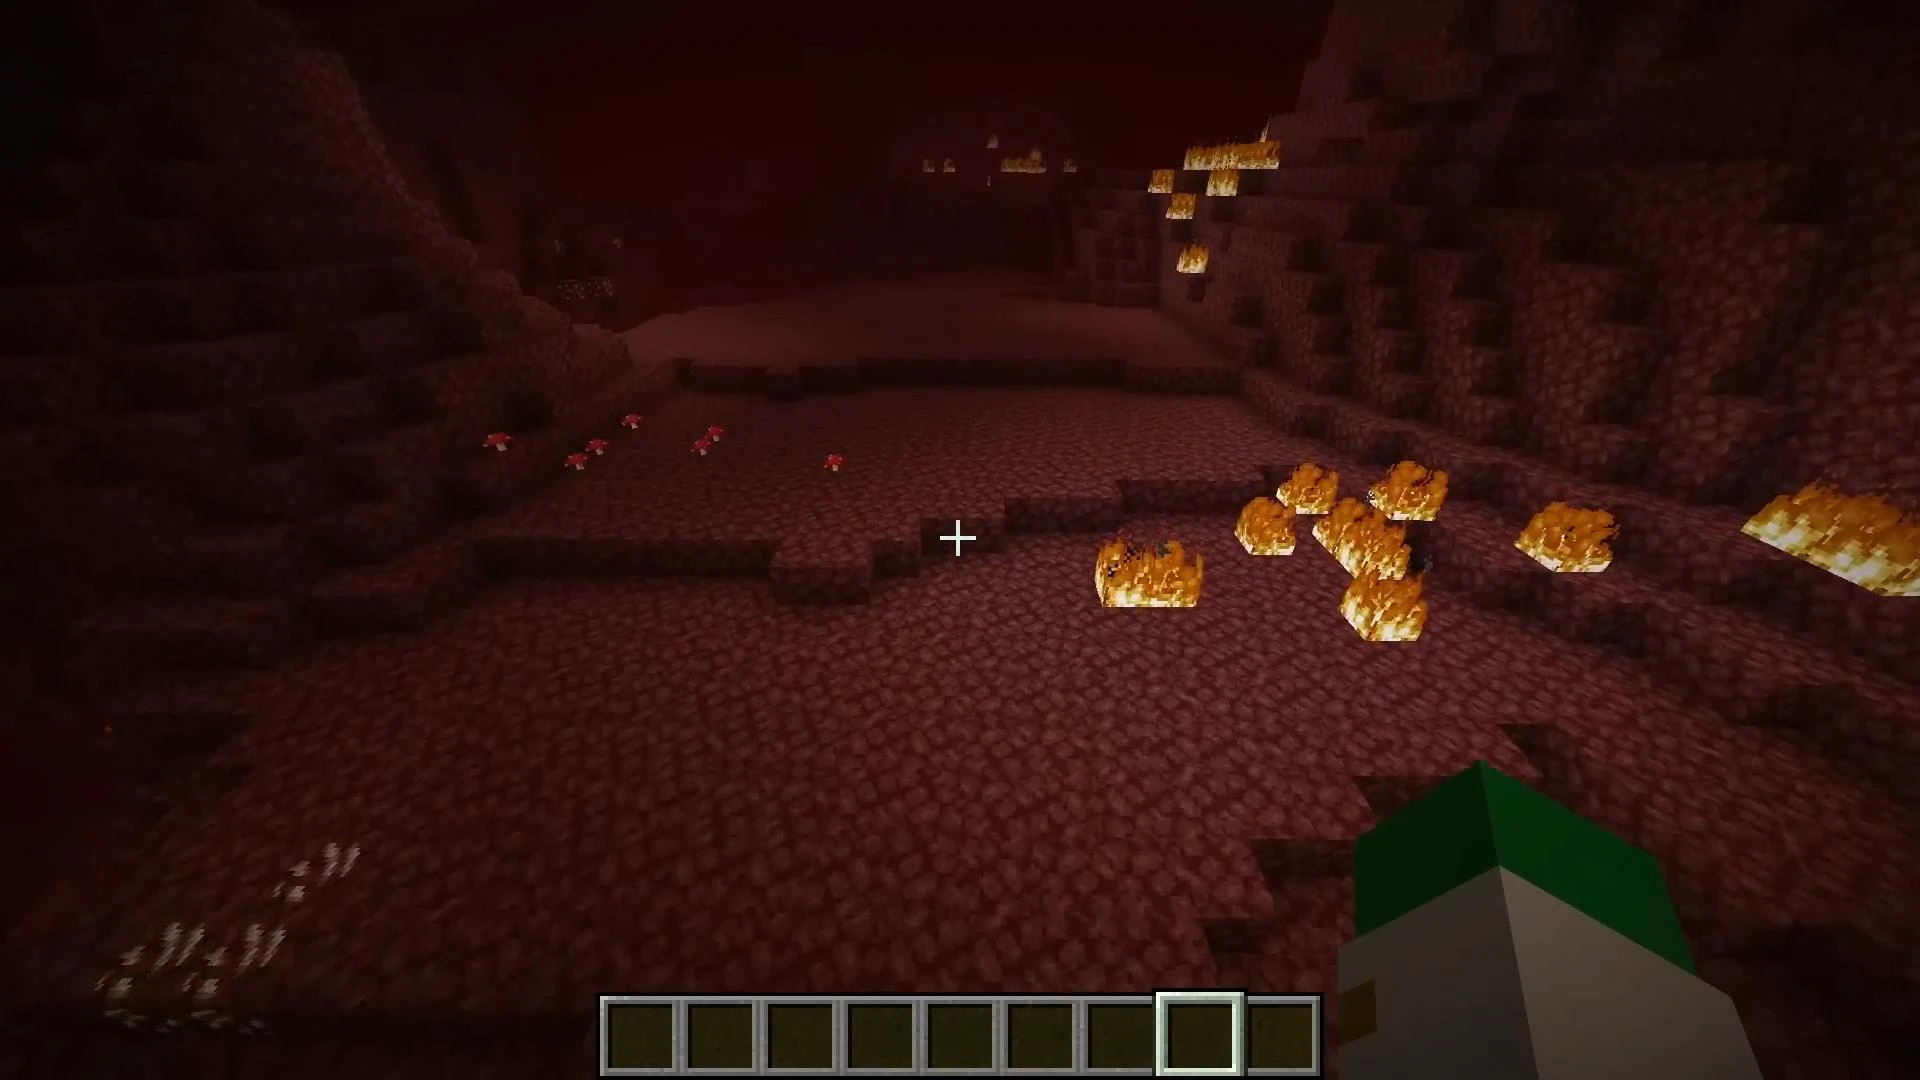
Crimson Woods is also a good place to look. There are no complicated blocks here either. But it's not the safest place. The main threat here are the hoglins. These hostile creatures do a lot of damage and can attack even in narrow tunnels, where there is simply nowhere to retreat.
Especially dangerous to use the method with beds. Because after the explosion you are without armor and with low health, and the sudden appearance of a hoglin can easily end in death. Piglines are also found here. They can be neutralized by wearing a gold item. But in any case, the Crimson Forest is not the most successful zone for mining, especially at the initial stages of the game.
If you use this biome, then only armed with good armor, potions of fire resistance and be careful at every step, because there are plenty of dangers here.

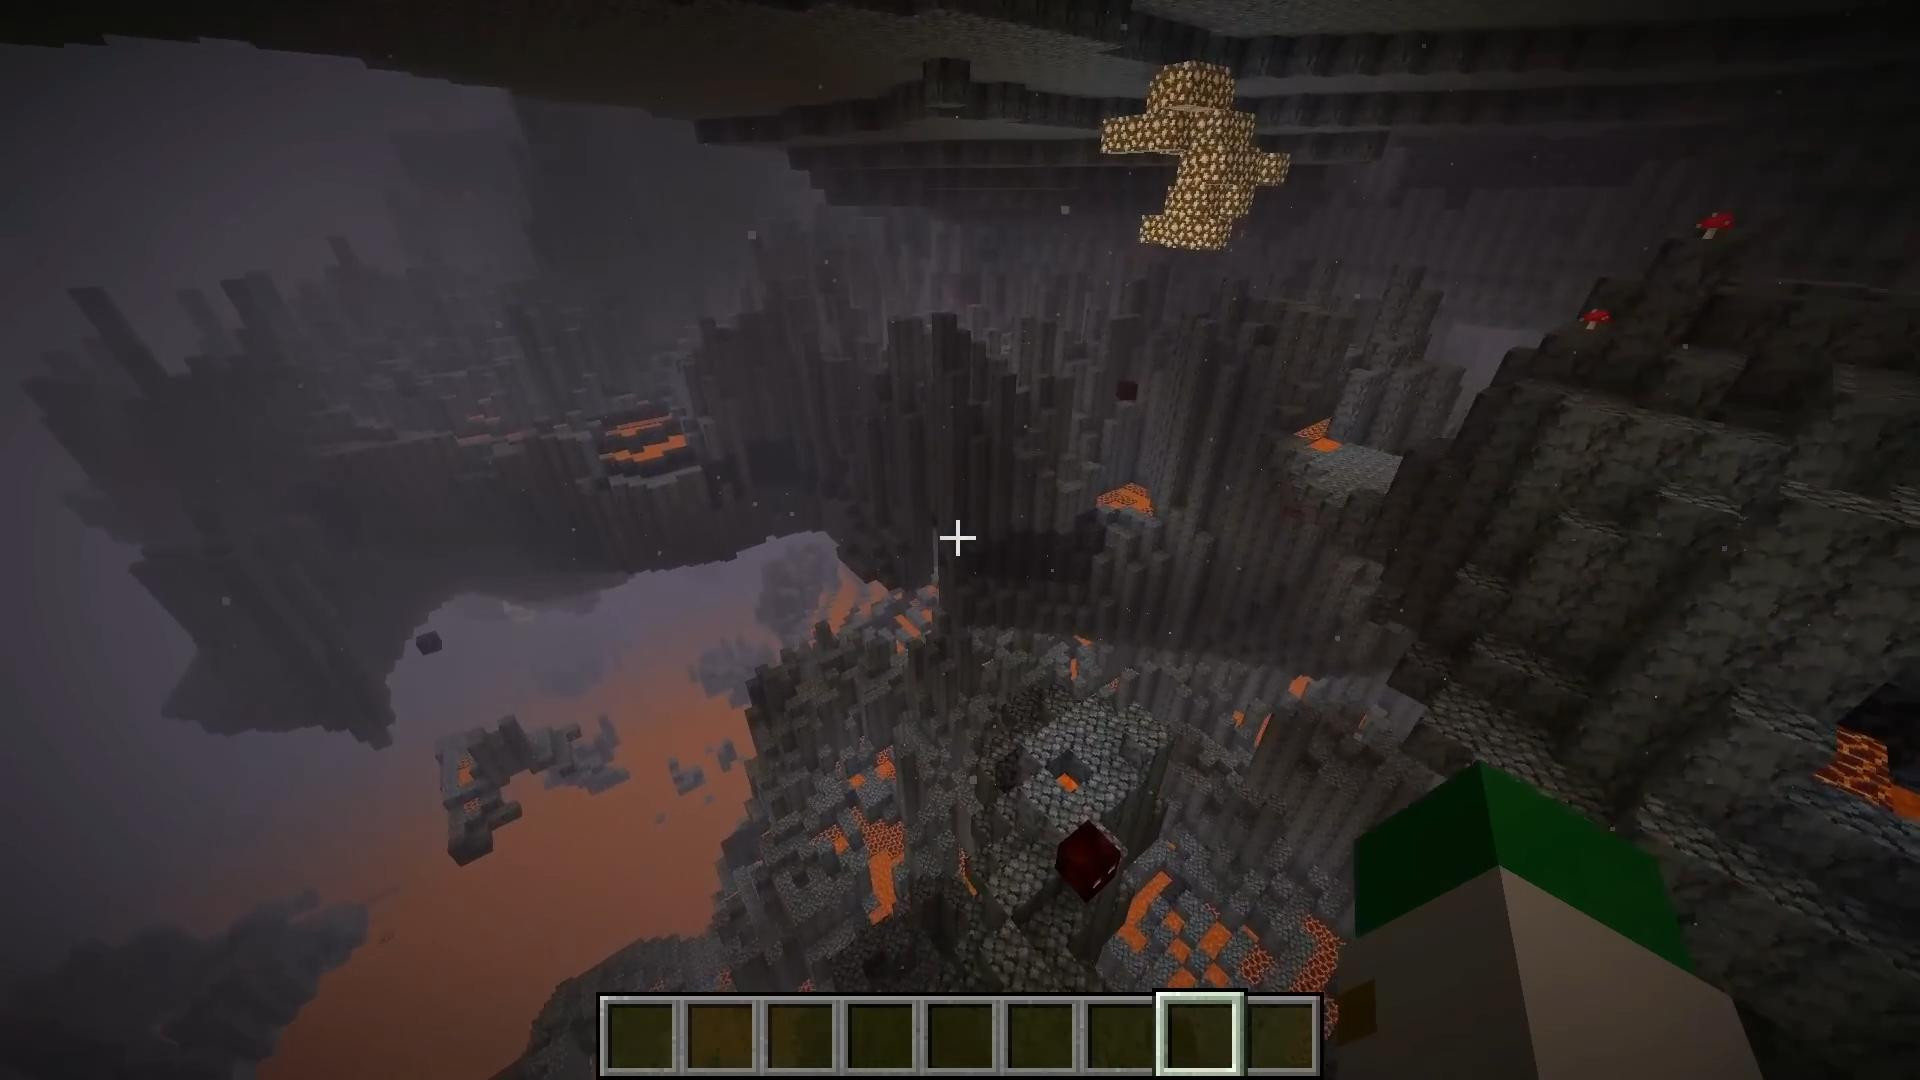
Basalt deltas are the worst biome for mining ancient debris. This is because blocks of basalt and black stone are generated here in huge quantities. These blocks are often found and underground any mining methods will be ineffective.
When trying to clear the area, you will constantly encounter difficult and rugged rocks. What's more, there's a good chance of getting stuck in narrow passageways or getting hit by lava.
If you want to get the most out of it, you should not search for neserite in this biome.
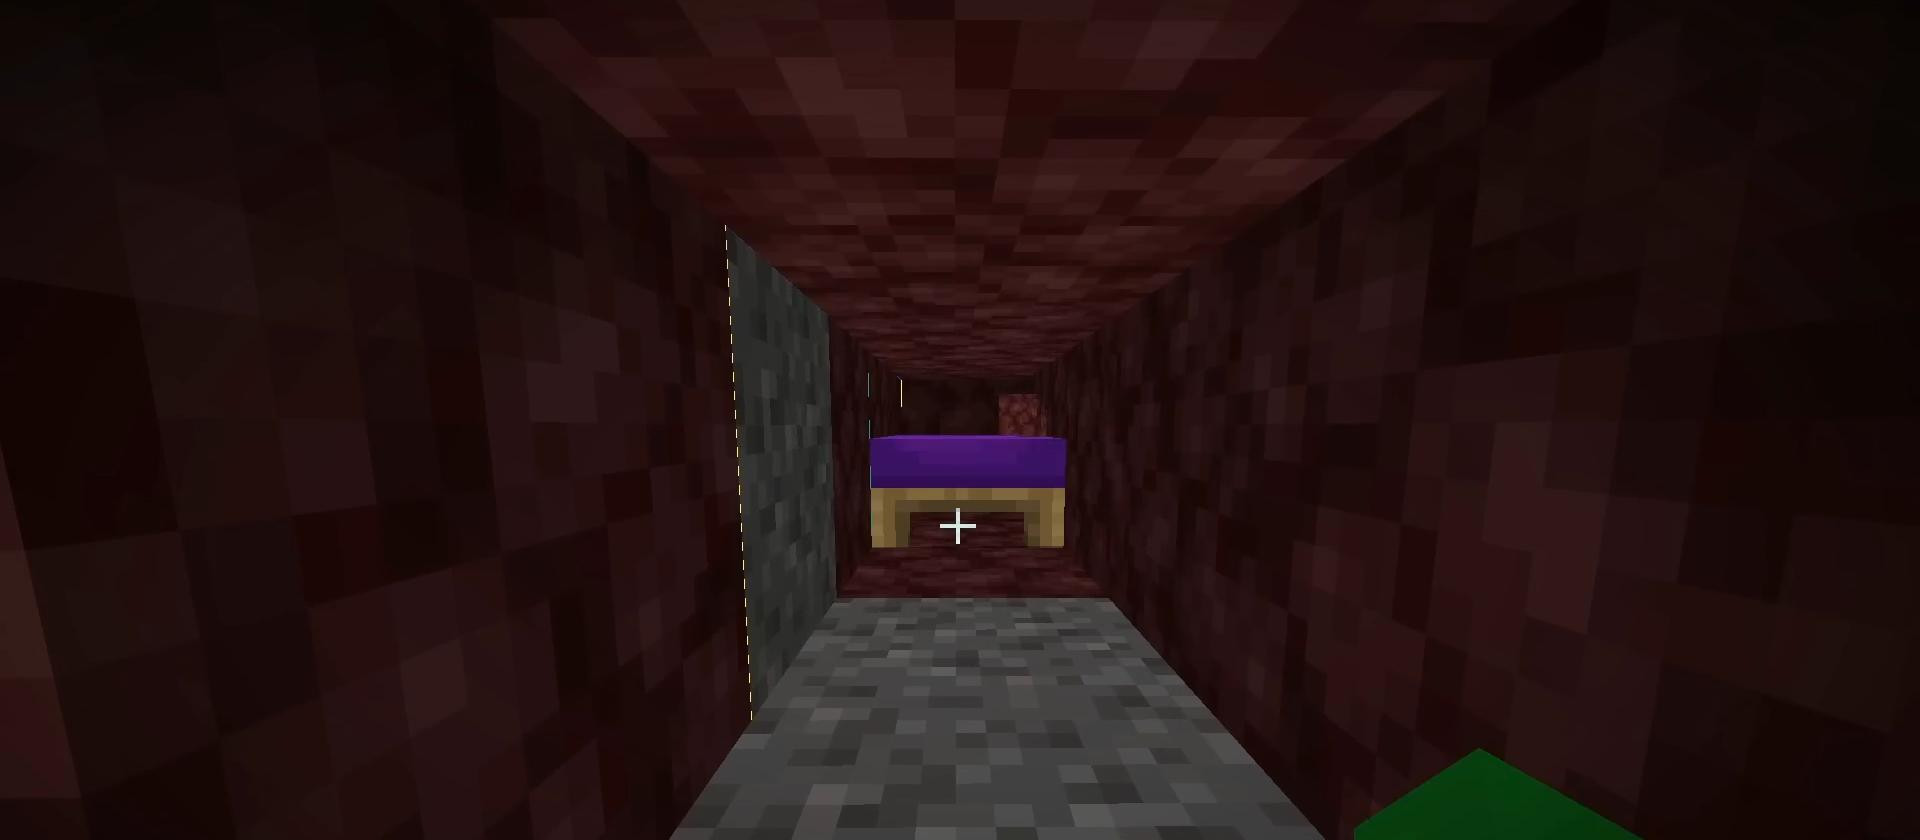
Mining method with beds
If you have just started the game and have not yet acquired powerful tools, the method of mining neserite with beds will be the most suitable for you.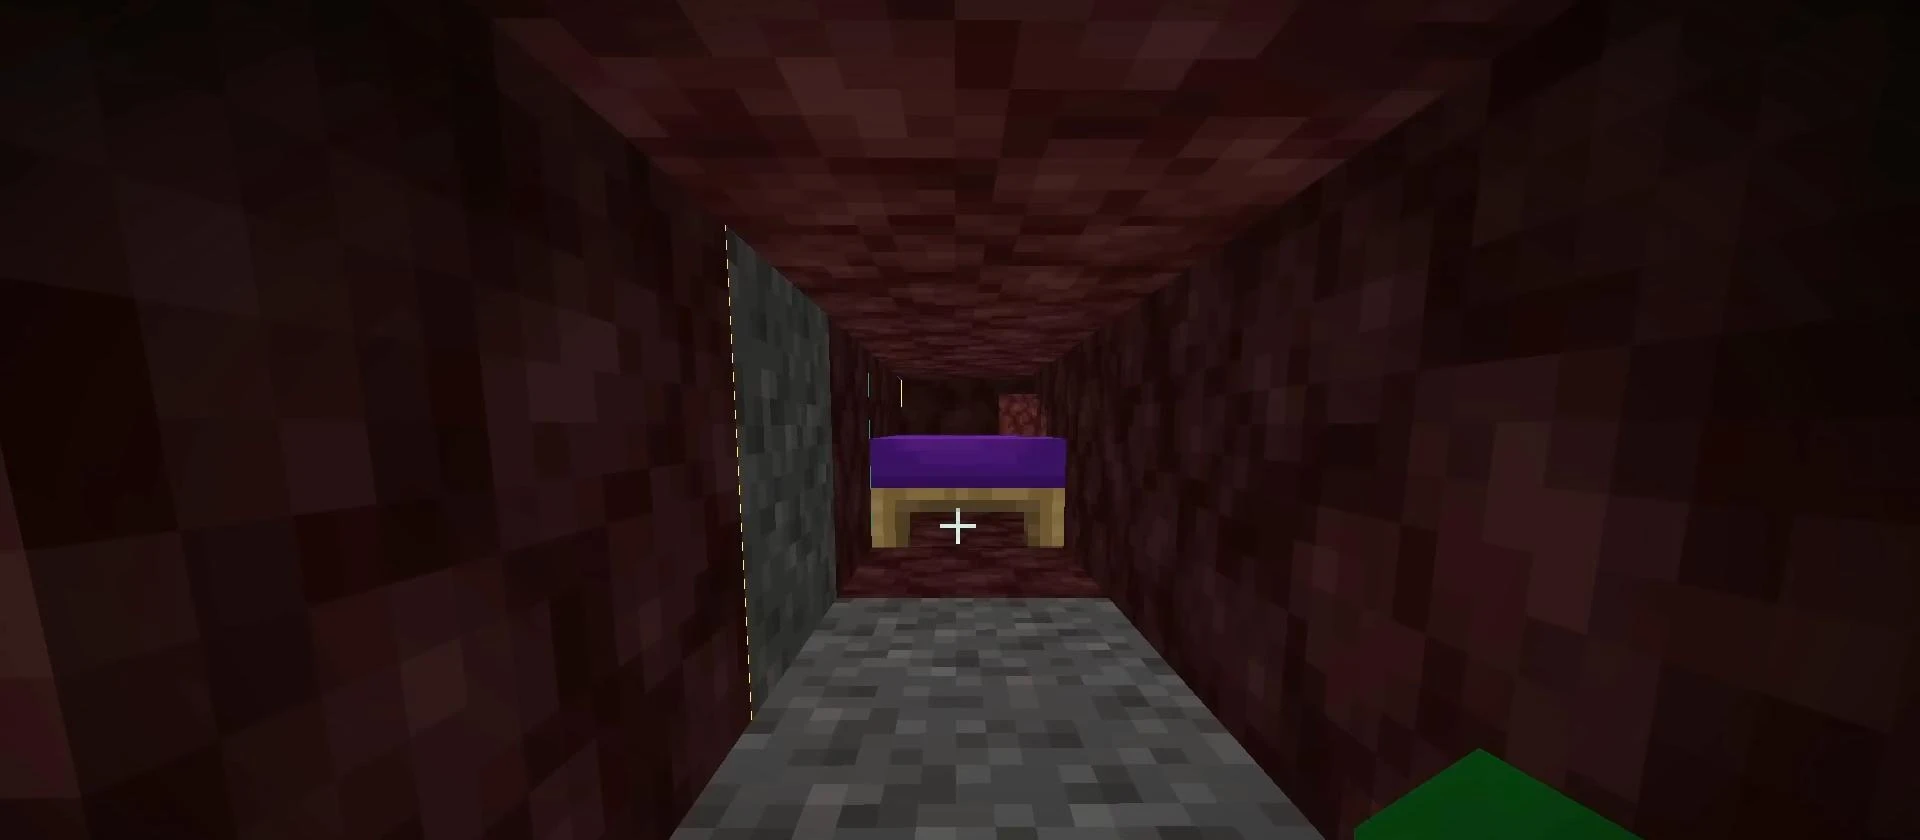
To get started, create a small sheep farm. Wool will be needed to craft beds, along with wood.
Before heading to Hell, it is important to provide yourself with minimal protection:
- iron armor;
- golden helmet against hostile pyglies;
It is also recommended to bring doors, ladders, half blocks and, if possible, fire resistance potions.
The optimal level to start digging is the Y=14 coordinate.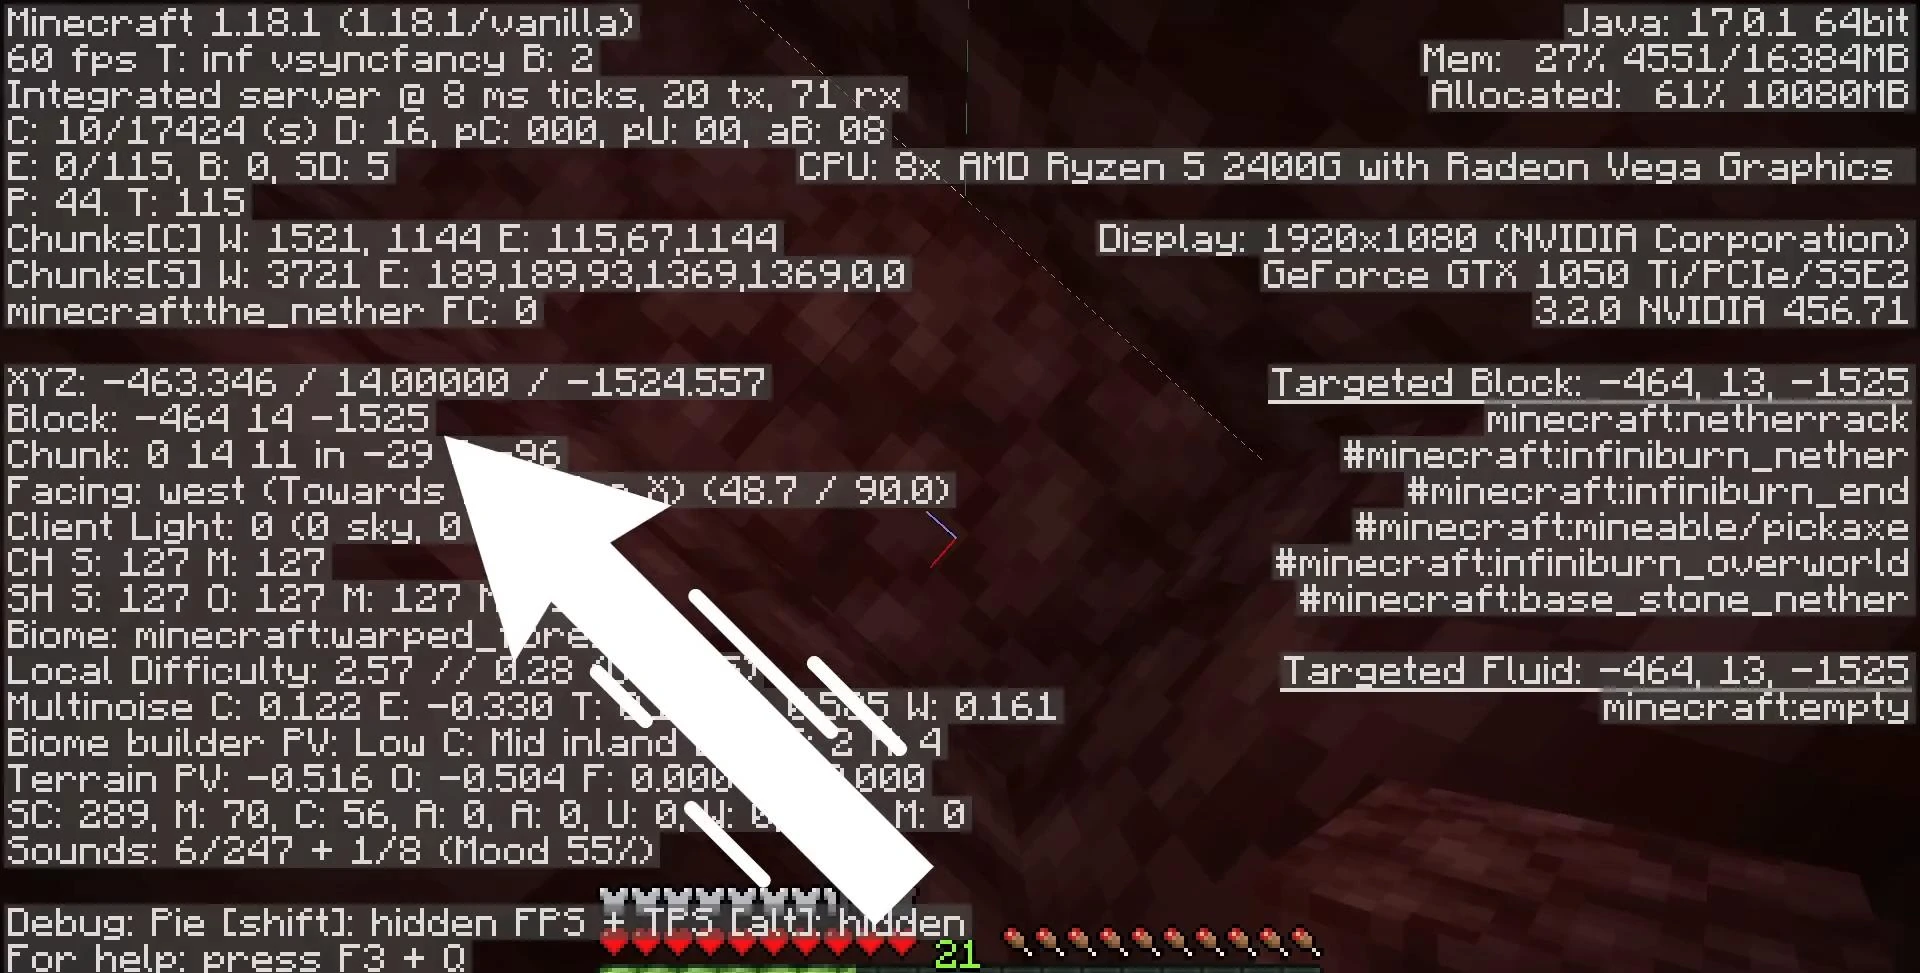
Wood blocks are the most abundant at this height. If you are playing the Java-Edition version, enable the display of chunk borders, just press F3+G. In the Bedrock version, you can just count down 16 blocks at a time to navigate manually.
Beds should be placed and exploded right at the borders of the chunks. This is because that's where debris is most often generated. To minimize blast damage and avoid catching fire, you should place a half-block in front of the bed for protection.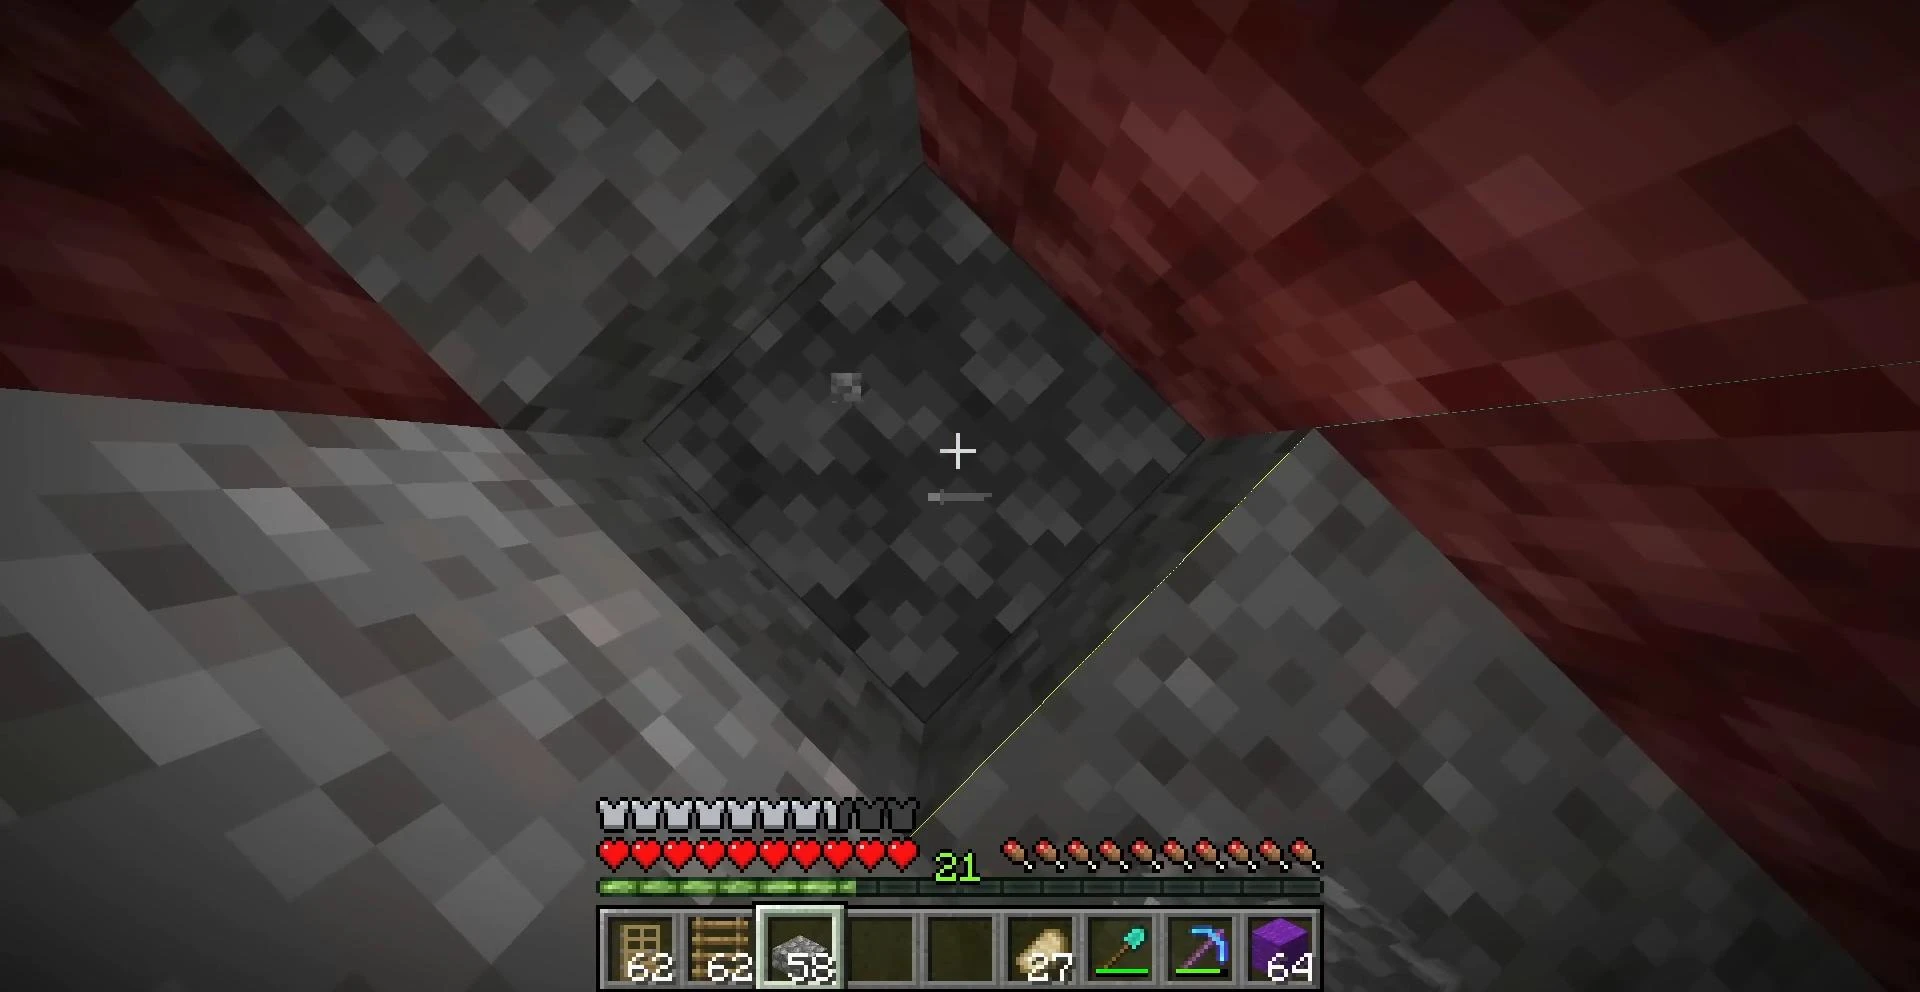
After detonation, carefully inspect the walls and floor of the blasted area. If you find at least one ancient rubble, be sure to clear the space around it diagonally. Often blocks appear in groups, and some of them may be hidden in neighboring cells.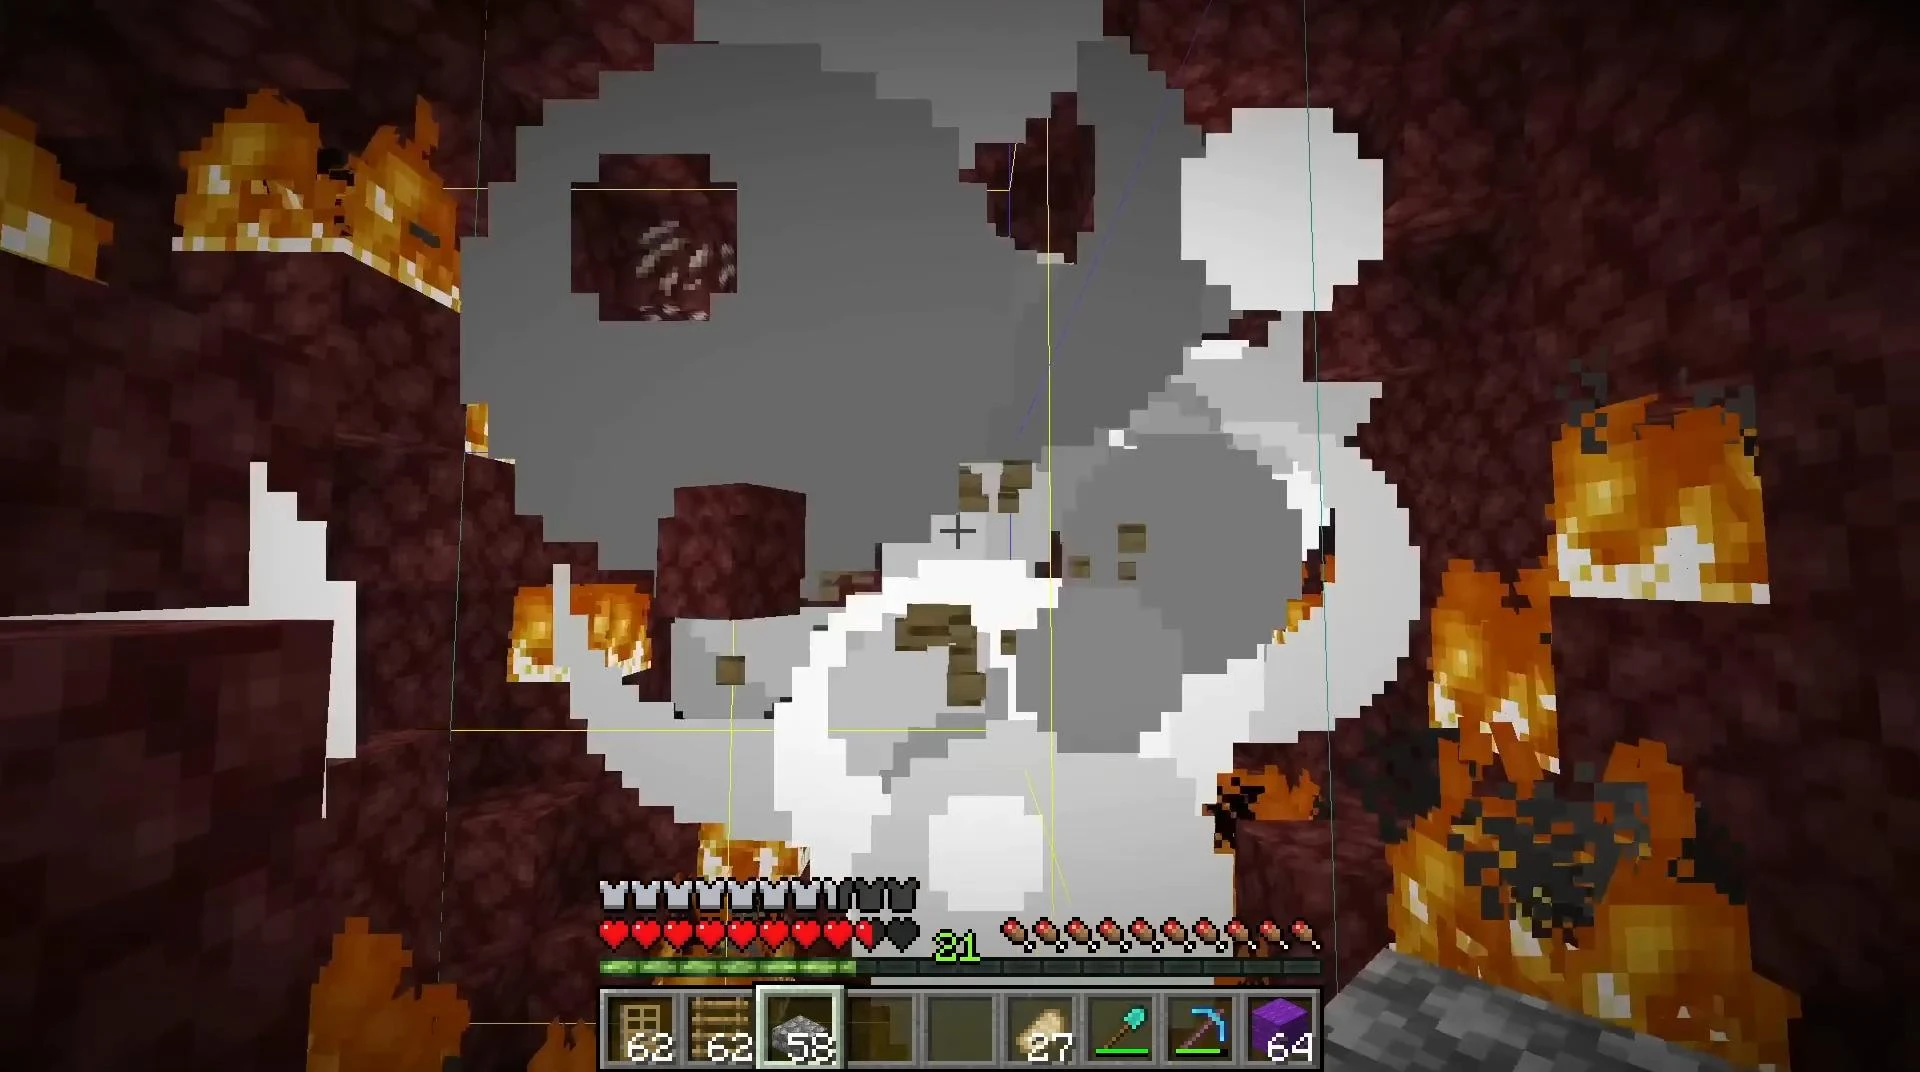
If lava is encountered, installing a door or ladder helps. They create a safe space and allow a safe escape. Explosions can be repeated every 16 blocks along chunk boundaries. To avoid getting lost, it's worth leaving a trail of nezerak.
You can try to extinguish fire areas manually, but there is almost no point in checking them for debris, since the chance of occurrence is very small.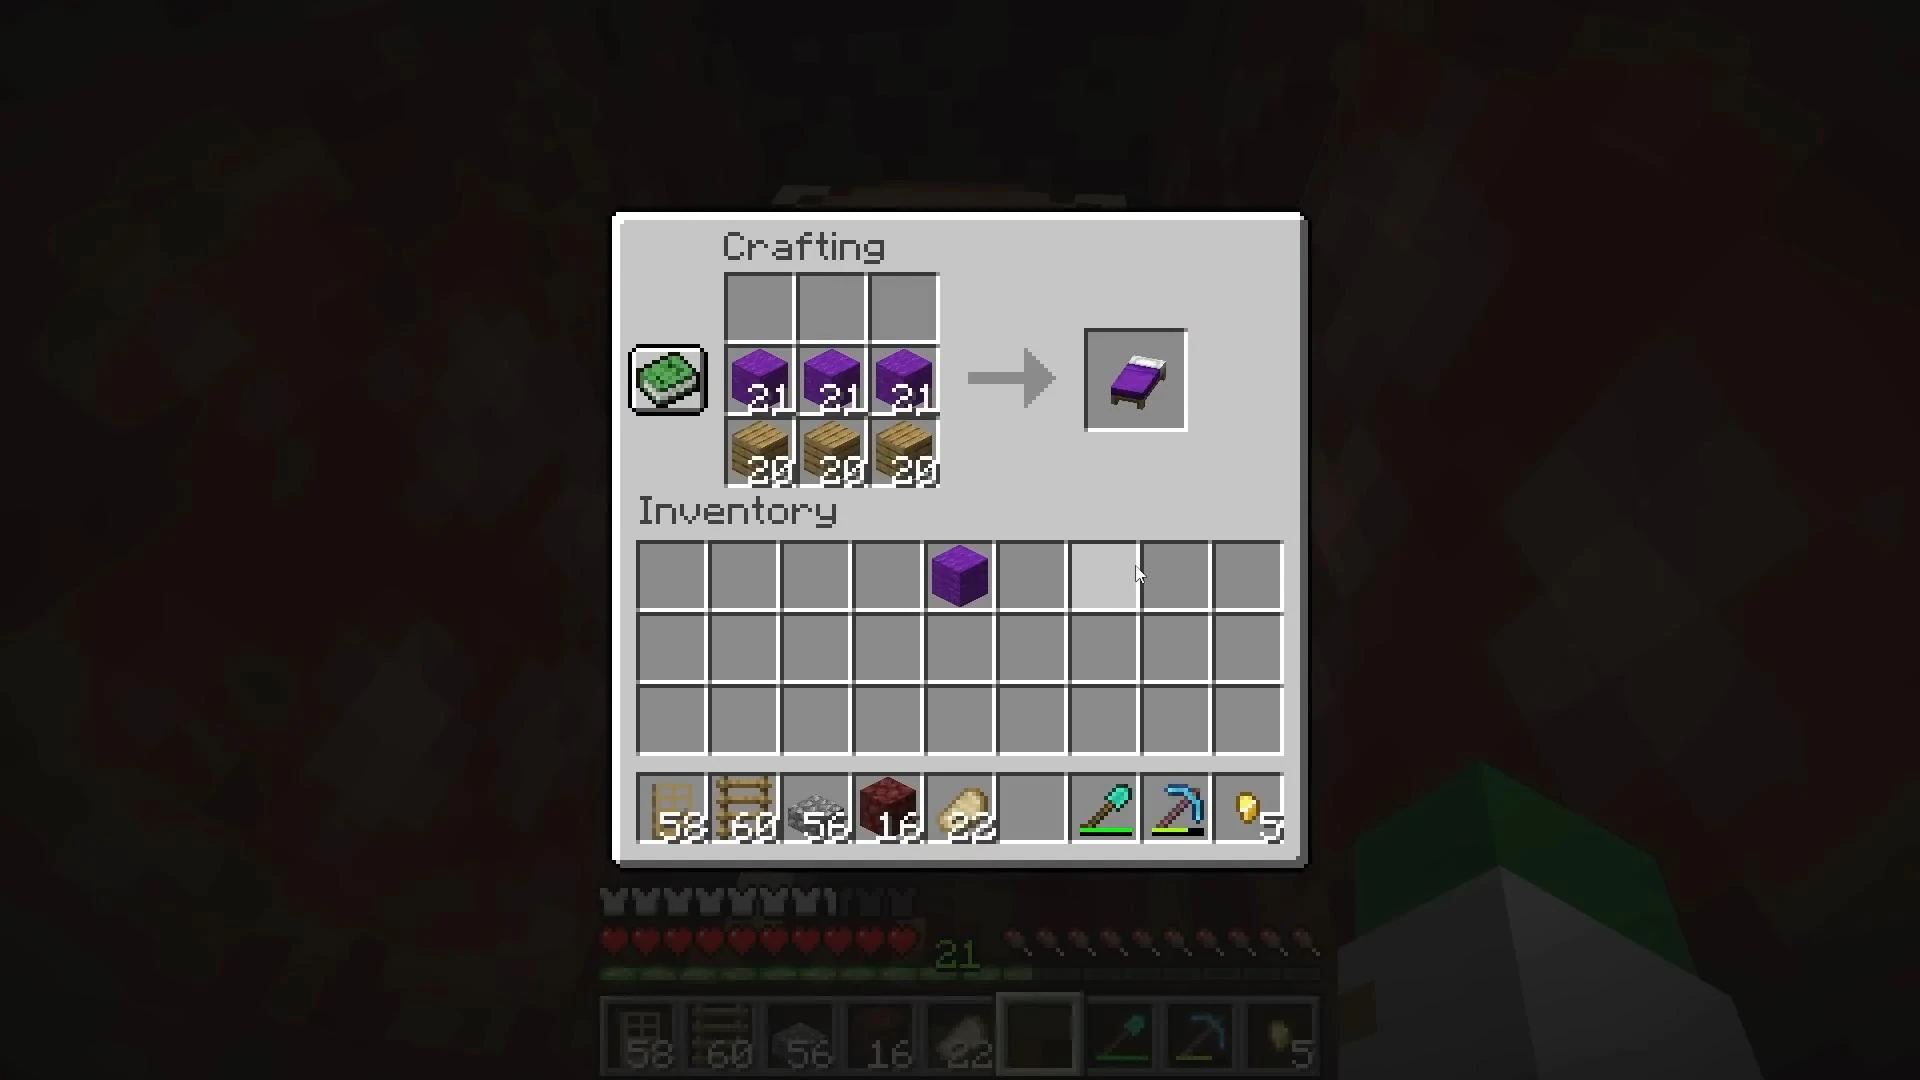
It is advisable to save space. Therefore, you should take wool and planks with you, and the beds should be crafted on the spot through the workbench.
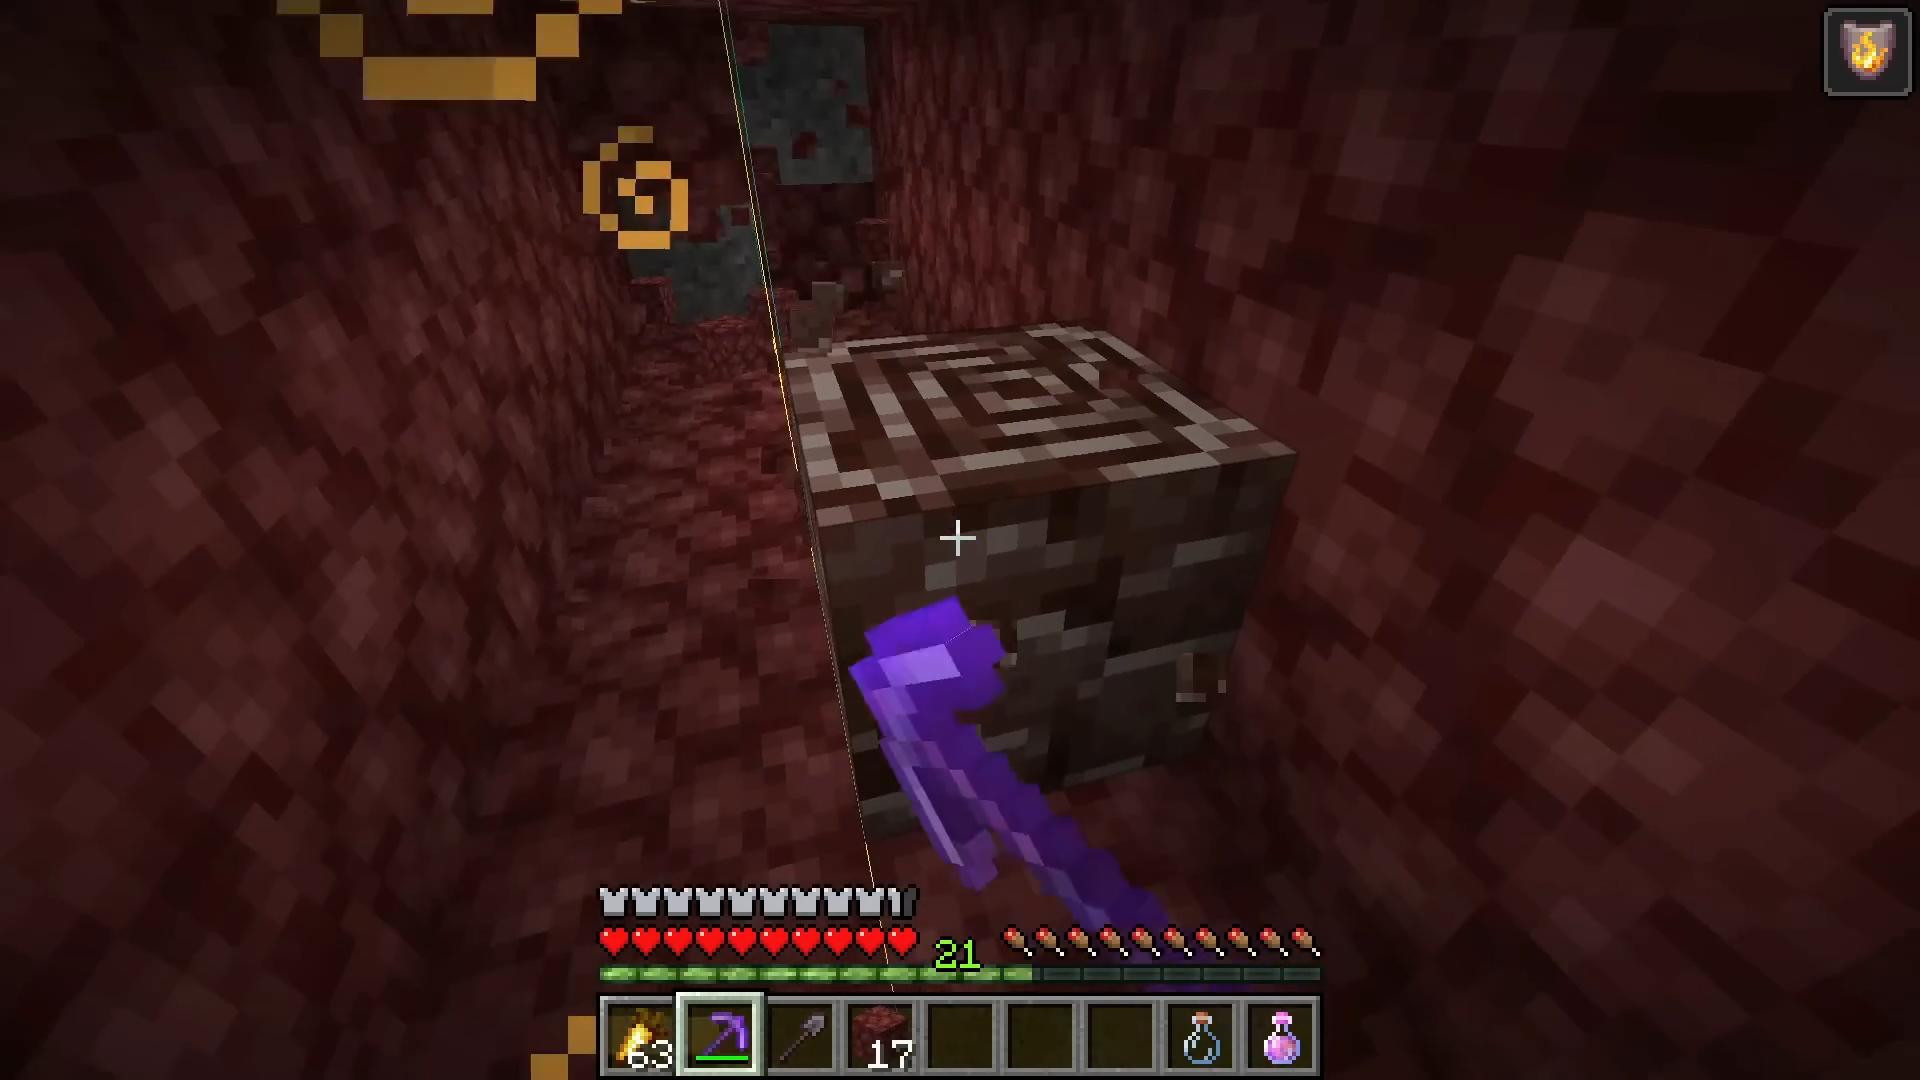
Mining method with a pickaxe
This method of mining will suit players who have already managed to acquire quality tools and are ready for more intensive work.
First of all, you will need a pickaxe with enchantments for strength, repair and efficiency. From these parameters will depend on your speed and survivability in mining forays. It is also recommended to stock up on fire resistance potions, a good supply of food, and be sure to wear a golden helmet to avoid attacks from piglins.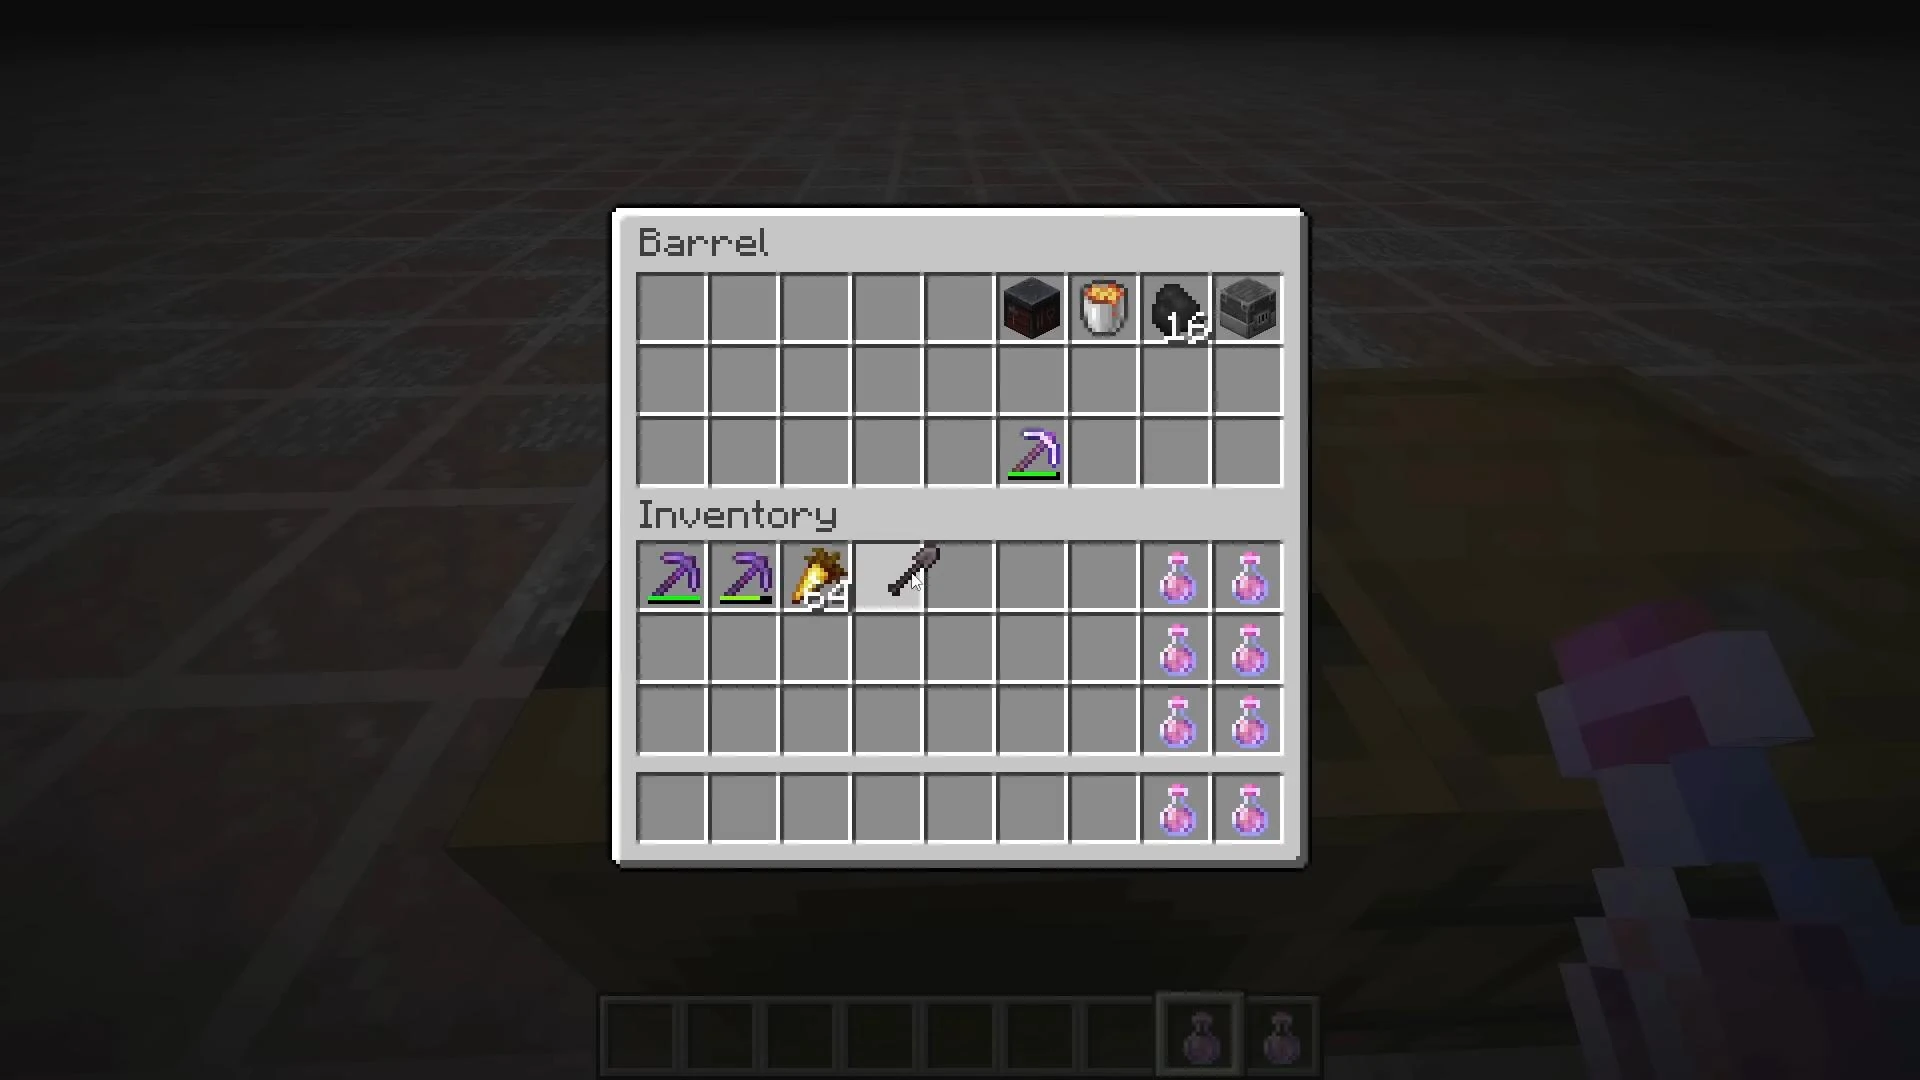
Mining, as in other methods, should be started at a height of Y = 14, where most often found ancient debris. In the Java version of the game it is convenient to enable the display of chunk borders using the F3+G combination, while in Bedrock it is enough to count 16 blocks manually.
The main idea of the method is to lay tunnels along the borders of the chunks, because it is on these invisible lines that neserite is most likely to appear.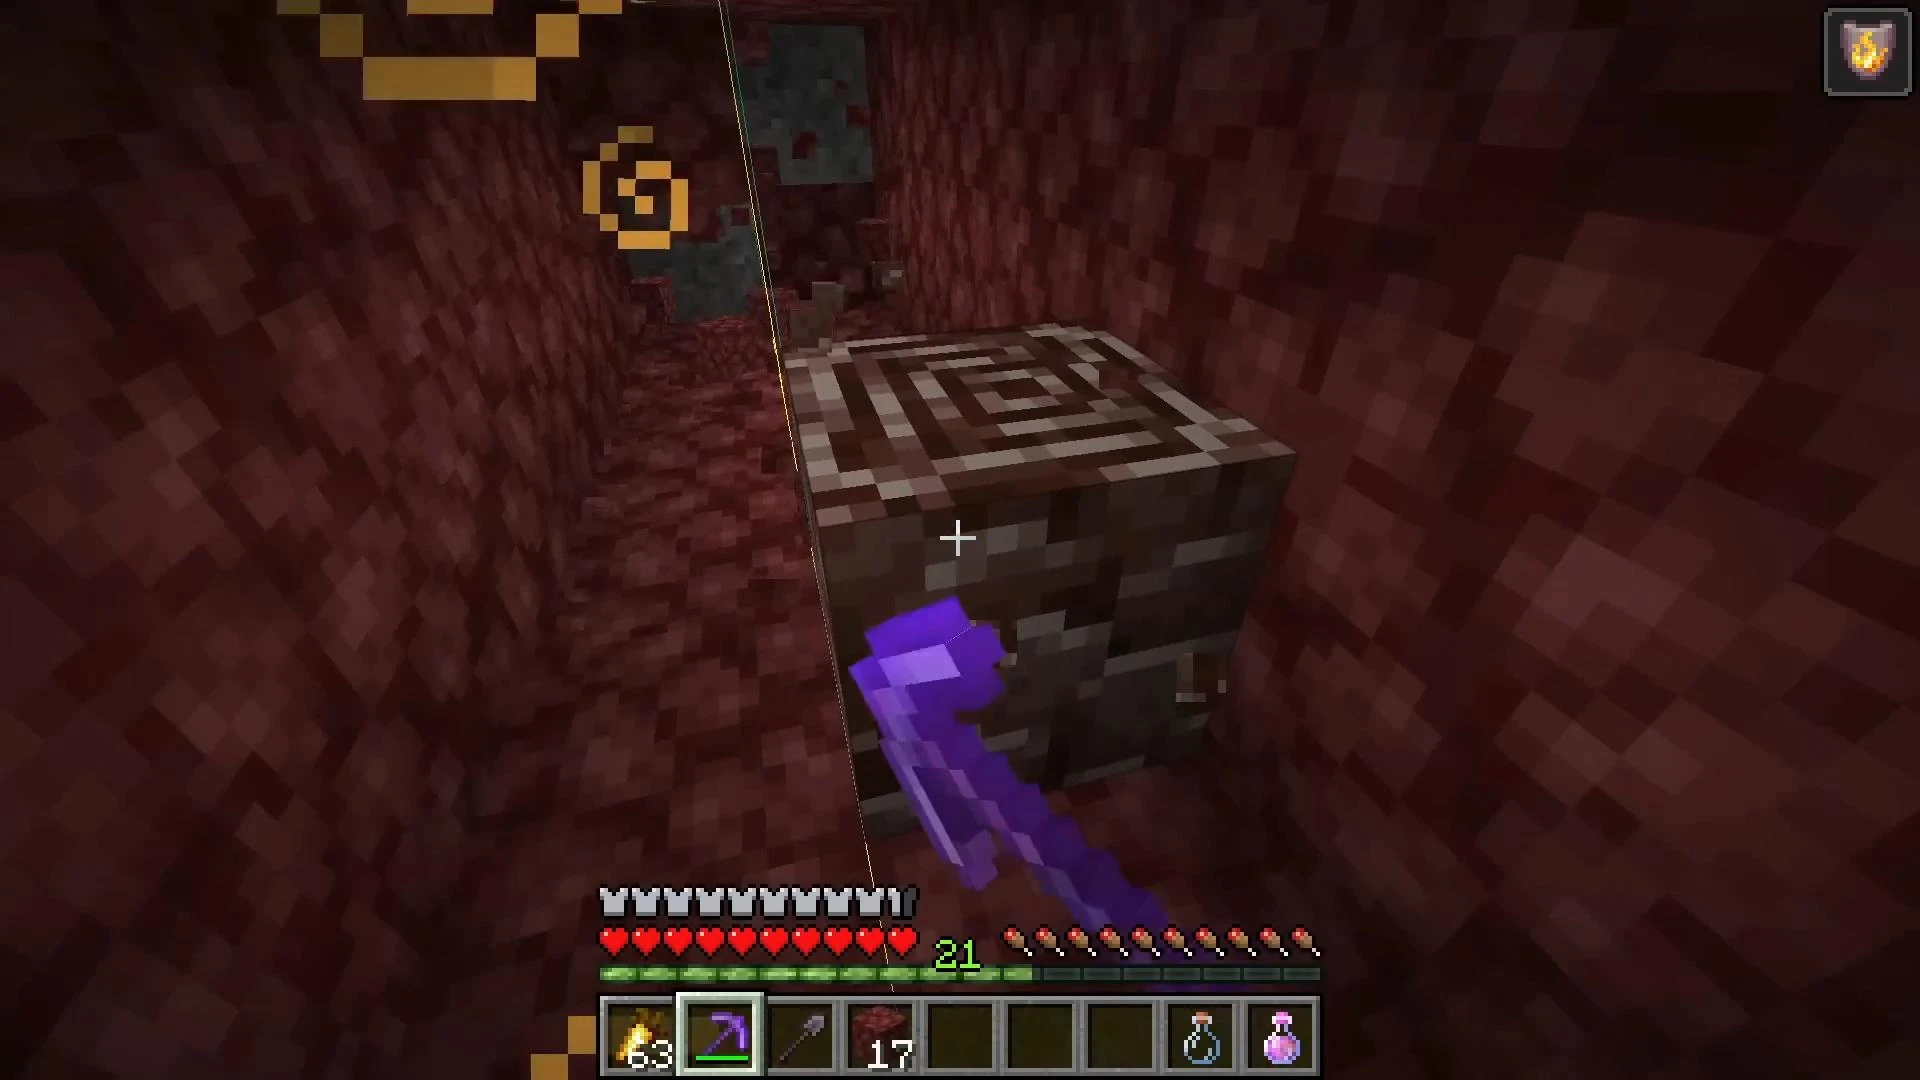
The process is similar to strip mining, but differs in focus. You focus more on maximizing speed and coverage. The high efficiency of the tools allows you to process huge volumes of rock and locate minerals quickly. If you have fire resistance potions, you are not afraid of lava.
In order not to get lost in the branching tunnel system, it is useful to fix the coordinates of the starting point of mining. This method works well in the Bedrock version of Minecraft. Even without visual chunk boundaries, it is enough to keep a step of 16 blocks.
Despite the high load on the tools, the method is considered to be about 20% more efficient than explosive. In addition, in the process you will collect not only ancient debris, but also a lot of quartz, gold and neserite.
Using neserite
Neserite ingots are used can be used to create a large number of all sorts of things. From them you can scraft lowstone, which allows you to charge the compass and permanently bind it to a certain point.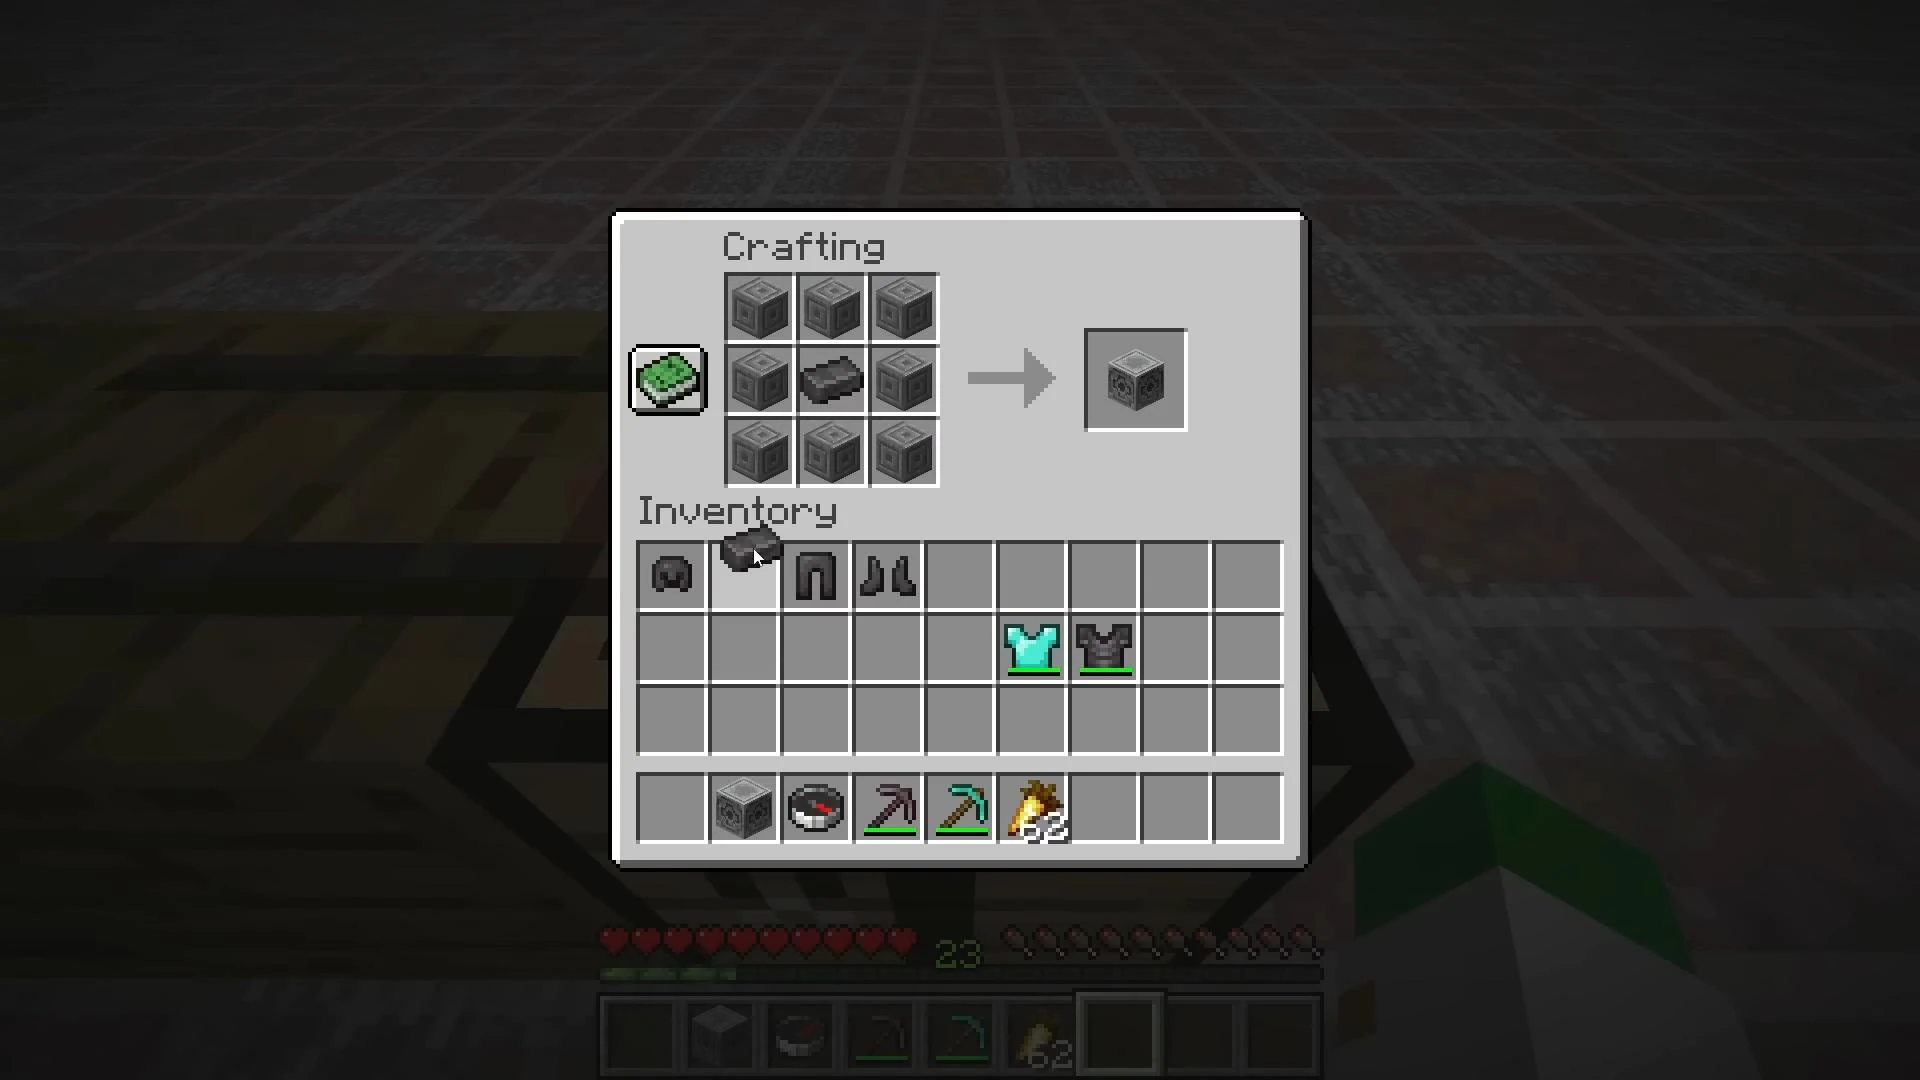
If the base is located far away from the 0,0 coordinates, this will be very useful, as the compass will always point to the lowstone, regardless of the distance. Even more so, you can create create multiple such compasses, each for a different location.
Neserite armor gives you more durability and reduces the recoil when taking damage. Another great advantage of items made of neserite is that they are resistant to lava and cannot be burned. Even if your character dies, the items will remain intact if they don't manage to disappear.
However, all items and items created from neserite can be destroyed by cactus, which is often found in arid biomes.
Neserite picks last longer and dig a little faster than diamond picks. You can also turn ingots into blocks of neserite and even use them to create lighthouses, but this is very expensive.
Videos
Added by

![NeoForge Installer [Minecraft 1.21.1, 1.20.6 - 1.20.1]](https://i2.modland.net/i/66c5cbeb7e5ee/neoforge_modland.jpg)
![Timeless and Classics Zero (TaCZ) [Minecraft 1.20.1, 1.19.2, 1.18.2]](https://i2.modland.net/i/669683678b42d/description_0ac47139-8e79-4b76-8a0c-d79bcb9039df_modland.jpg)
![Armor Durability HUD [Minecraft 1.21.4, 1.21.3, 1.21.2, 1.21.1, 1.21]](https://i2.modland.net/i/674bc2c2c404b/190618141923060623_modland.jpg)

![[1.5] THE DROPPER](https://li1.modland.net/minecraft/maps/thumbnail/th_ModLandNet_1.jpg)
_modland.jpg)


_modland.jpg)