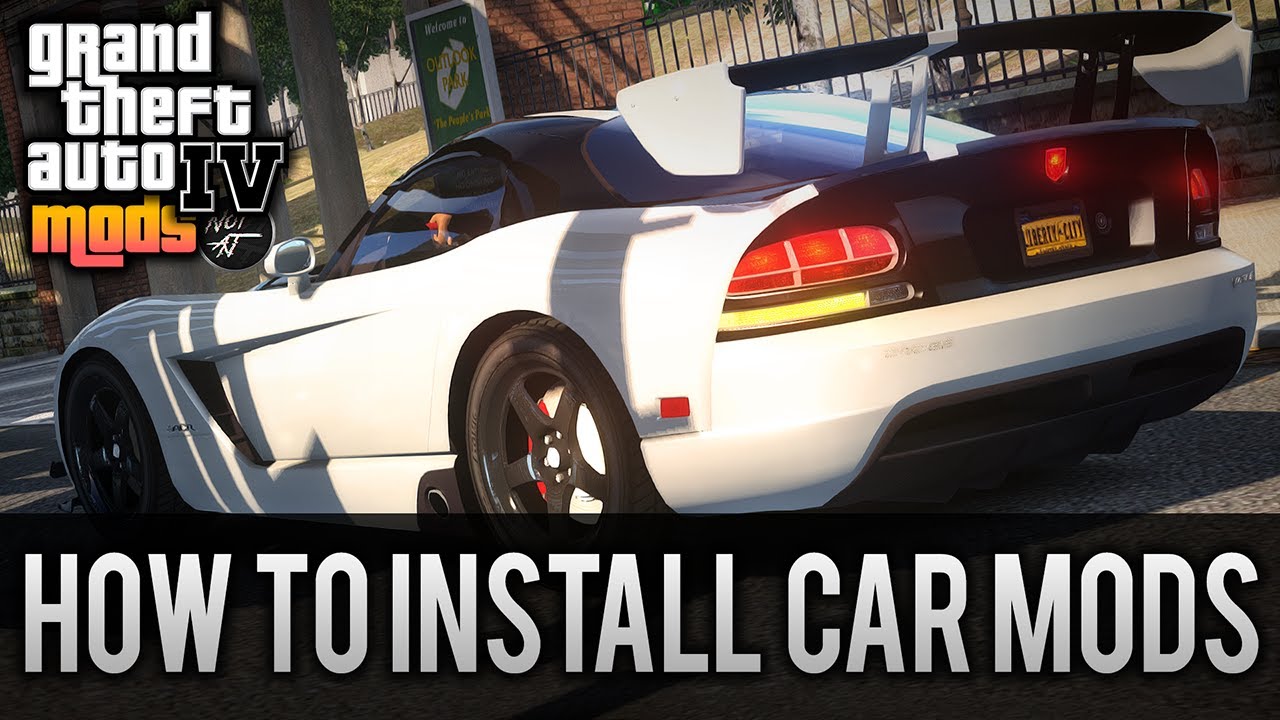
How To Install Car Mods in GTA 4? - Detailed Guide
-lg_modland.jpg)


Before you start installing modifications for cars in GTA 4, you need to make sure that you use a clean version of the game without third-party changes. This will prevent possible errors and conflicts during modding.
Next you will need to download and install the program OpenIV - this is a powerful archiver, specially designed to work with game files from Rockstar. Without it, making changes to the structure of the game will be impossible.
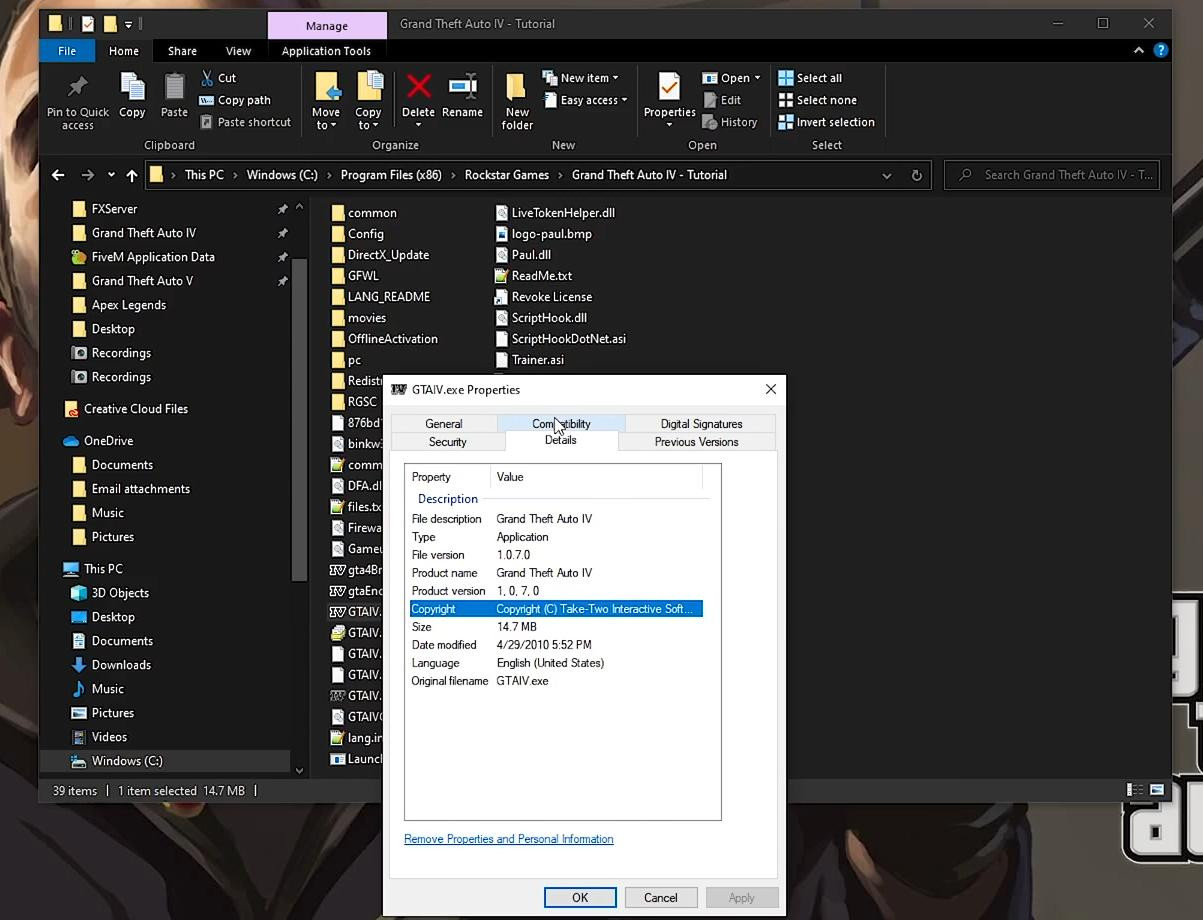
For the successful work of mods also requires downgrade the game to patch 1.0.7.0. This version is considered the most stable and compatible with most custom modifications. A variant with patch 1.0.8.0 is also possible, but it is not so widely tested.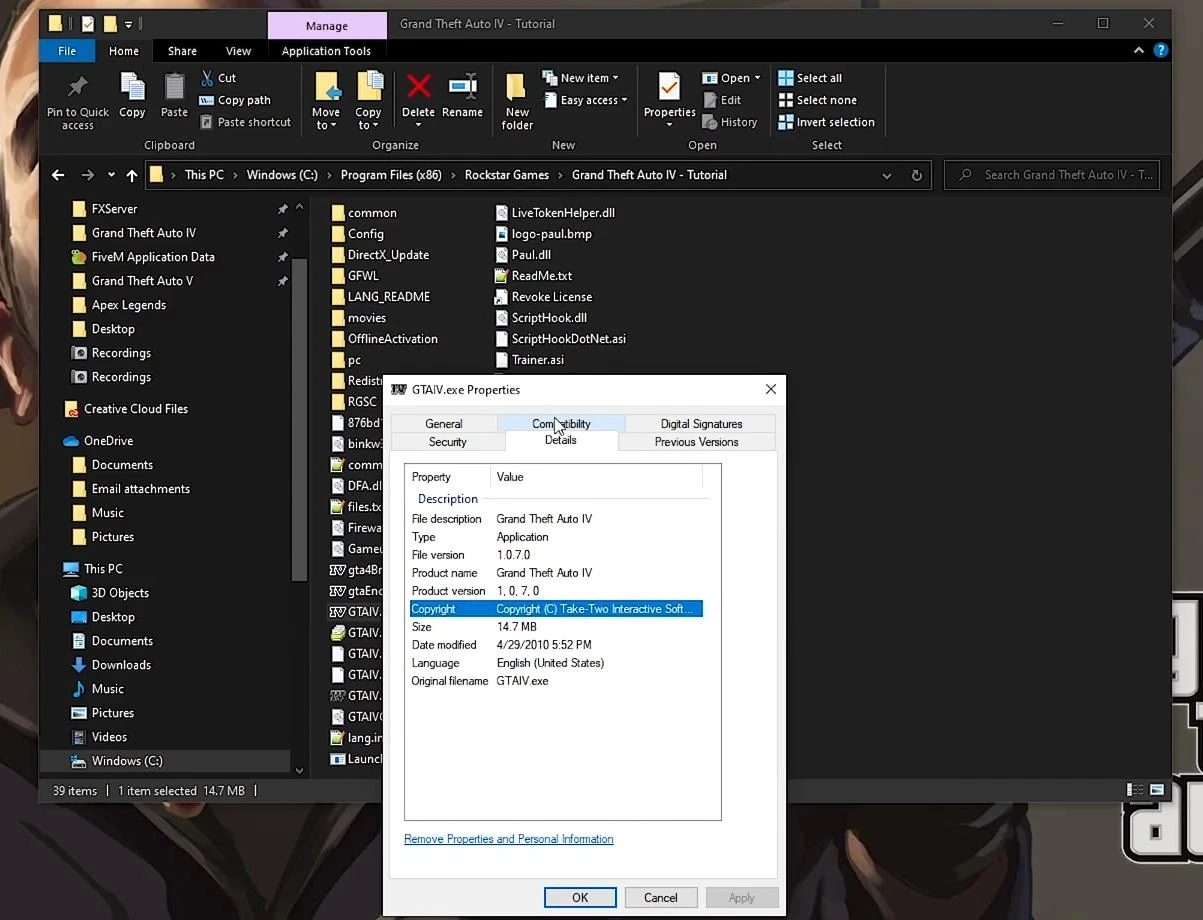
After installing the desired version, it is recommended to create a backup copy of the game folder. This is done by routinely copying the directory GTA 4 in a convenient place. Such a copy will be useful when failures occur, allowing you to quickly restore the original state of the game.
Downloading and preparing the car model
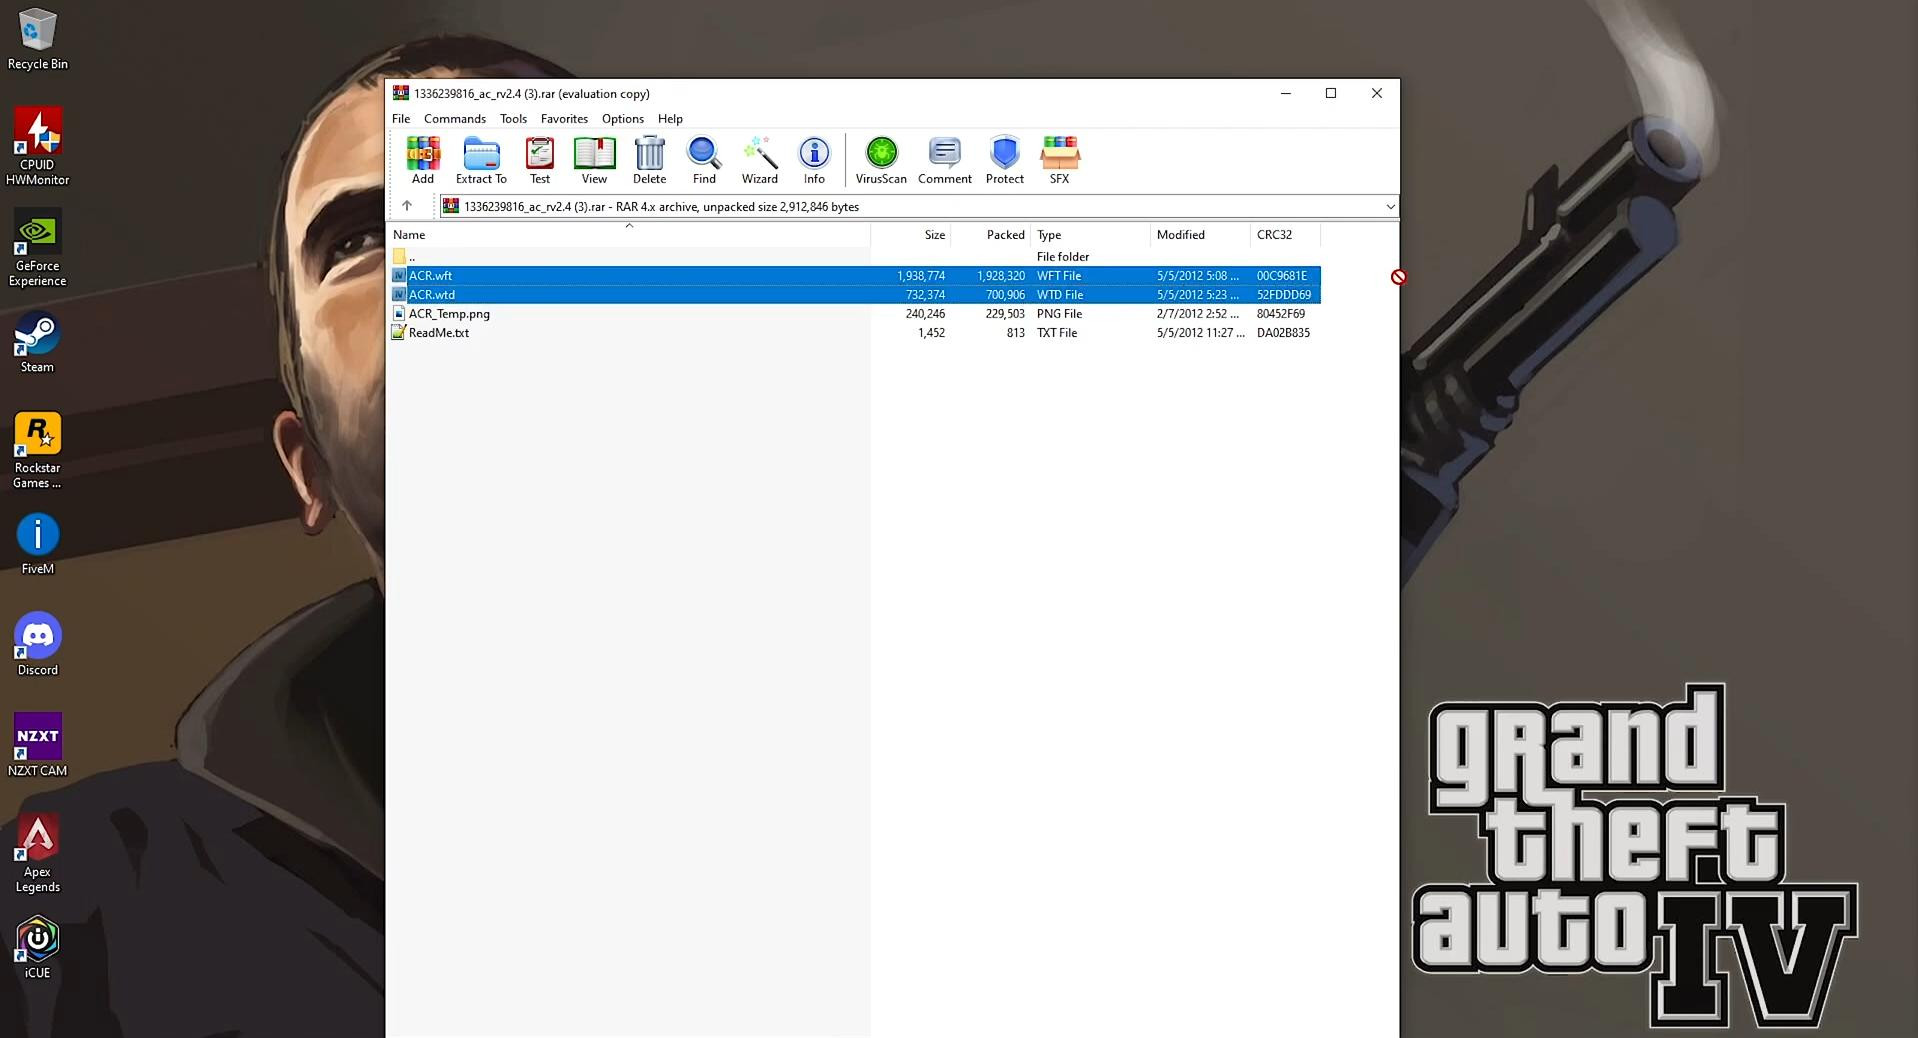
The next step is to download a suitable mod. Usually mod files are supplied in a .rar or .zip archive. To unpack them, you will need the WinRAR program or a similar utility. Inside the archive most often there are two files: with the extension .wft (model) and .wtd (texture).
These files should be extracted to the desktop. Before installing them, they should be renamed in accordance with the car to be replaced in the game. For example, if the Comet model is being replaced, both files should be named comet.wft and comet.wtd respectively. It is important not to change the file extensions - only the name up to the point. This will ensure correct replacement of models in the game archive.
Replacing the standard car model through OpenIV
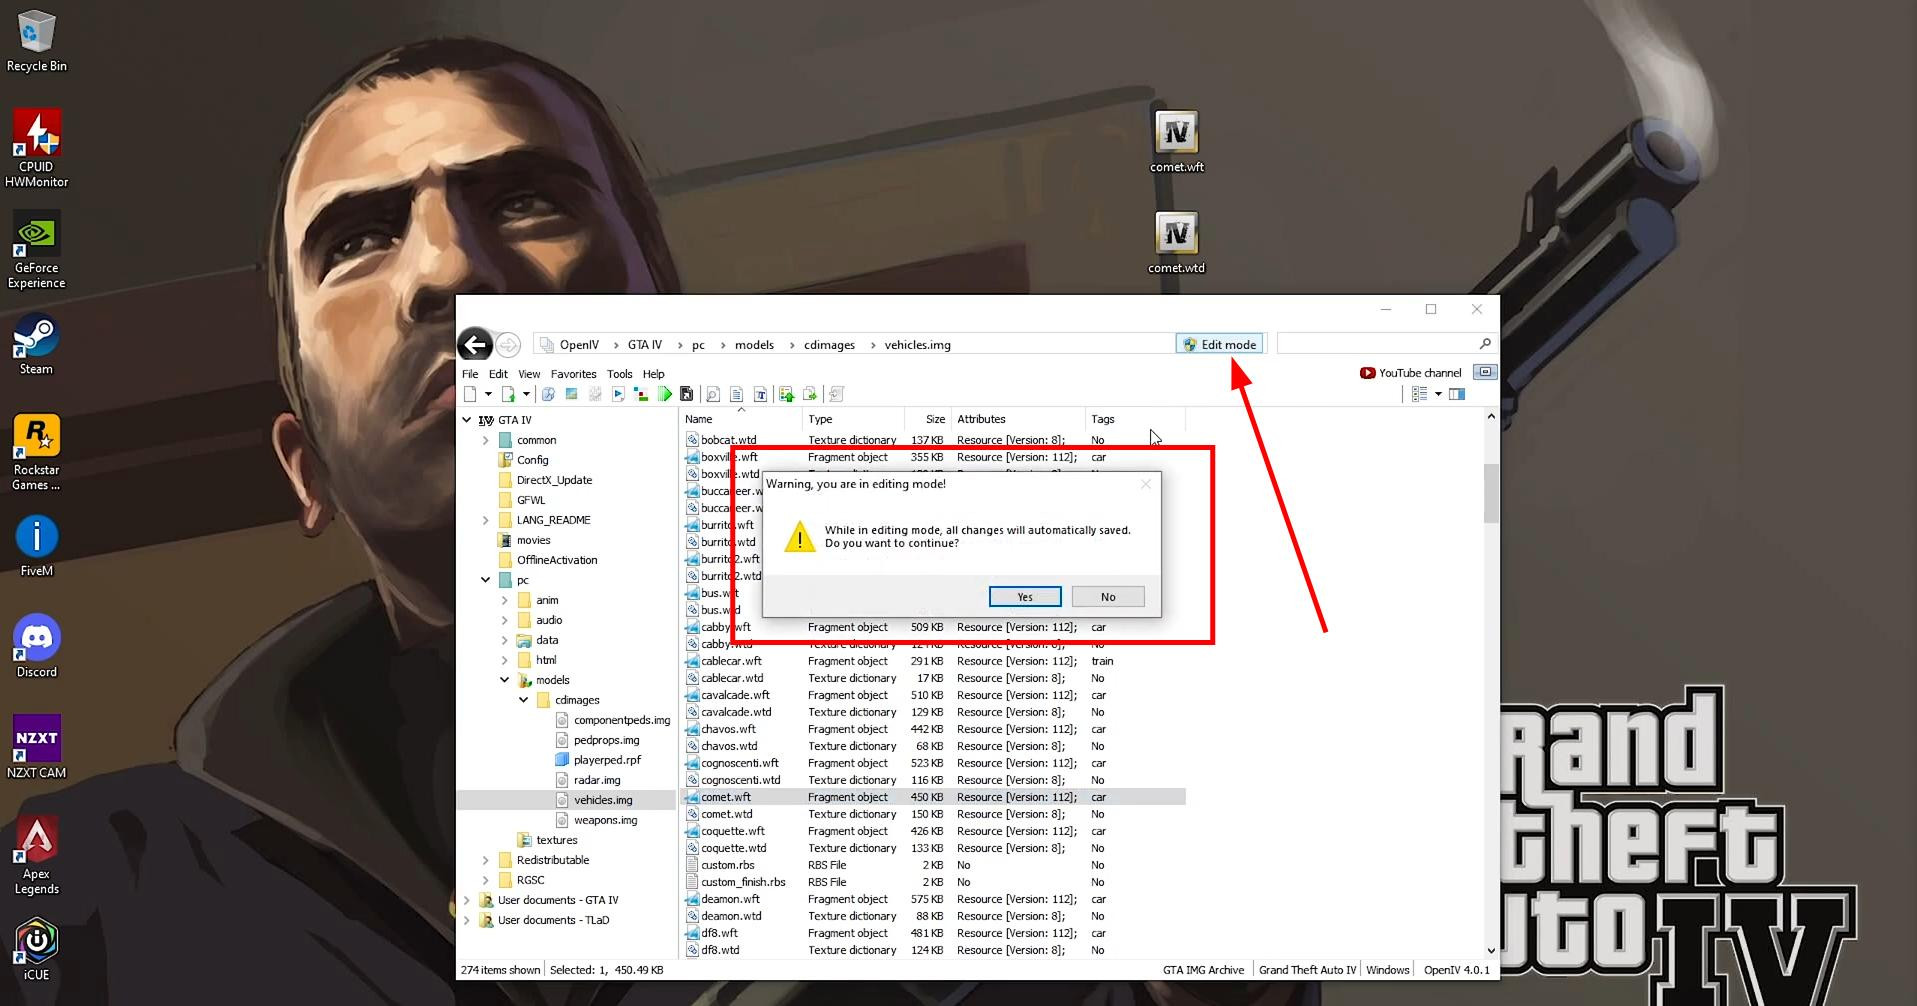
To replace the car model you need to open OpenIV and select the installed copy of GTA 4. Then go to the path: pc > models > cdimages > vehicles.img.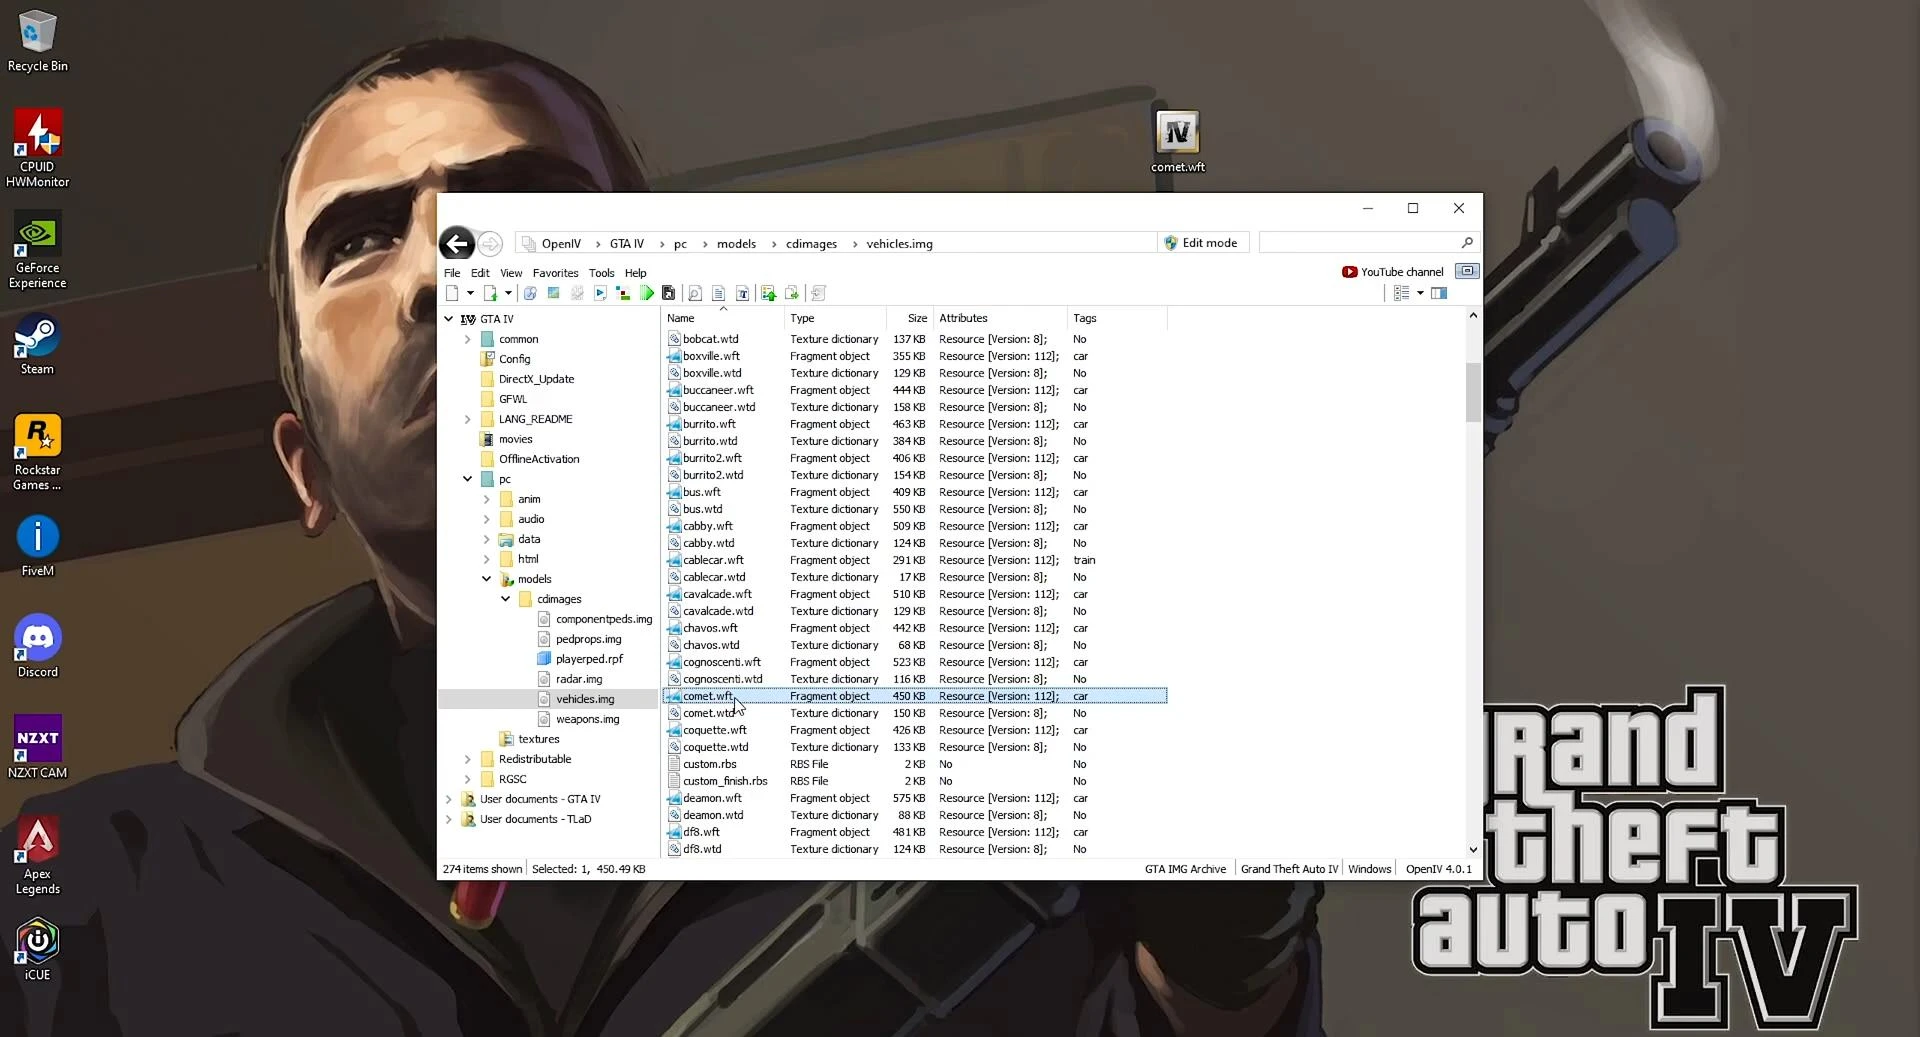
This archive contains all the transportation models of the game. To start editing, you need to enable the edit mode (Edit Mode).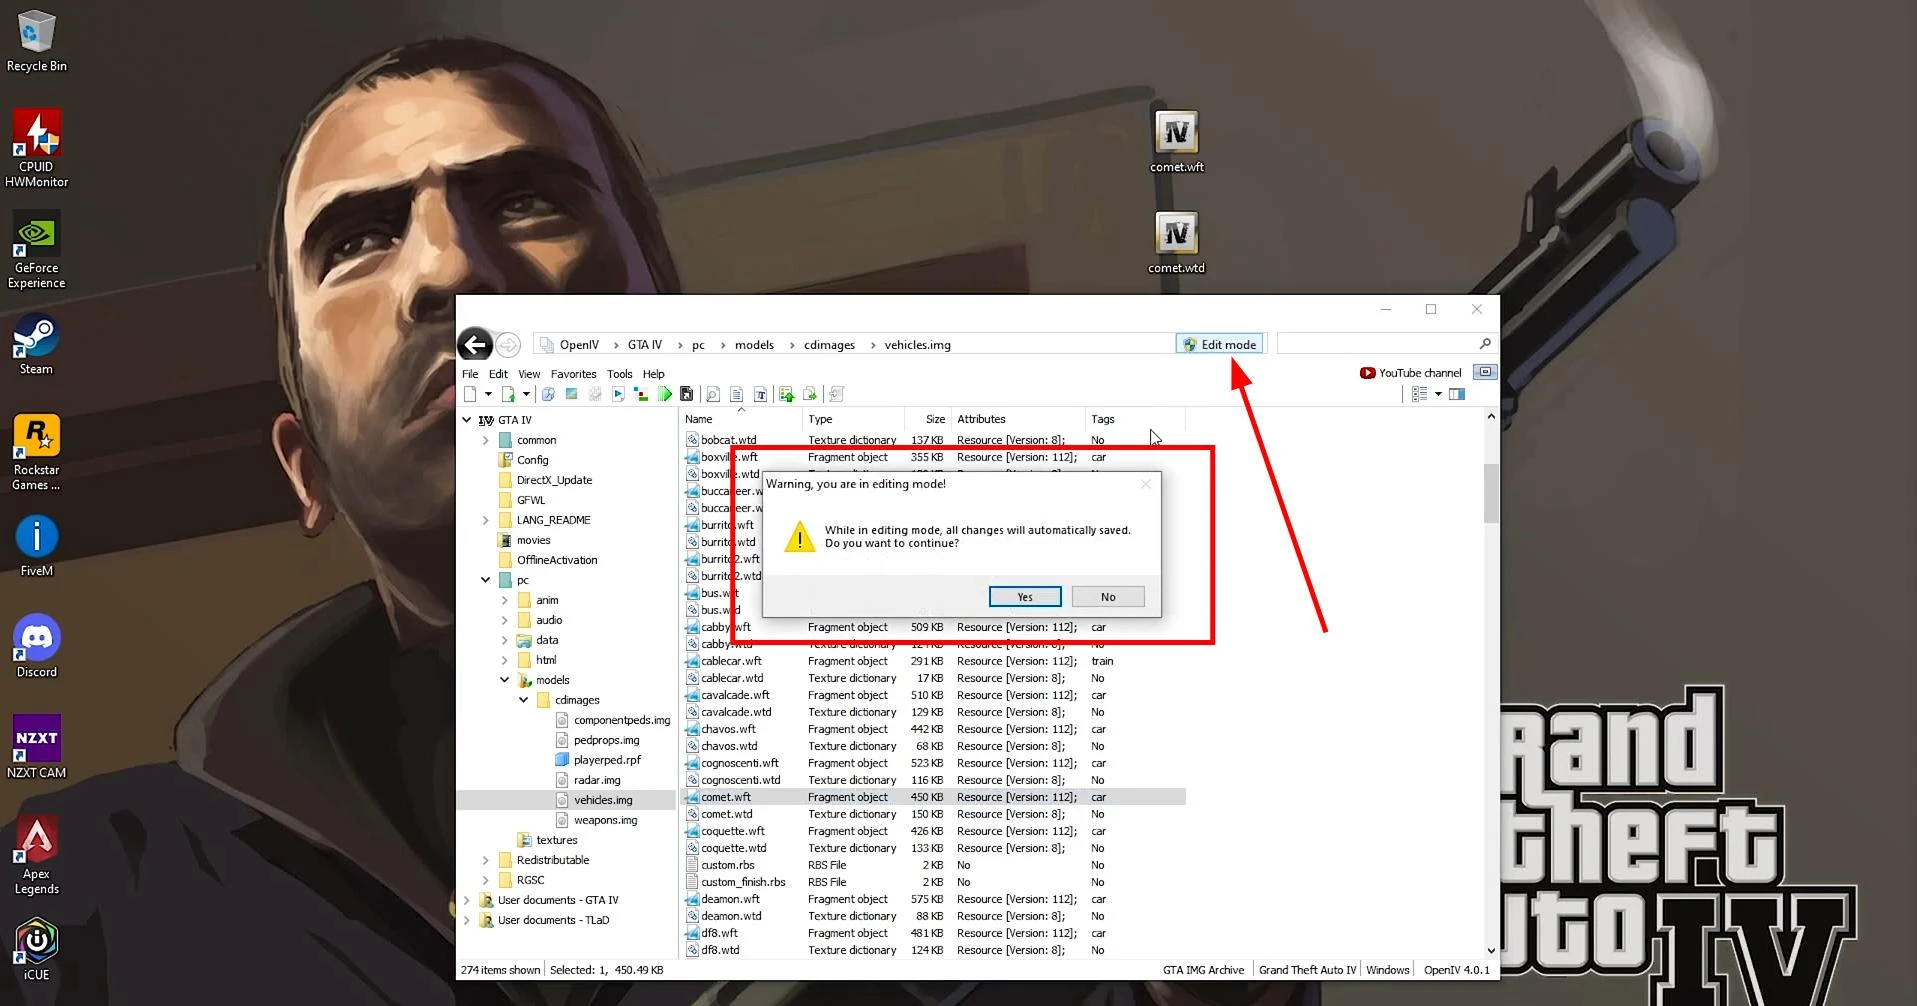
After that the original vehicle model files (e.g. comet.wft and comet.wtd) are replaced by the prepared pre-modified files.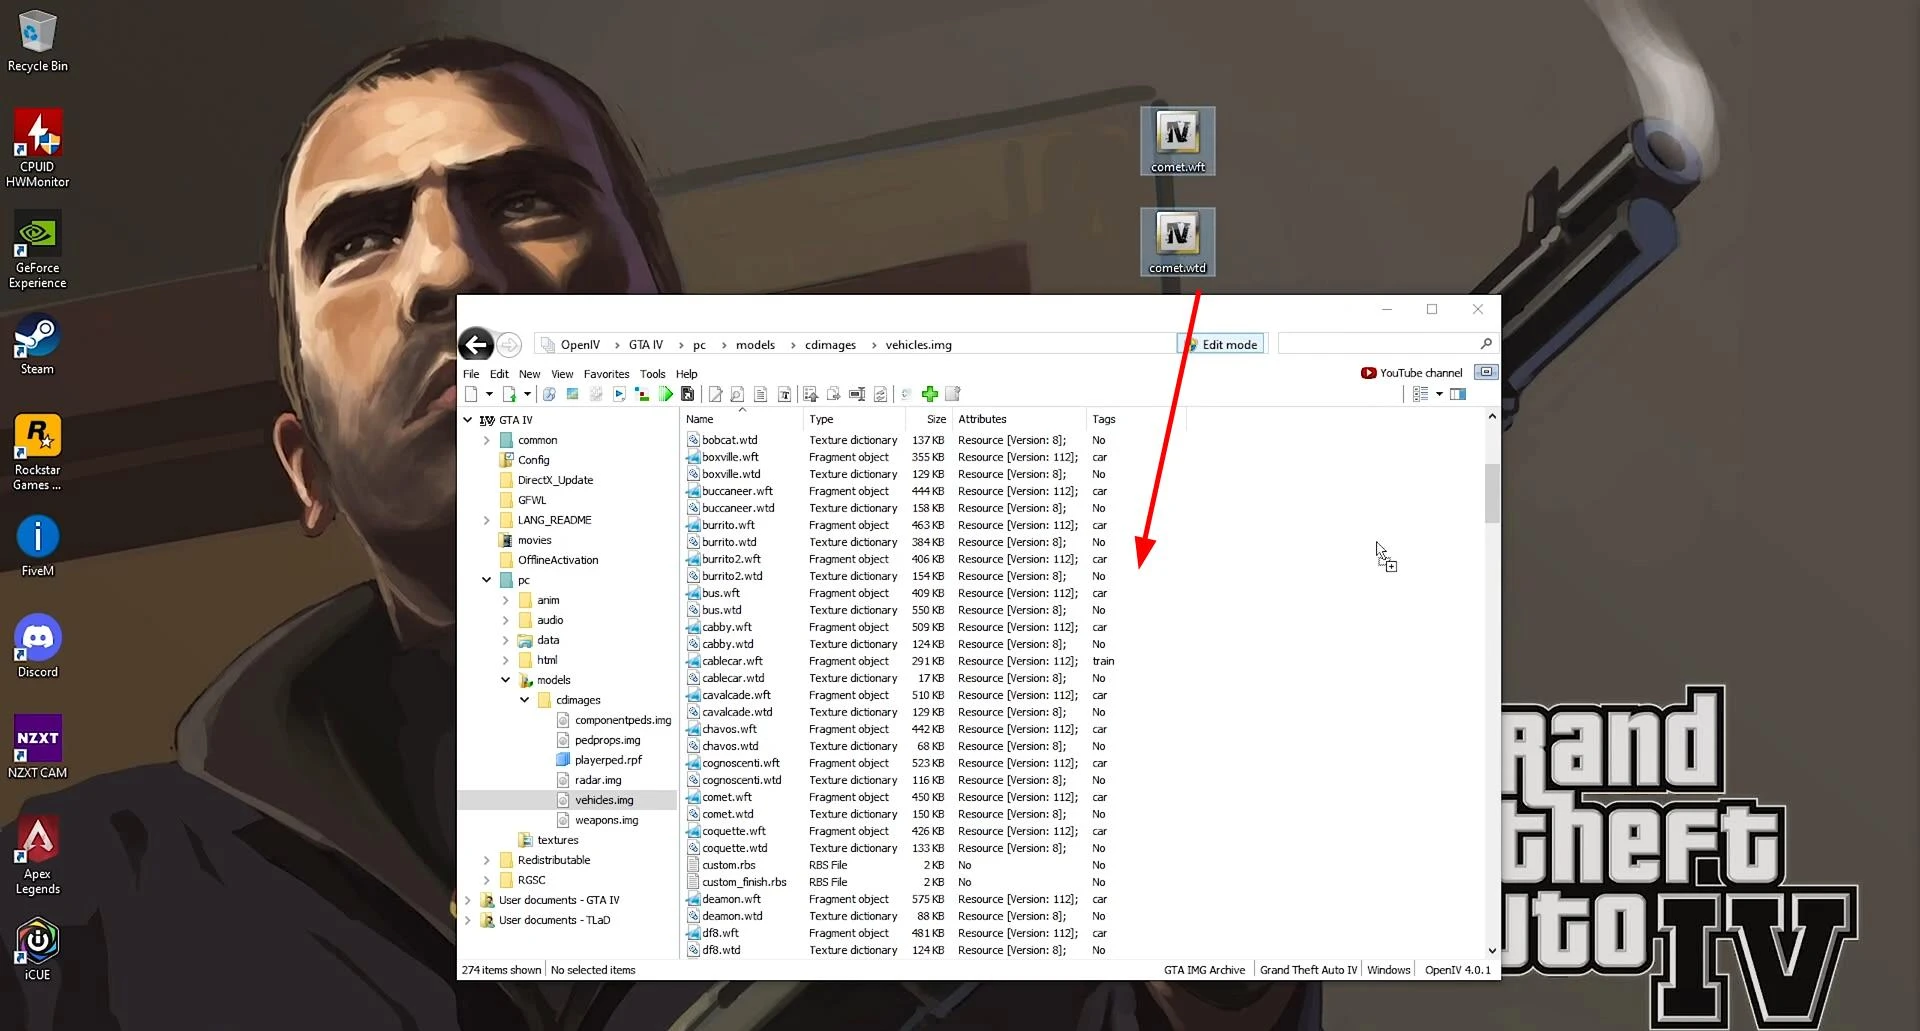
Simply drag and drop them into the OpenIV window. The change in the size of the files indicates that the mod has been successfully installed. After the replacement, you can open the model in the program for a visual check and make sure that the new car is correctly displayed.
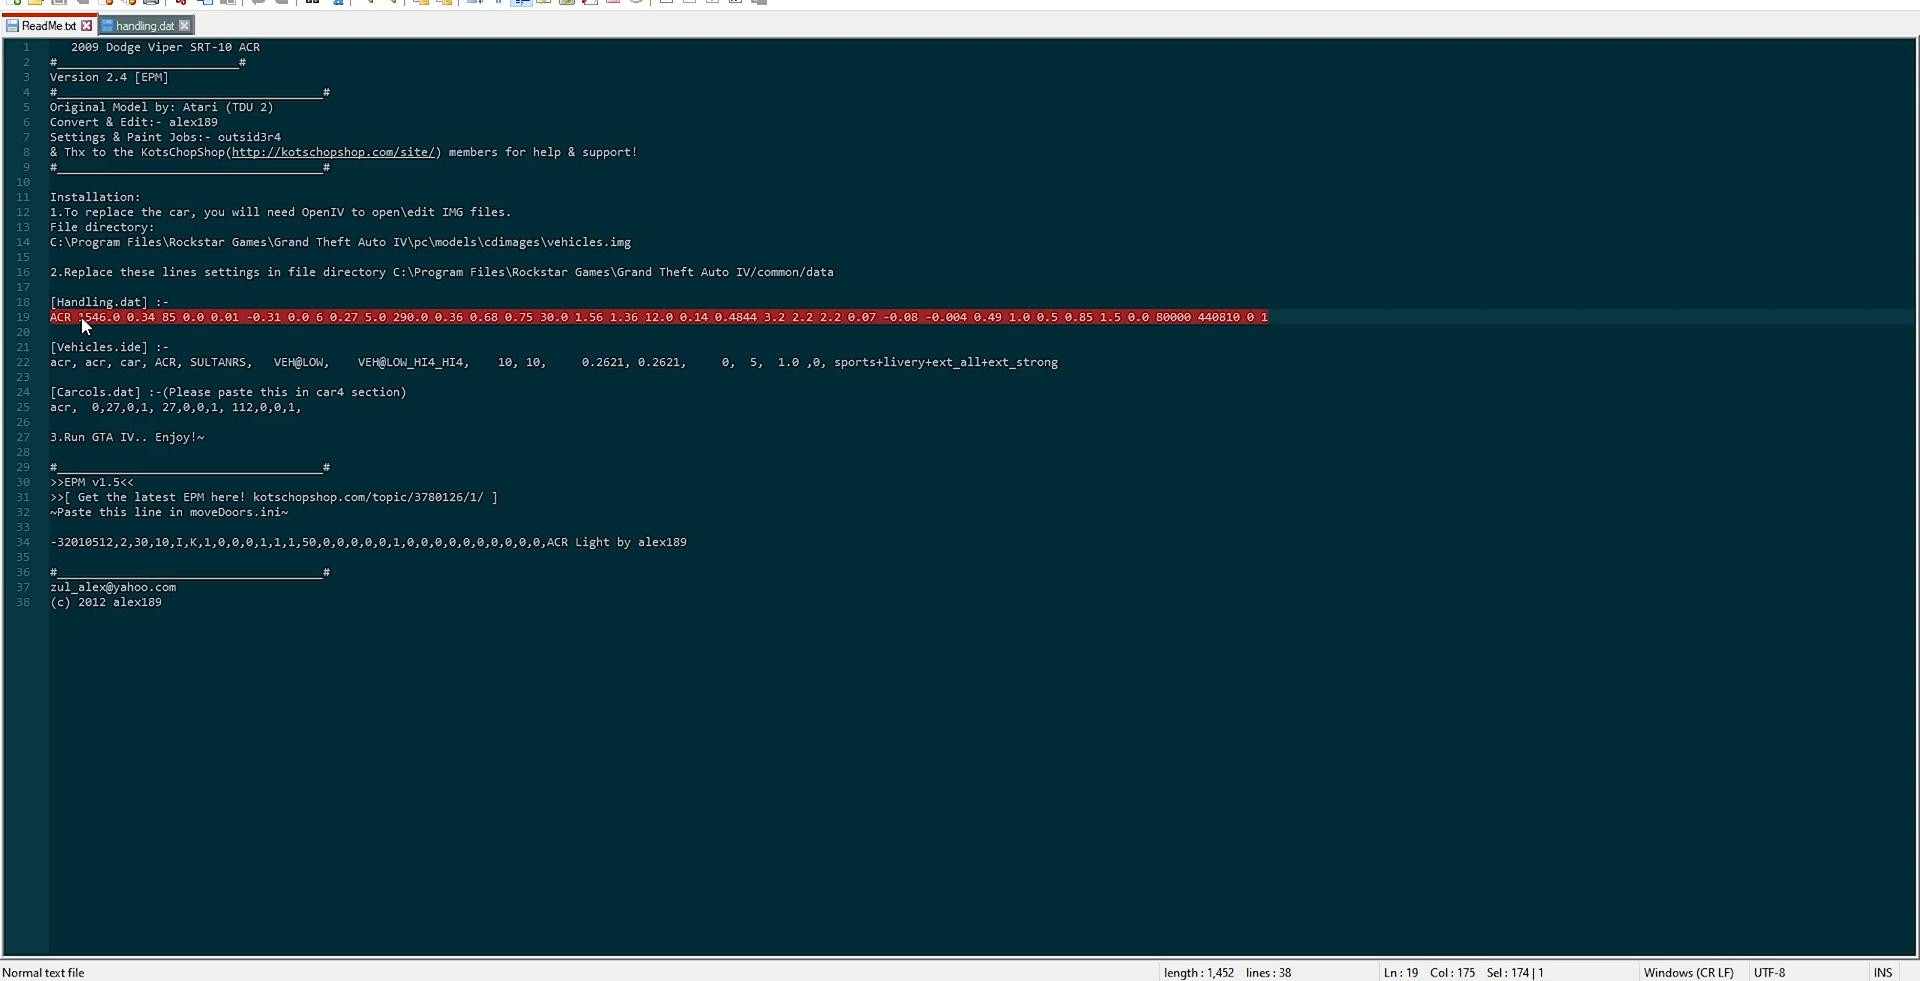
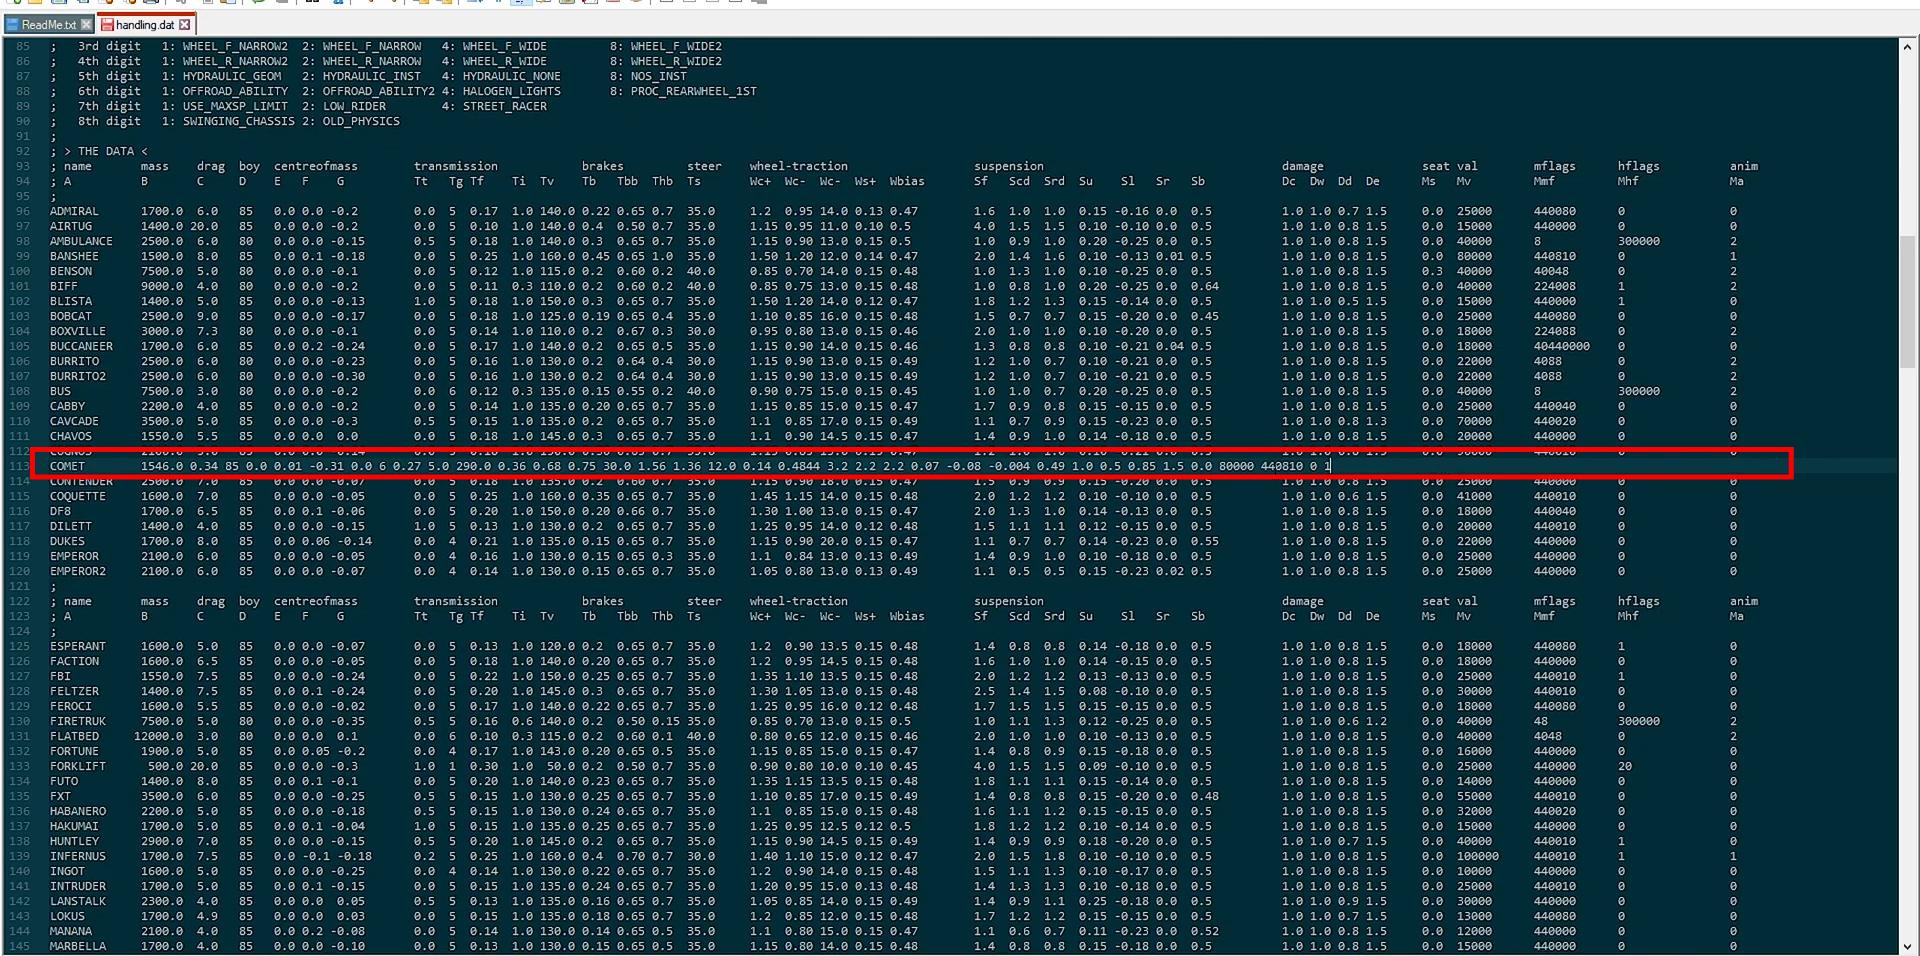
Install handling
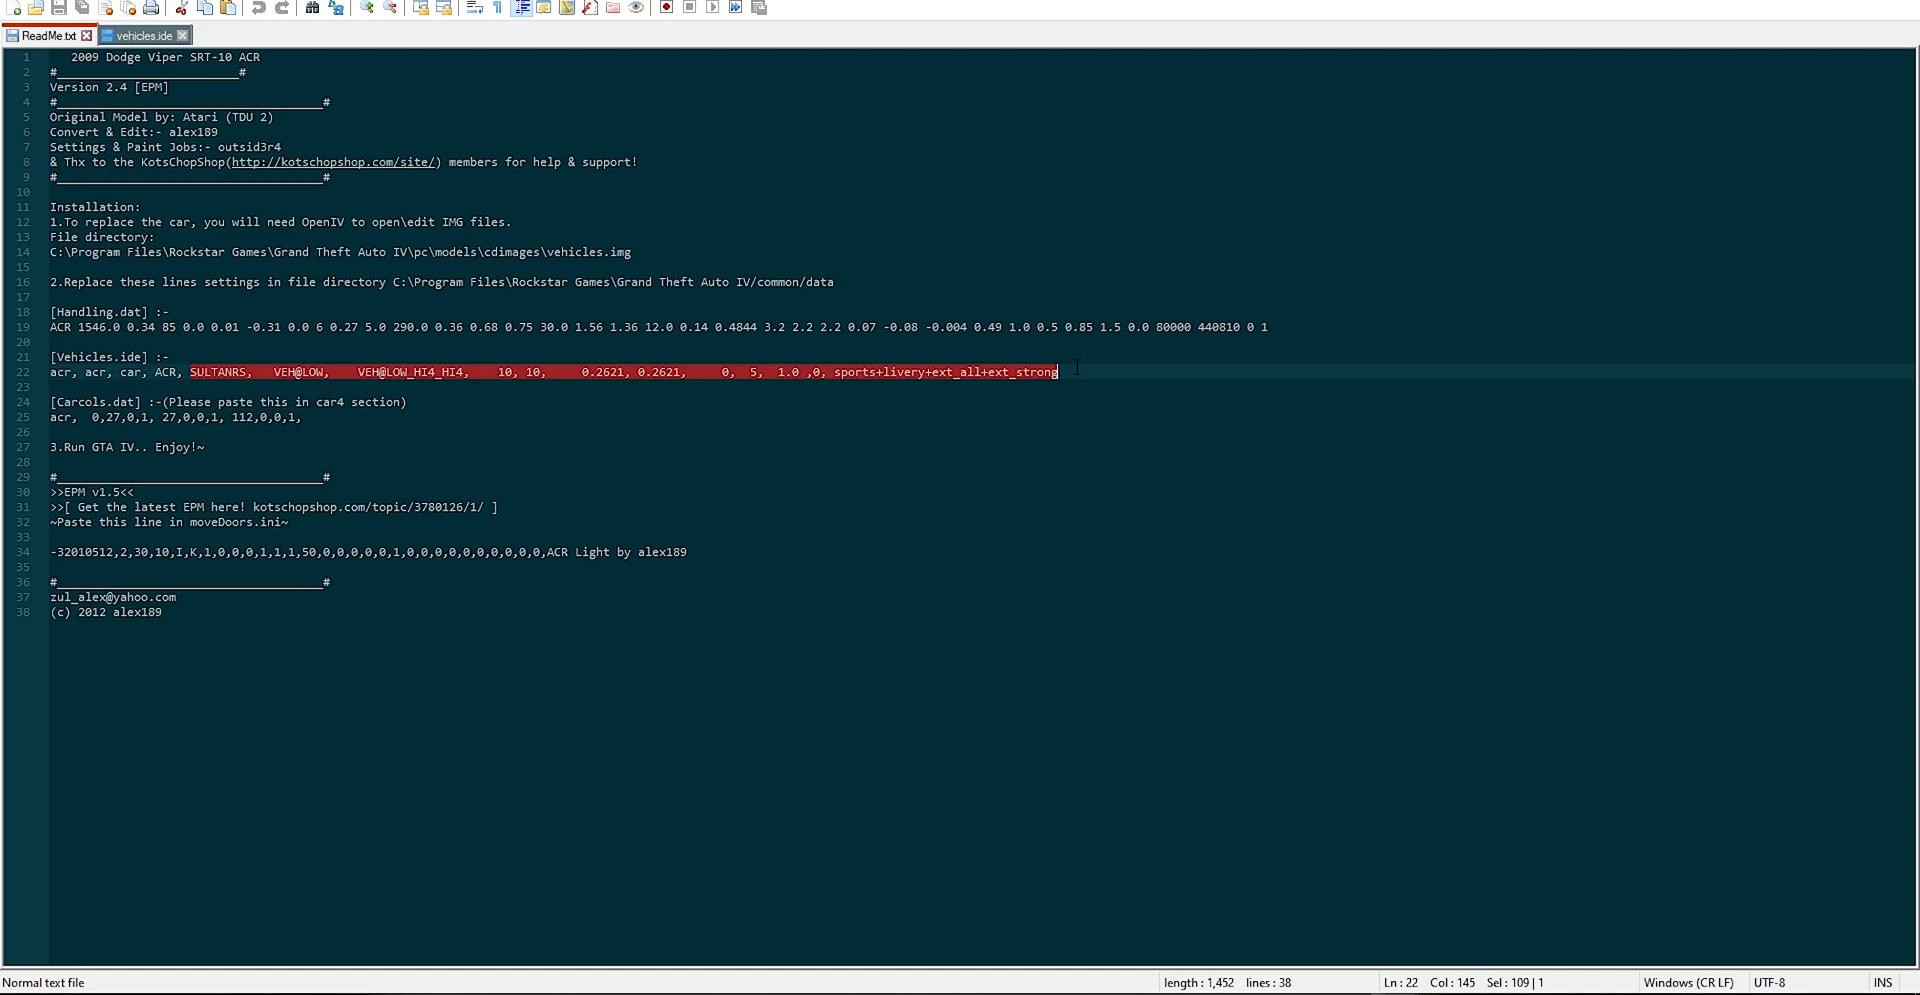
Each car in GTA 4 has unique parameters of behavior on the road, which are set in the file handling.dat, located at the path common > data. Most mods contain a manual (readme), which specifies the new handling line. To set these parameters you need to open the handling.dat file with a text editor and find the line corresponding to the car to be replaced.
In this line you should replace only the numeric parameters, starting after the name of the car.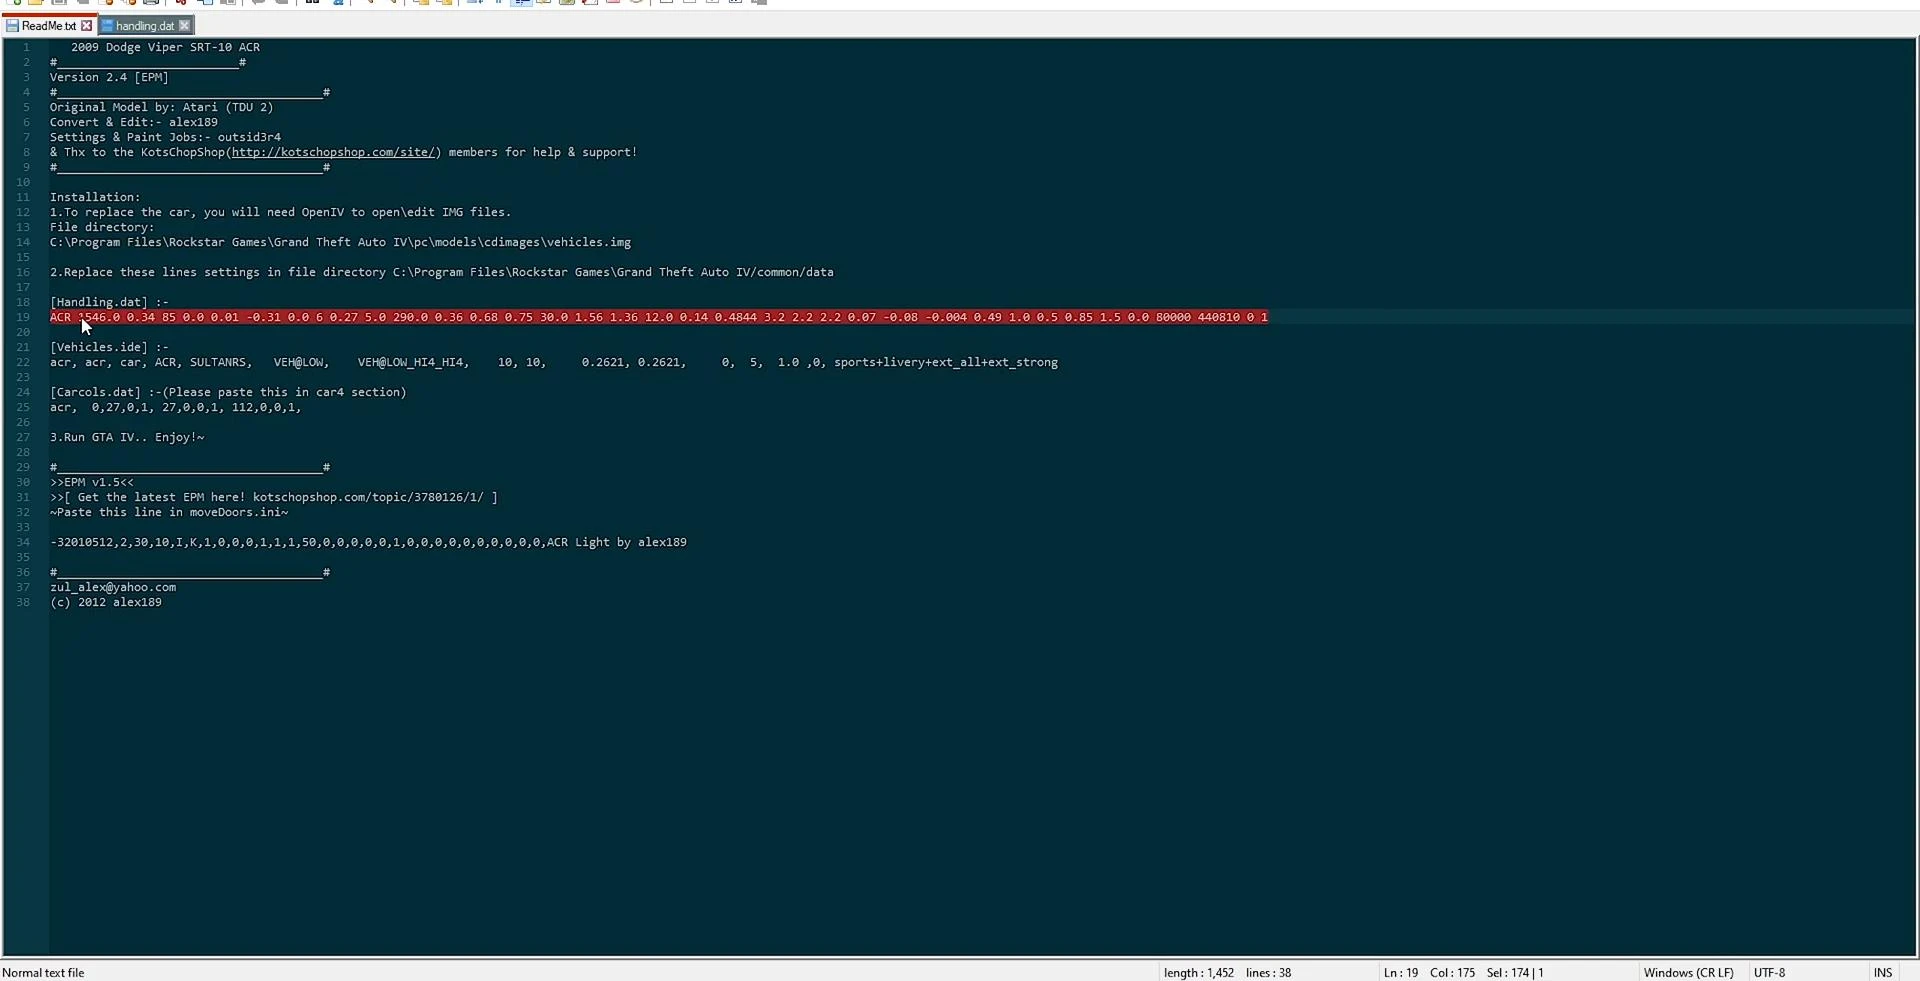
Copy the line from the readme and paste it in the right place, without the need to align spaces - the game reads the data correctly regardless of their visual location.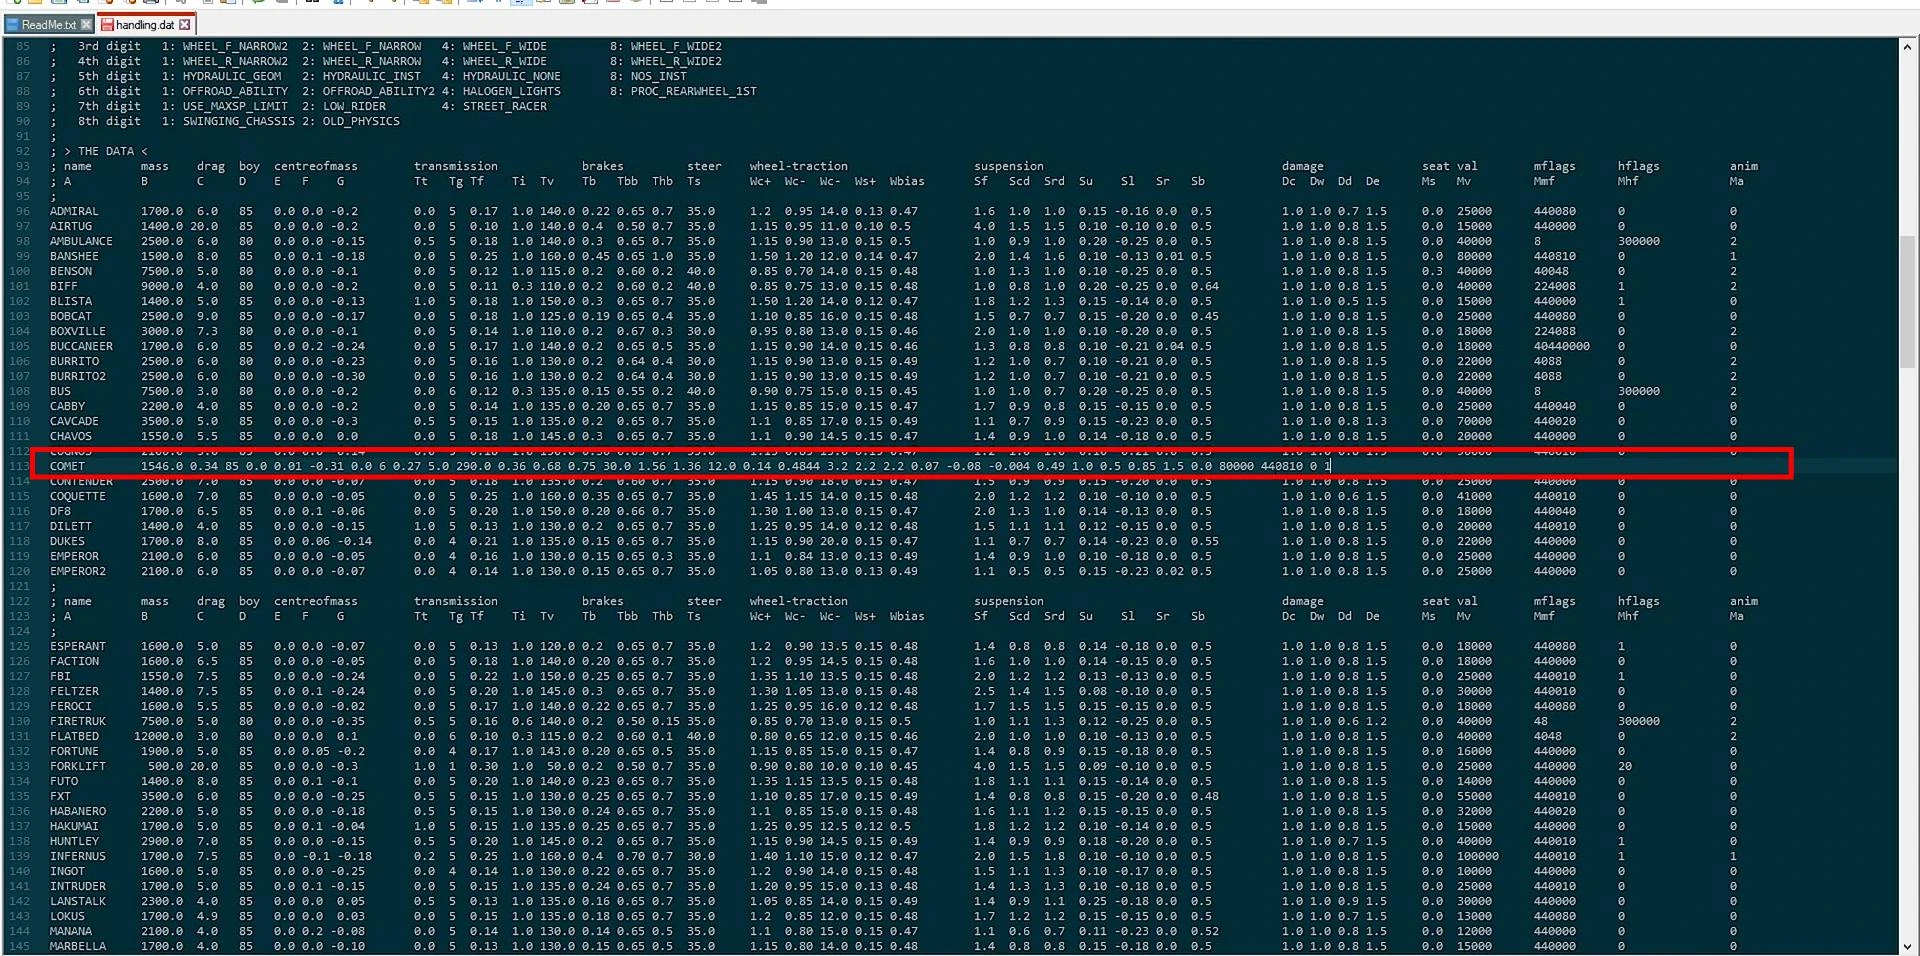
After replacing the data the file is saved.
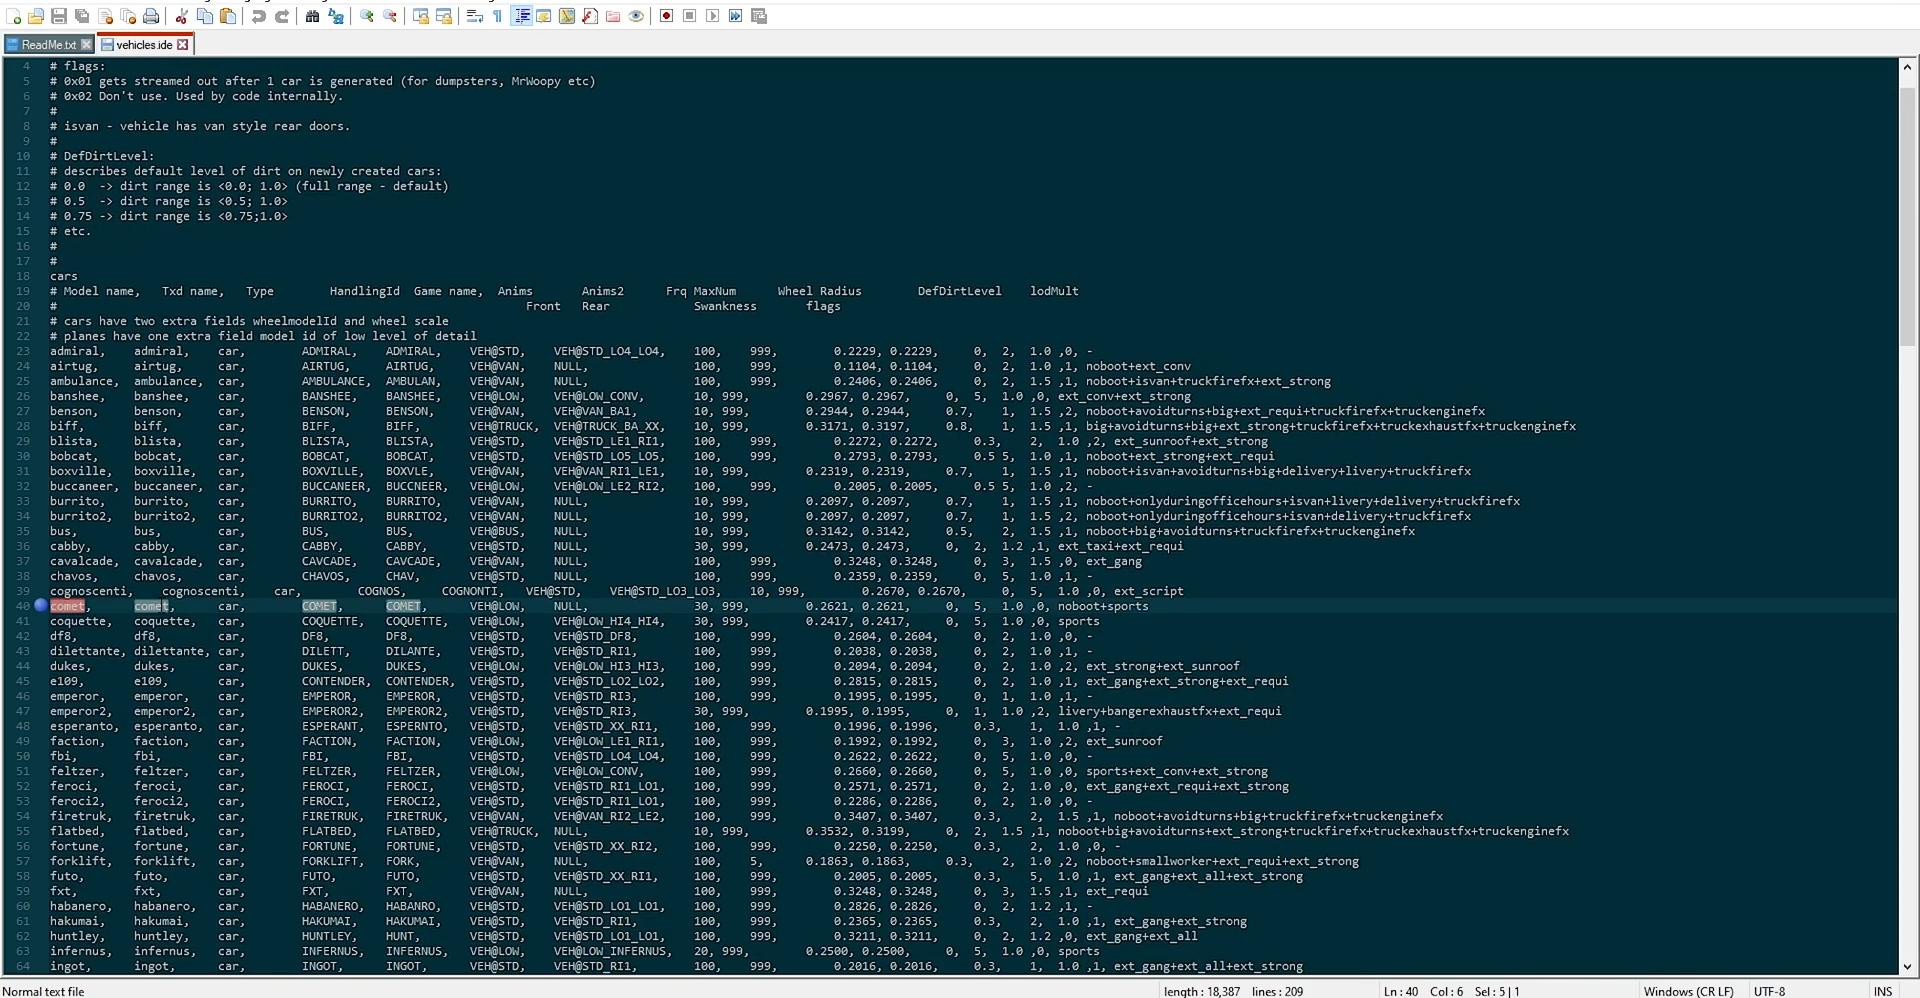
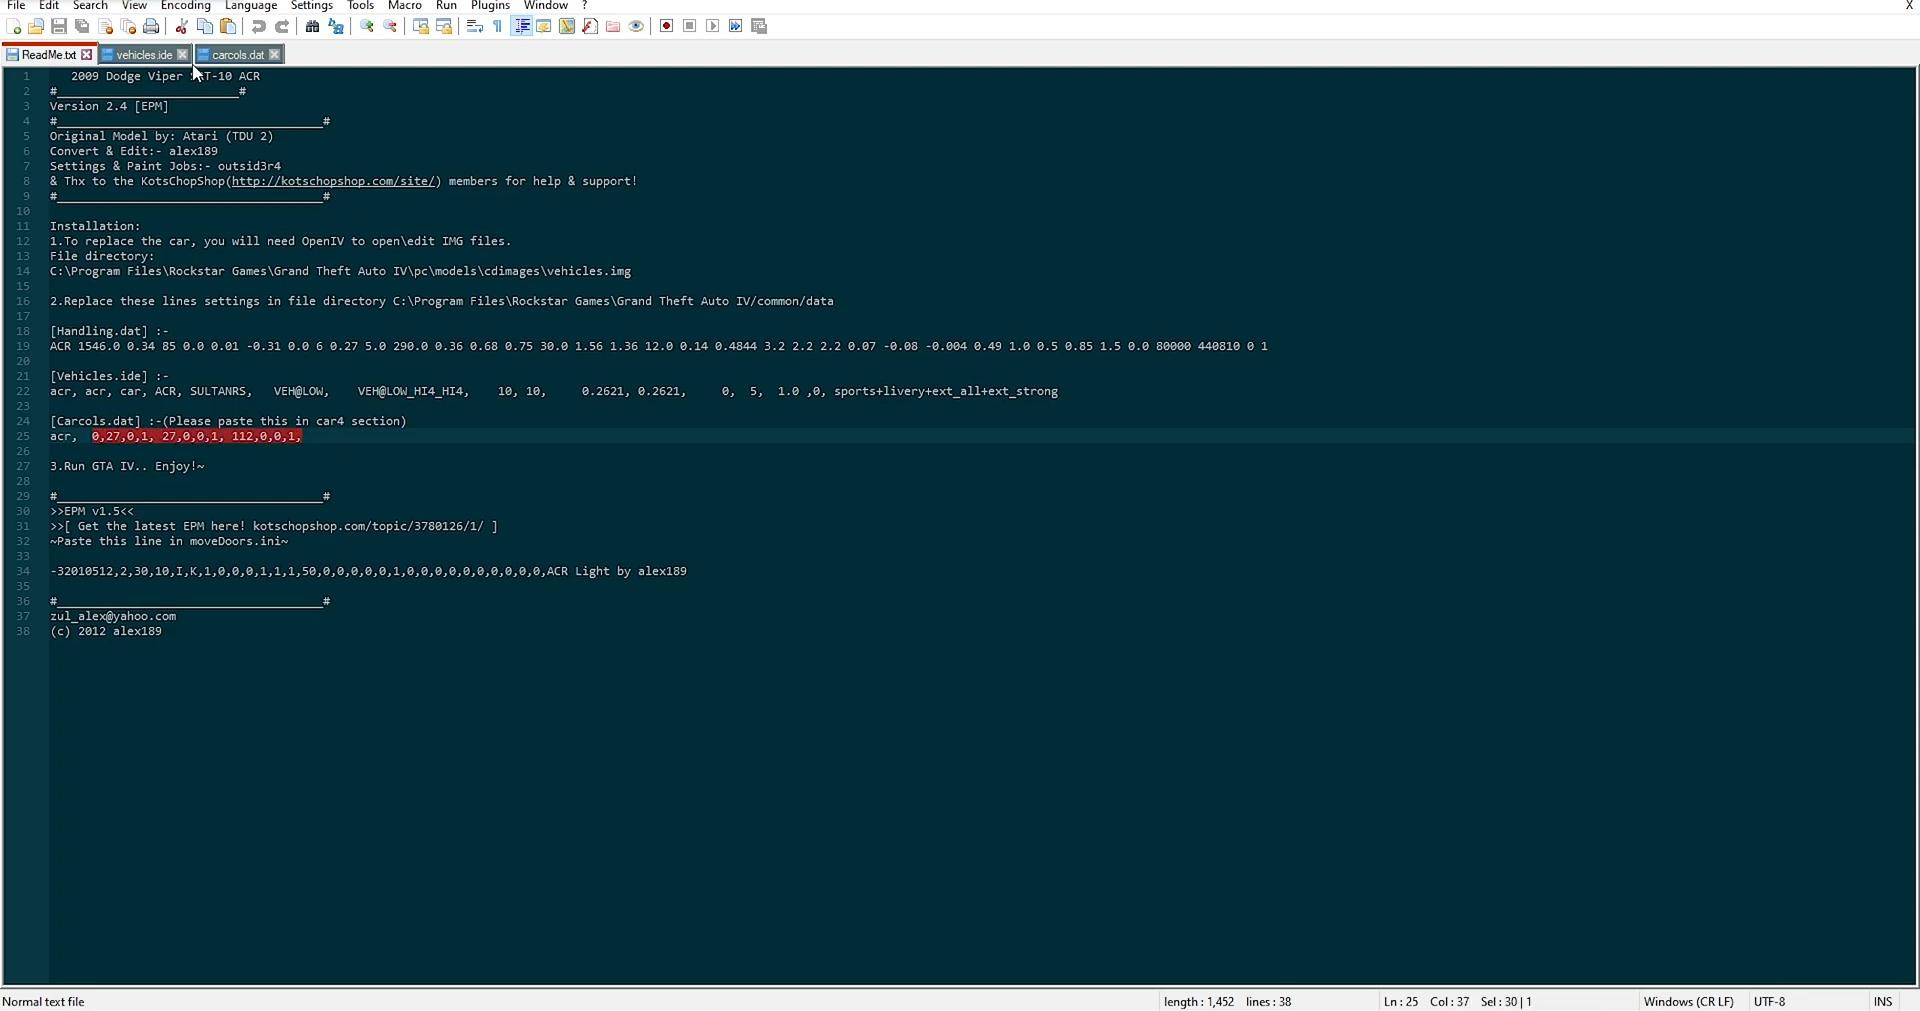
Customizing vehicle data - file vehicles.ide
Additional parameters of vehicles in GTA 4 are contained in the file vehicles.ide, which is located in the same directory common > data.
Open it in the same way - through a text editor. Inside the file you need to find a line with the name of the car to be replaced (for example, Comet), and replace part of the data, starting with the fifth element (after four commas).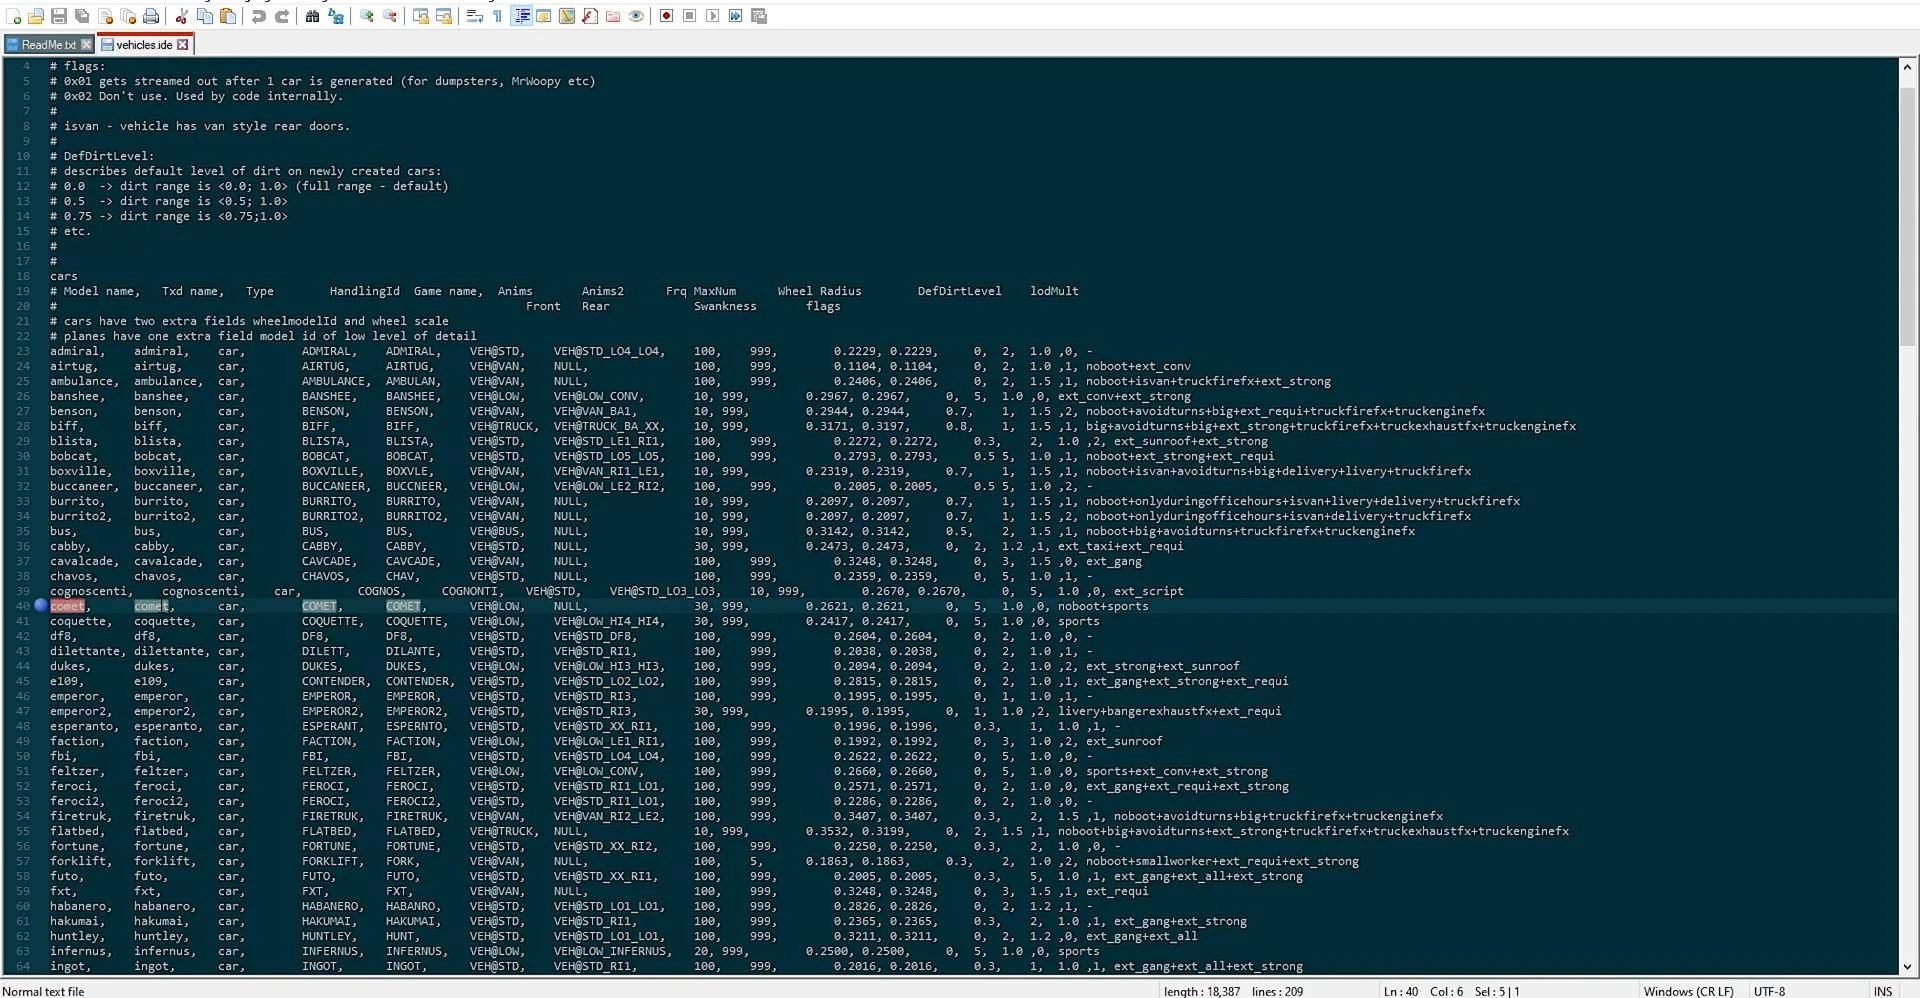
From the readme file, the corresponding model parameters are copied and the specified part of the line is replaced.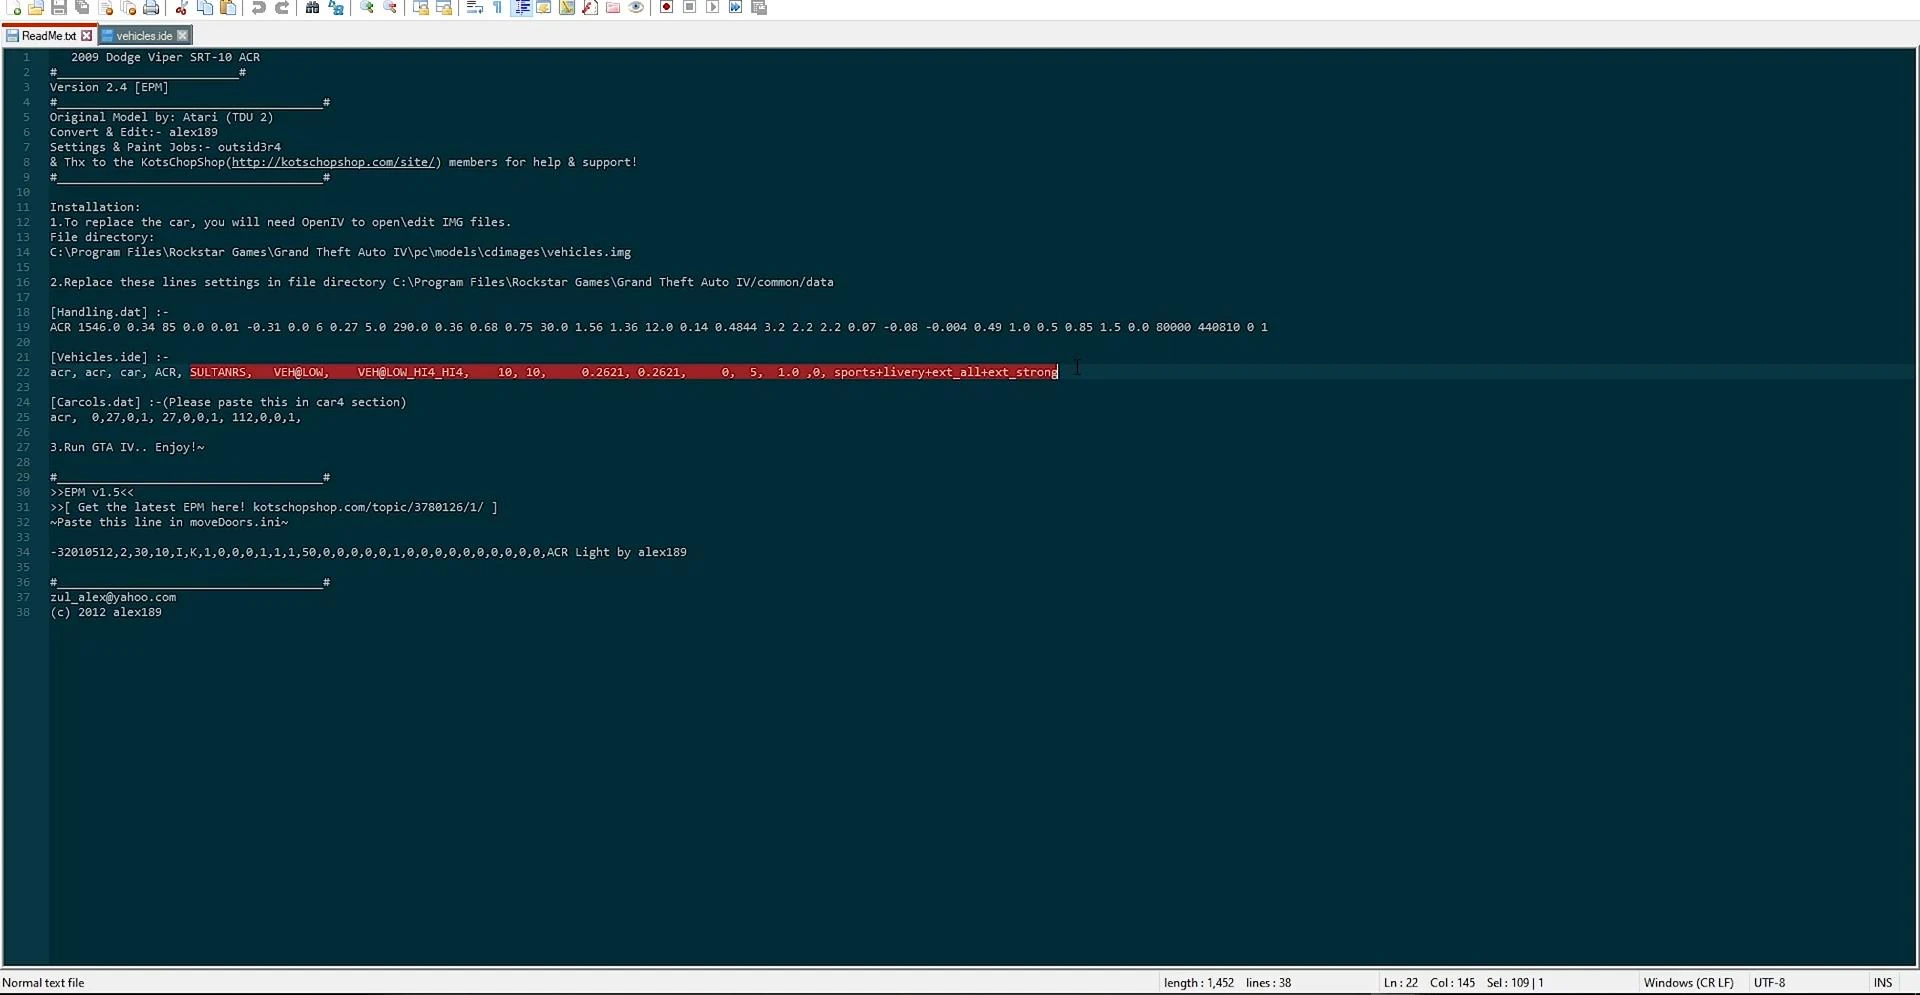
It is important to keep the correct number of elements and their position relative to the delimiters. After making the changes, the vehicles.ide file is also saved.
Adding the car color scheme - carcols.dat
The last step of the configuration is to set the color scheme for the new car. The colors are set in the file carcols.dat, located in the folder common > data.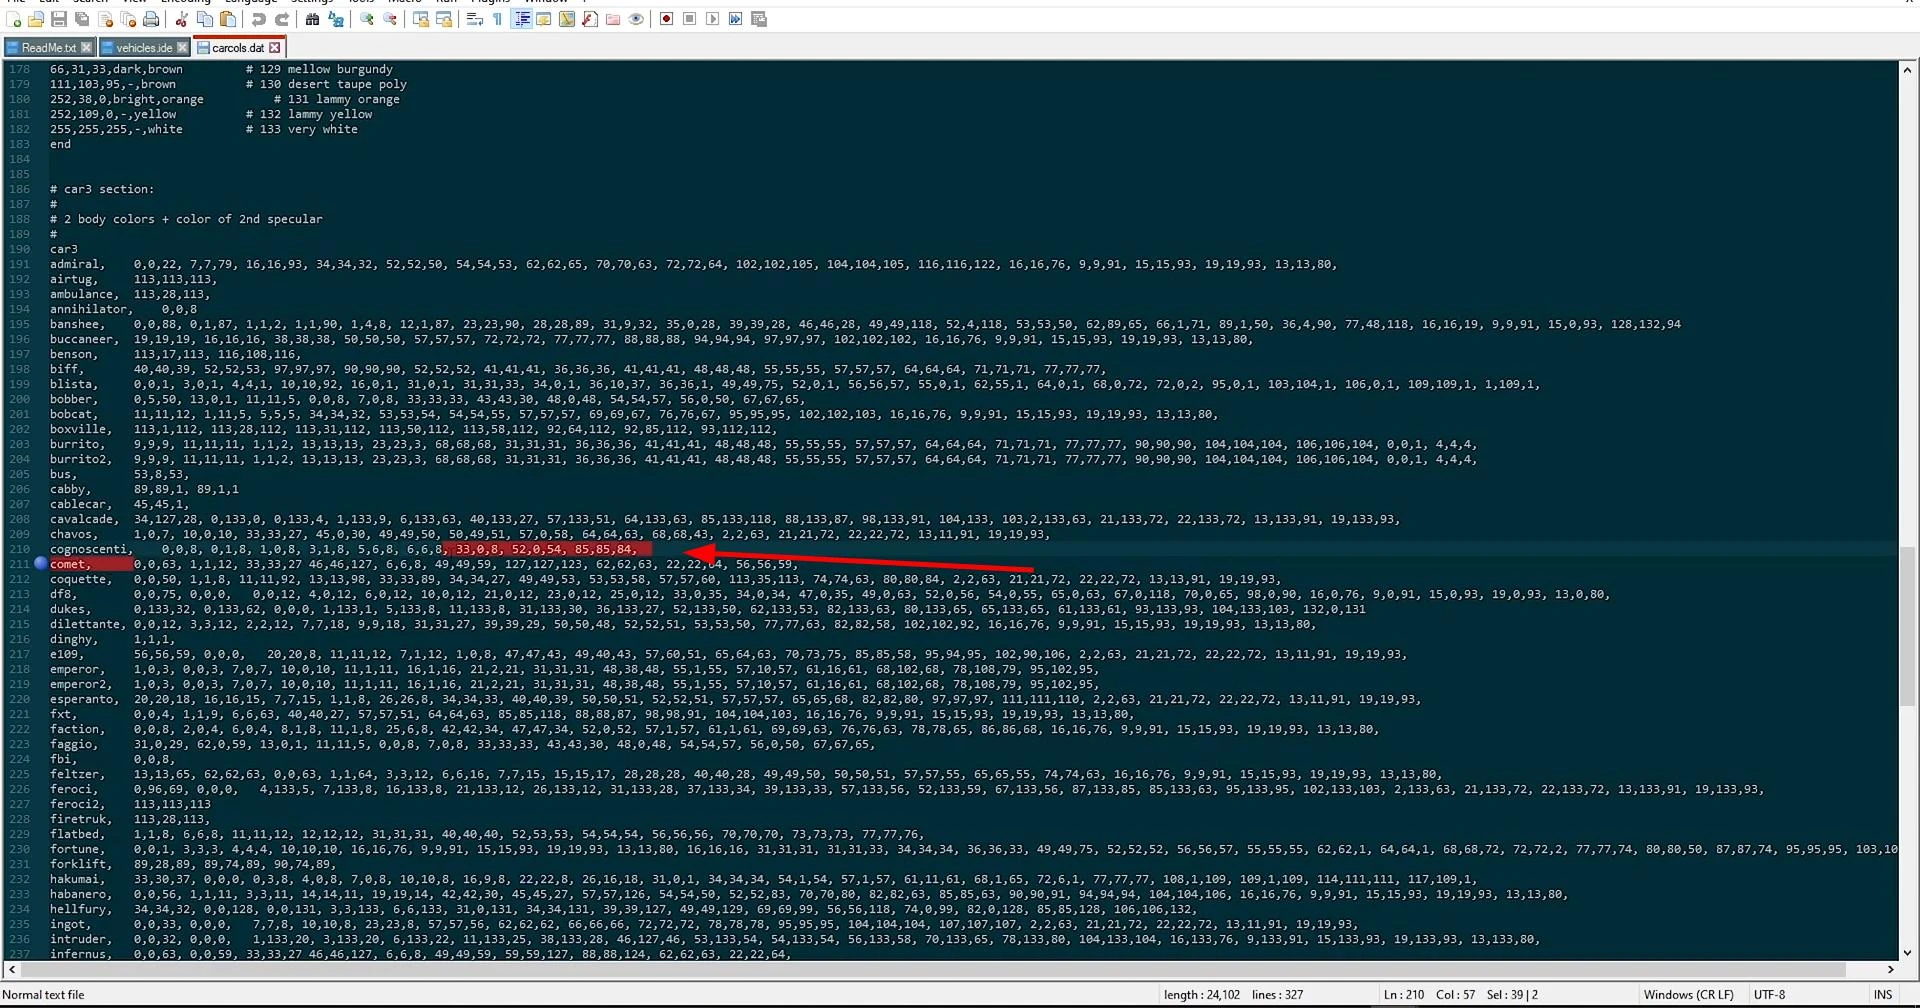
After opening the file, you need to find the line corresponding to the Comet car or other vehicle to be replaced. This line contains numeric values representing RGB codes of possible car colors.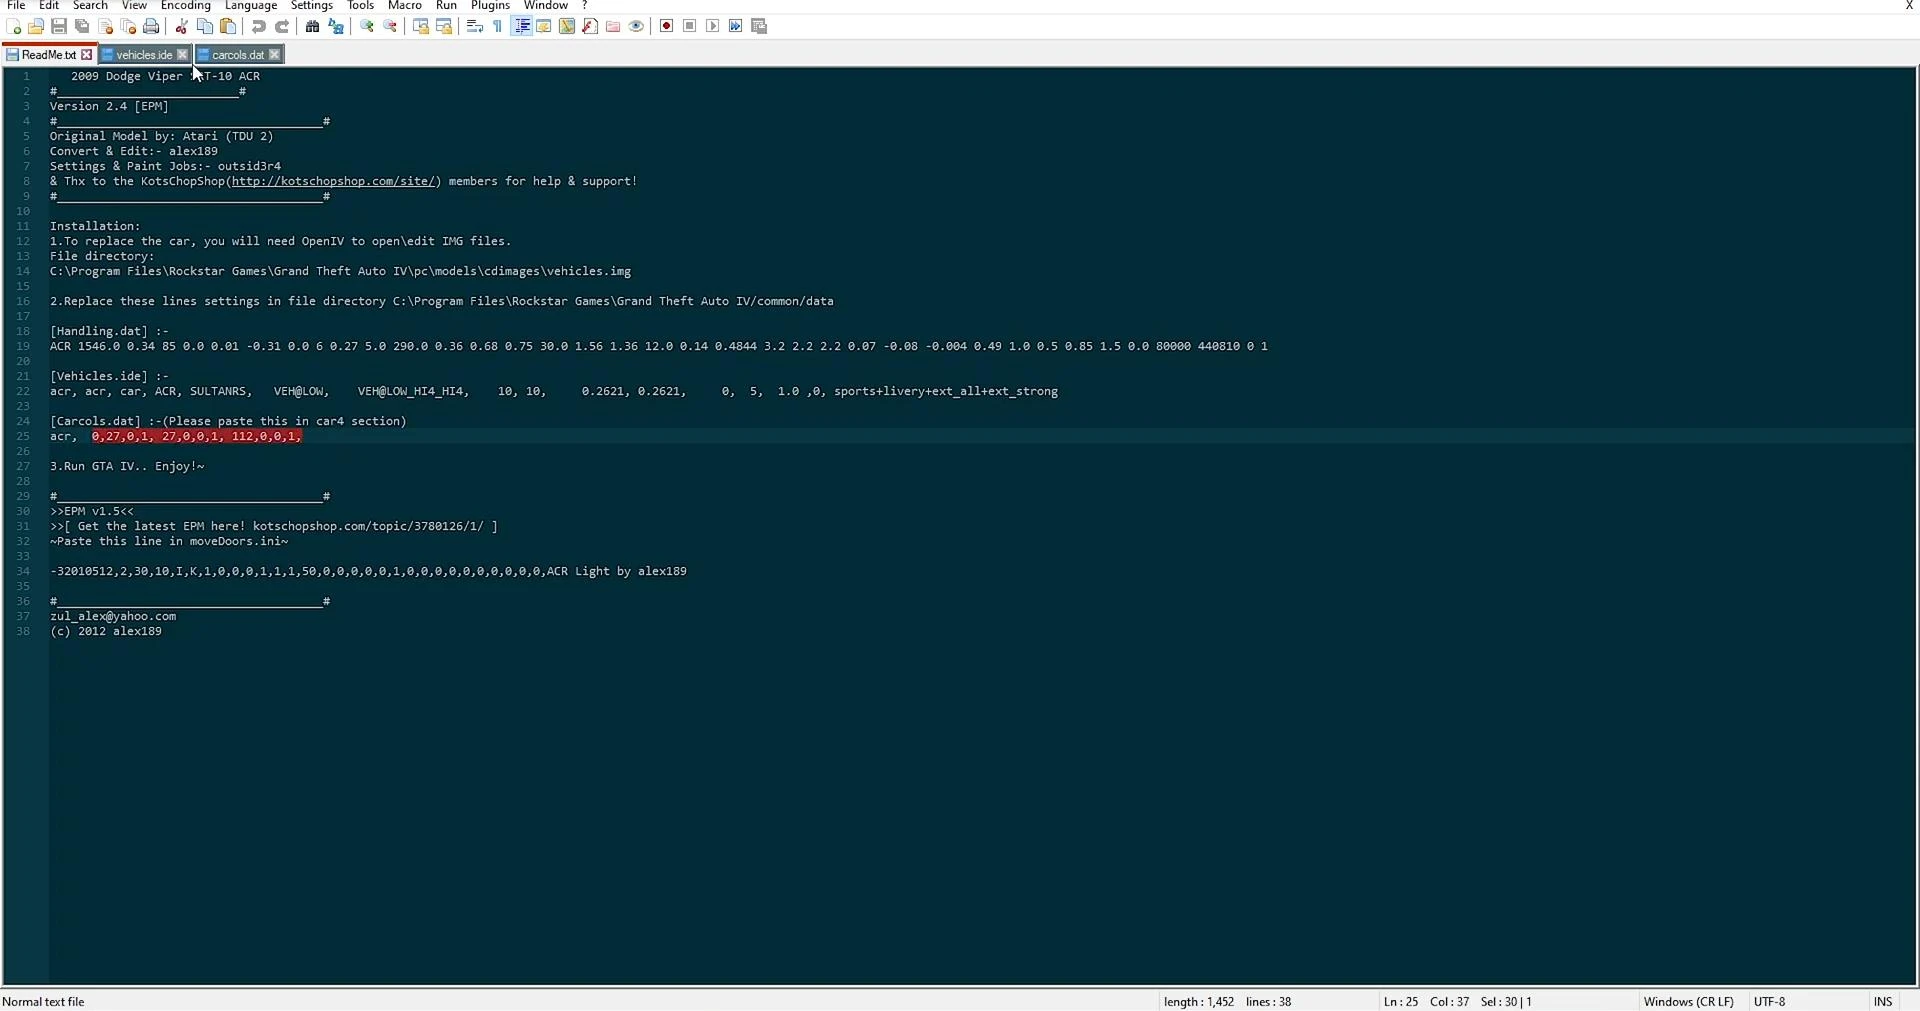
The new color parameters are copied from the readme file and replaced in the corresponding line. Similar to the previous steps, only the numeric part is saved, without replacing the car name. After inserting the values and saving the file, the mod is considered to be fully installed.
Checking the installed mod in the game
For the final check, you need to run GTA 4, use a trainer or cheat code to call the car that was replaced.
If the installation was successful, in place of the original model will appear new - fully replaced modified car with modified physics, appearance and colors.
The car should behave adequately, corresponding to the prescribed characteristics. When installed correctly, there are no crashes and graphical errors.
Videos
Added by


![4K Ultra HD Graphics V 4 Last [Final]](https://i2.modland.net/i/667c09fbb29e9/jsVs6CK76TjfogbFGmzSwPdpiQIaa7BuifA5wchn_modland.jpg)